Code microcade with Arduino!
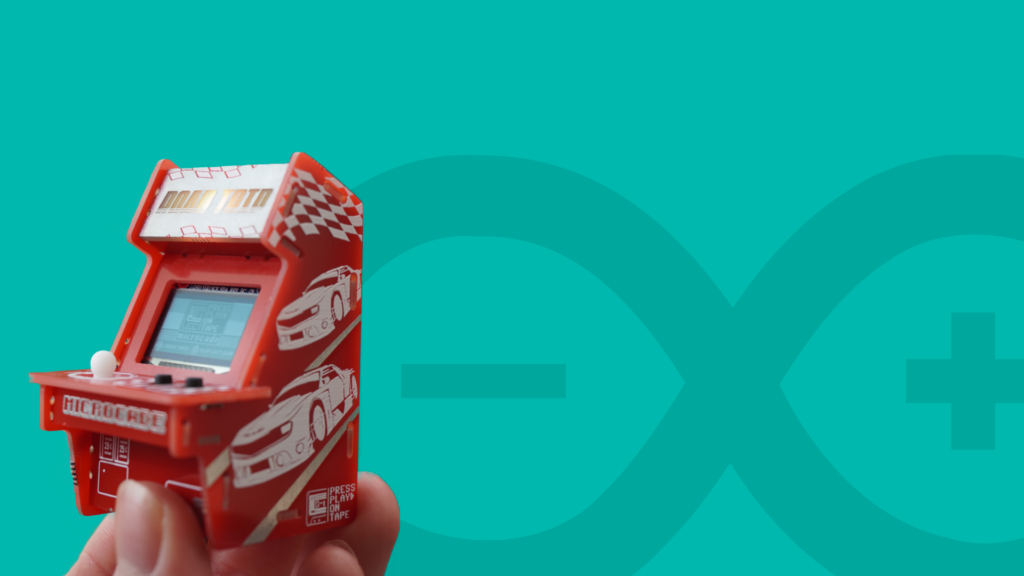
Welcome to the world of Arduino, the go-to for DIY enthusiasts and electronic hobbyists! Today, we’re exploring how to set up Arduino for Microcade, a charming mini arcade system.

Welcome to the world of Arduino, a haven for DIY enthusiasts and electronic hobbyists! In this post, we’re diving into the exciting process of setting up Arduino, a key player in the realm of microcontrollers and electronics programming. Our focus today is on Microcade – a delightful mini arcade system that brings back the nostalgia of classic games. Whether you’re a seasoned tinkerer or a curious beginner, this guide aims to simplify the process of installing Arduino and configuring it for your Microcade projects.
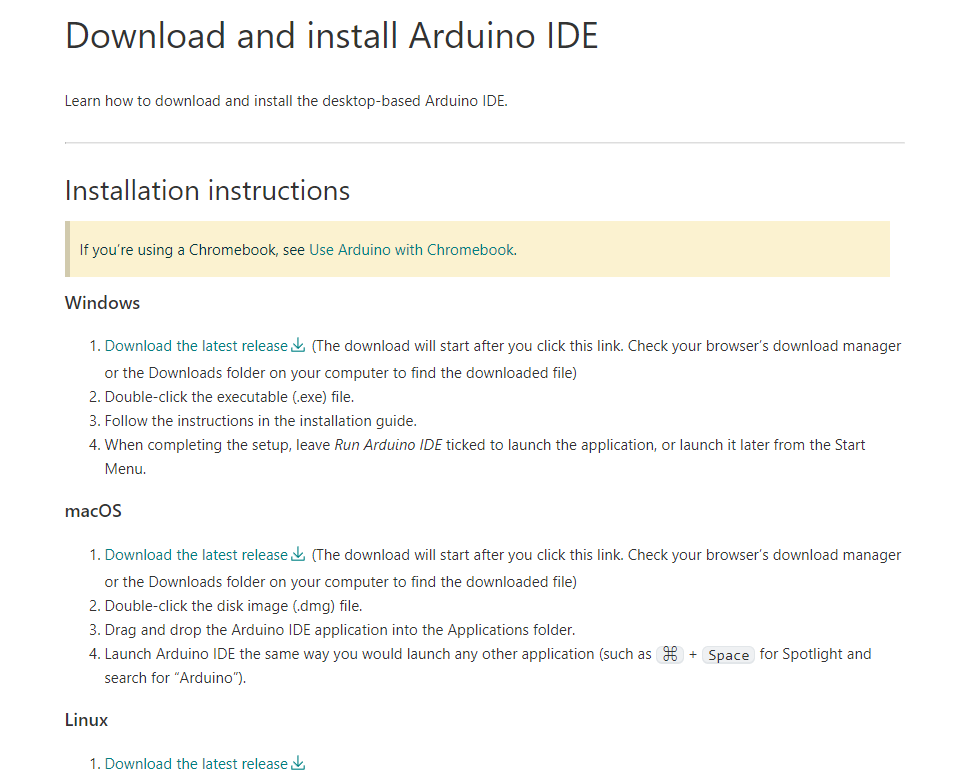
The Integrated Development Environment (IDE) is your main tool for writing and uploading code to your Microcade board. Here’s how you can download it:

Now, let’s install the IDE:
.zip file.
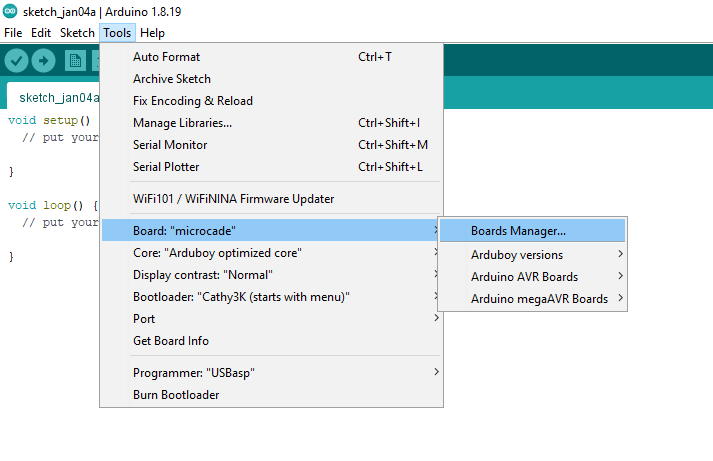
2. Search for “Arduboy Homemade Package” and press Install

Done! Now, you can find the microcade by clicking on Tools > Boards > Arduboy Versions > Microcade

Be sure to select the Port to the port where your microcade is connected and you can select upload. The default settings are fine.

Welcome to the world of Arduino, the go-to for DIY enthusiasts and electronic hobbyists! Today, we’re exploring how to set up Arduino for Microcade, a charming mini arcade system.

Unlock the magic of STEM toys this Christmas, blending fun and education to foster critical thinking and creativity in children. Discover the ideal gift to ignite curiosity and pave the way for lifelong success.