In this video, we do the final assembly of the console. Arguably the best part as you get to see all your hard work pay off as you assemble your very own arcade machine.
DO NOT use super glue on the joystickAny adhesives can damage the joystick. The best thing to do with this is to put a small blob of Blu-Tac inside the joystick to give it a little bit of adhesion when it is pushed onto the joystick. Be careful as to not force it in as it could break the joystick.
Note: We highly advise against using any glues/adhesions as they may cause the plastic to melt/break the joystick and/or the electronic component.
Assembly code System
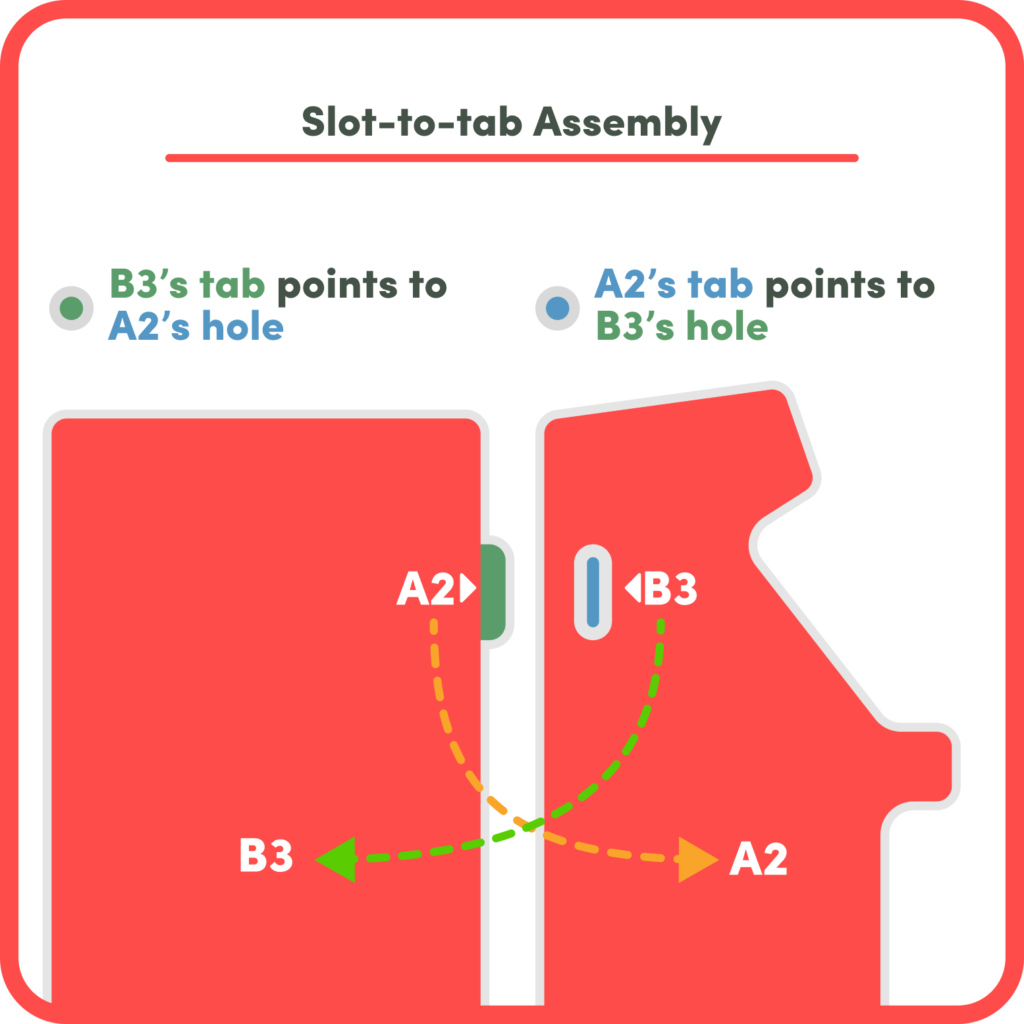
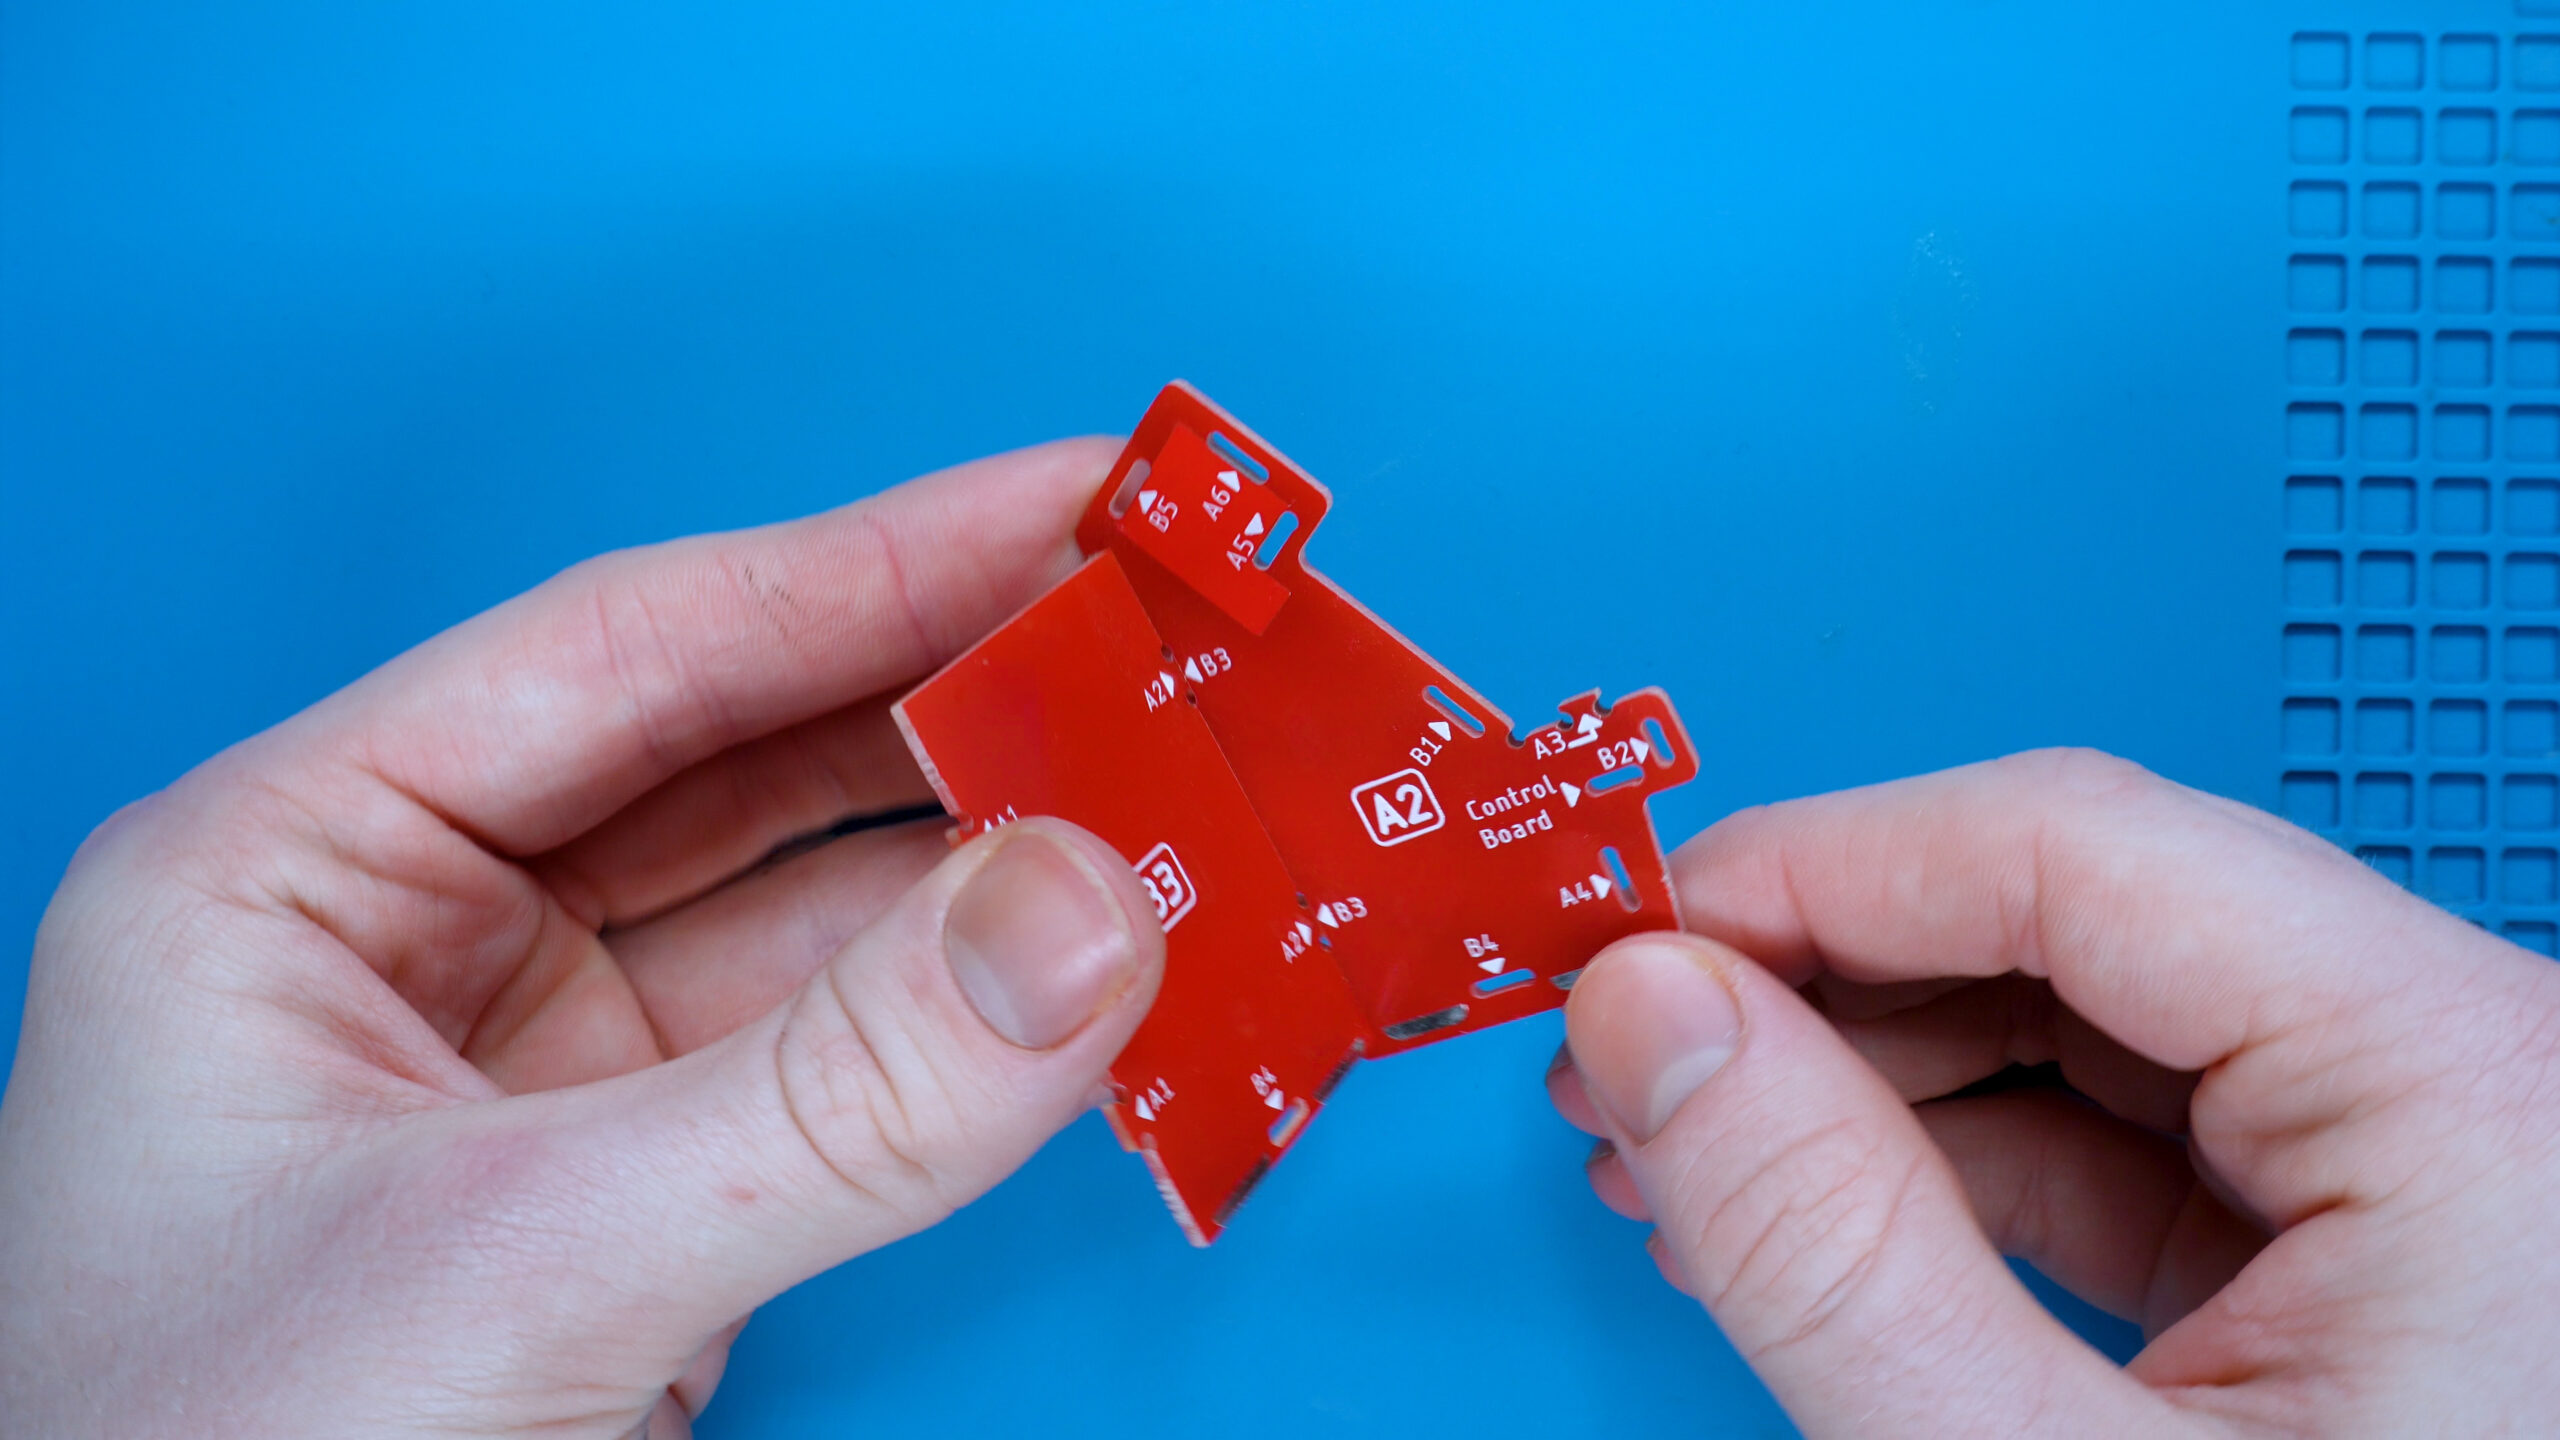
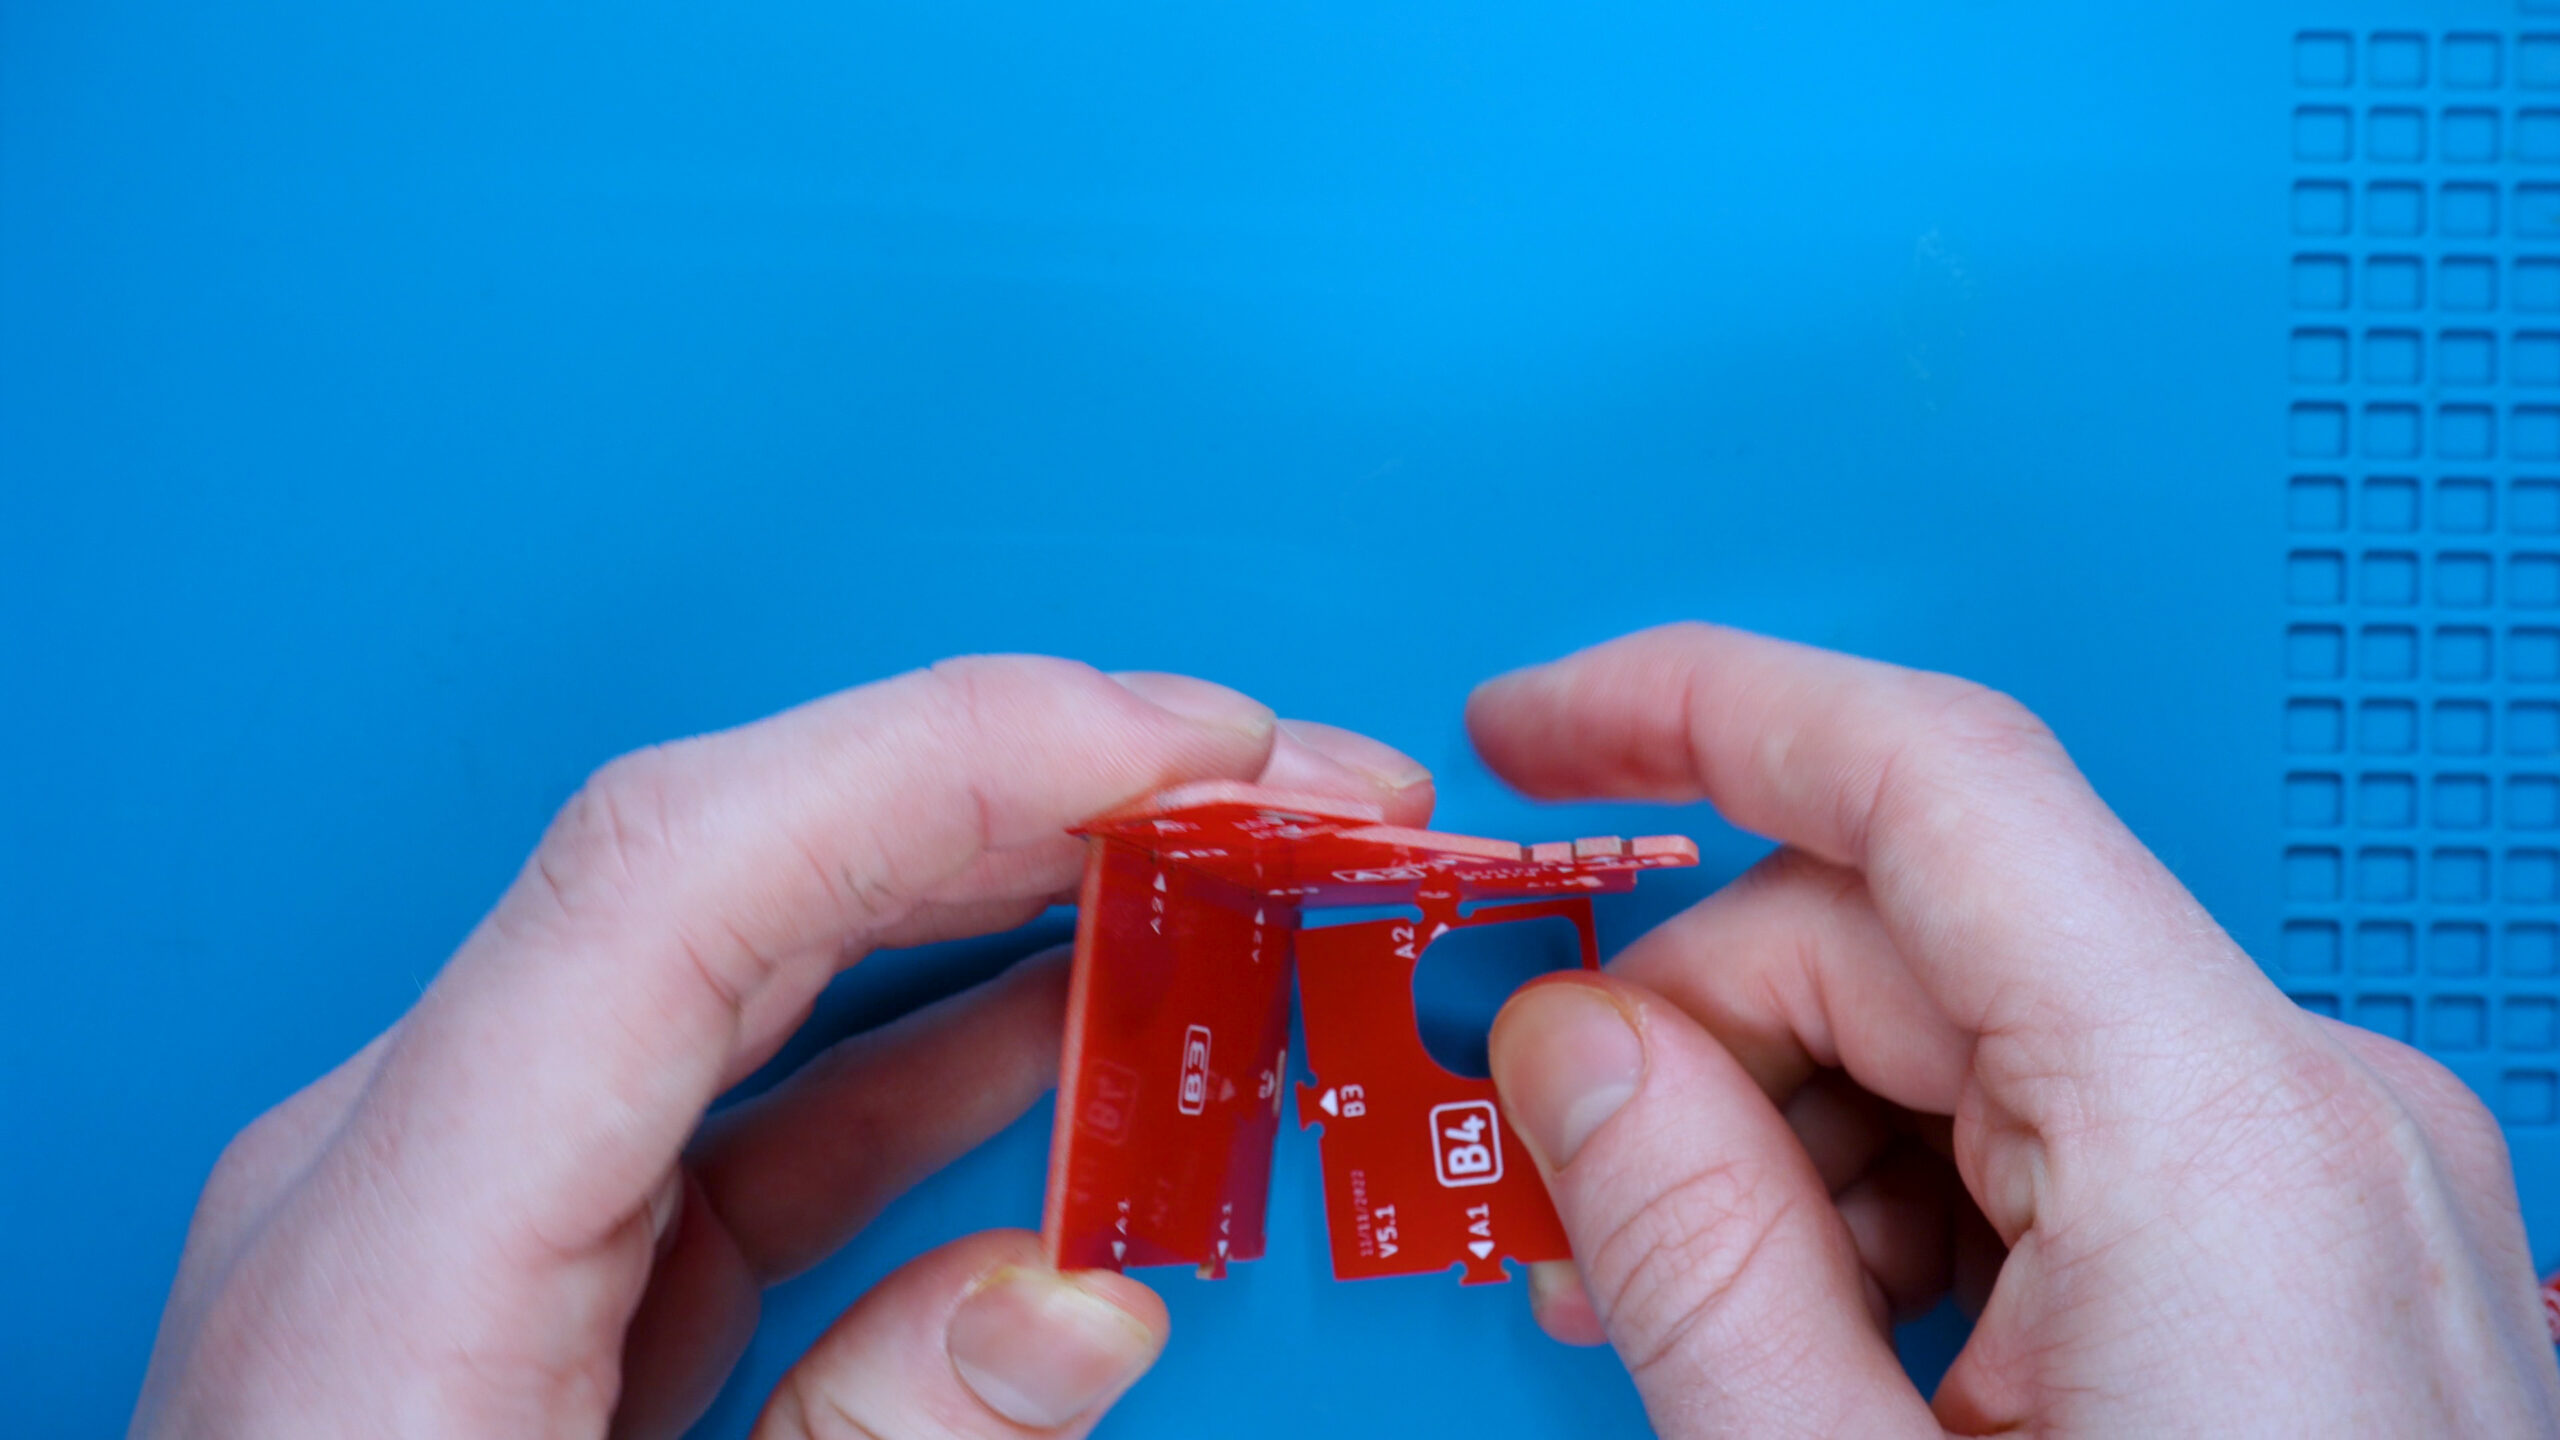
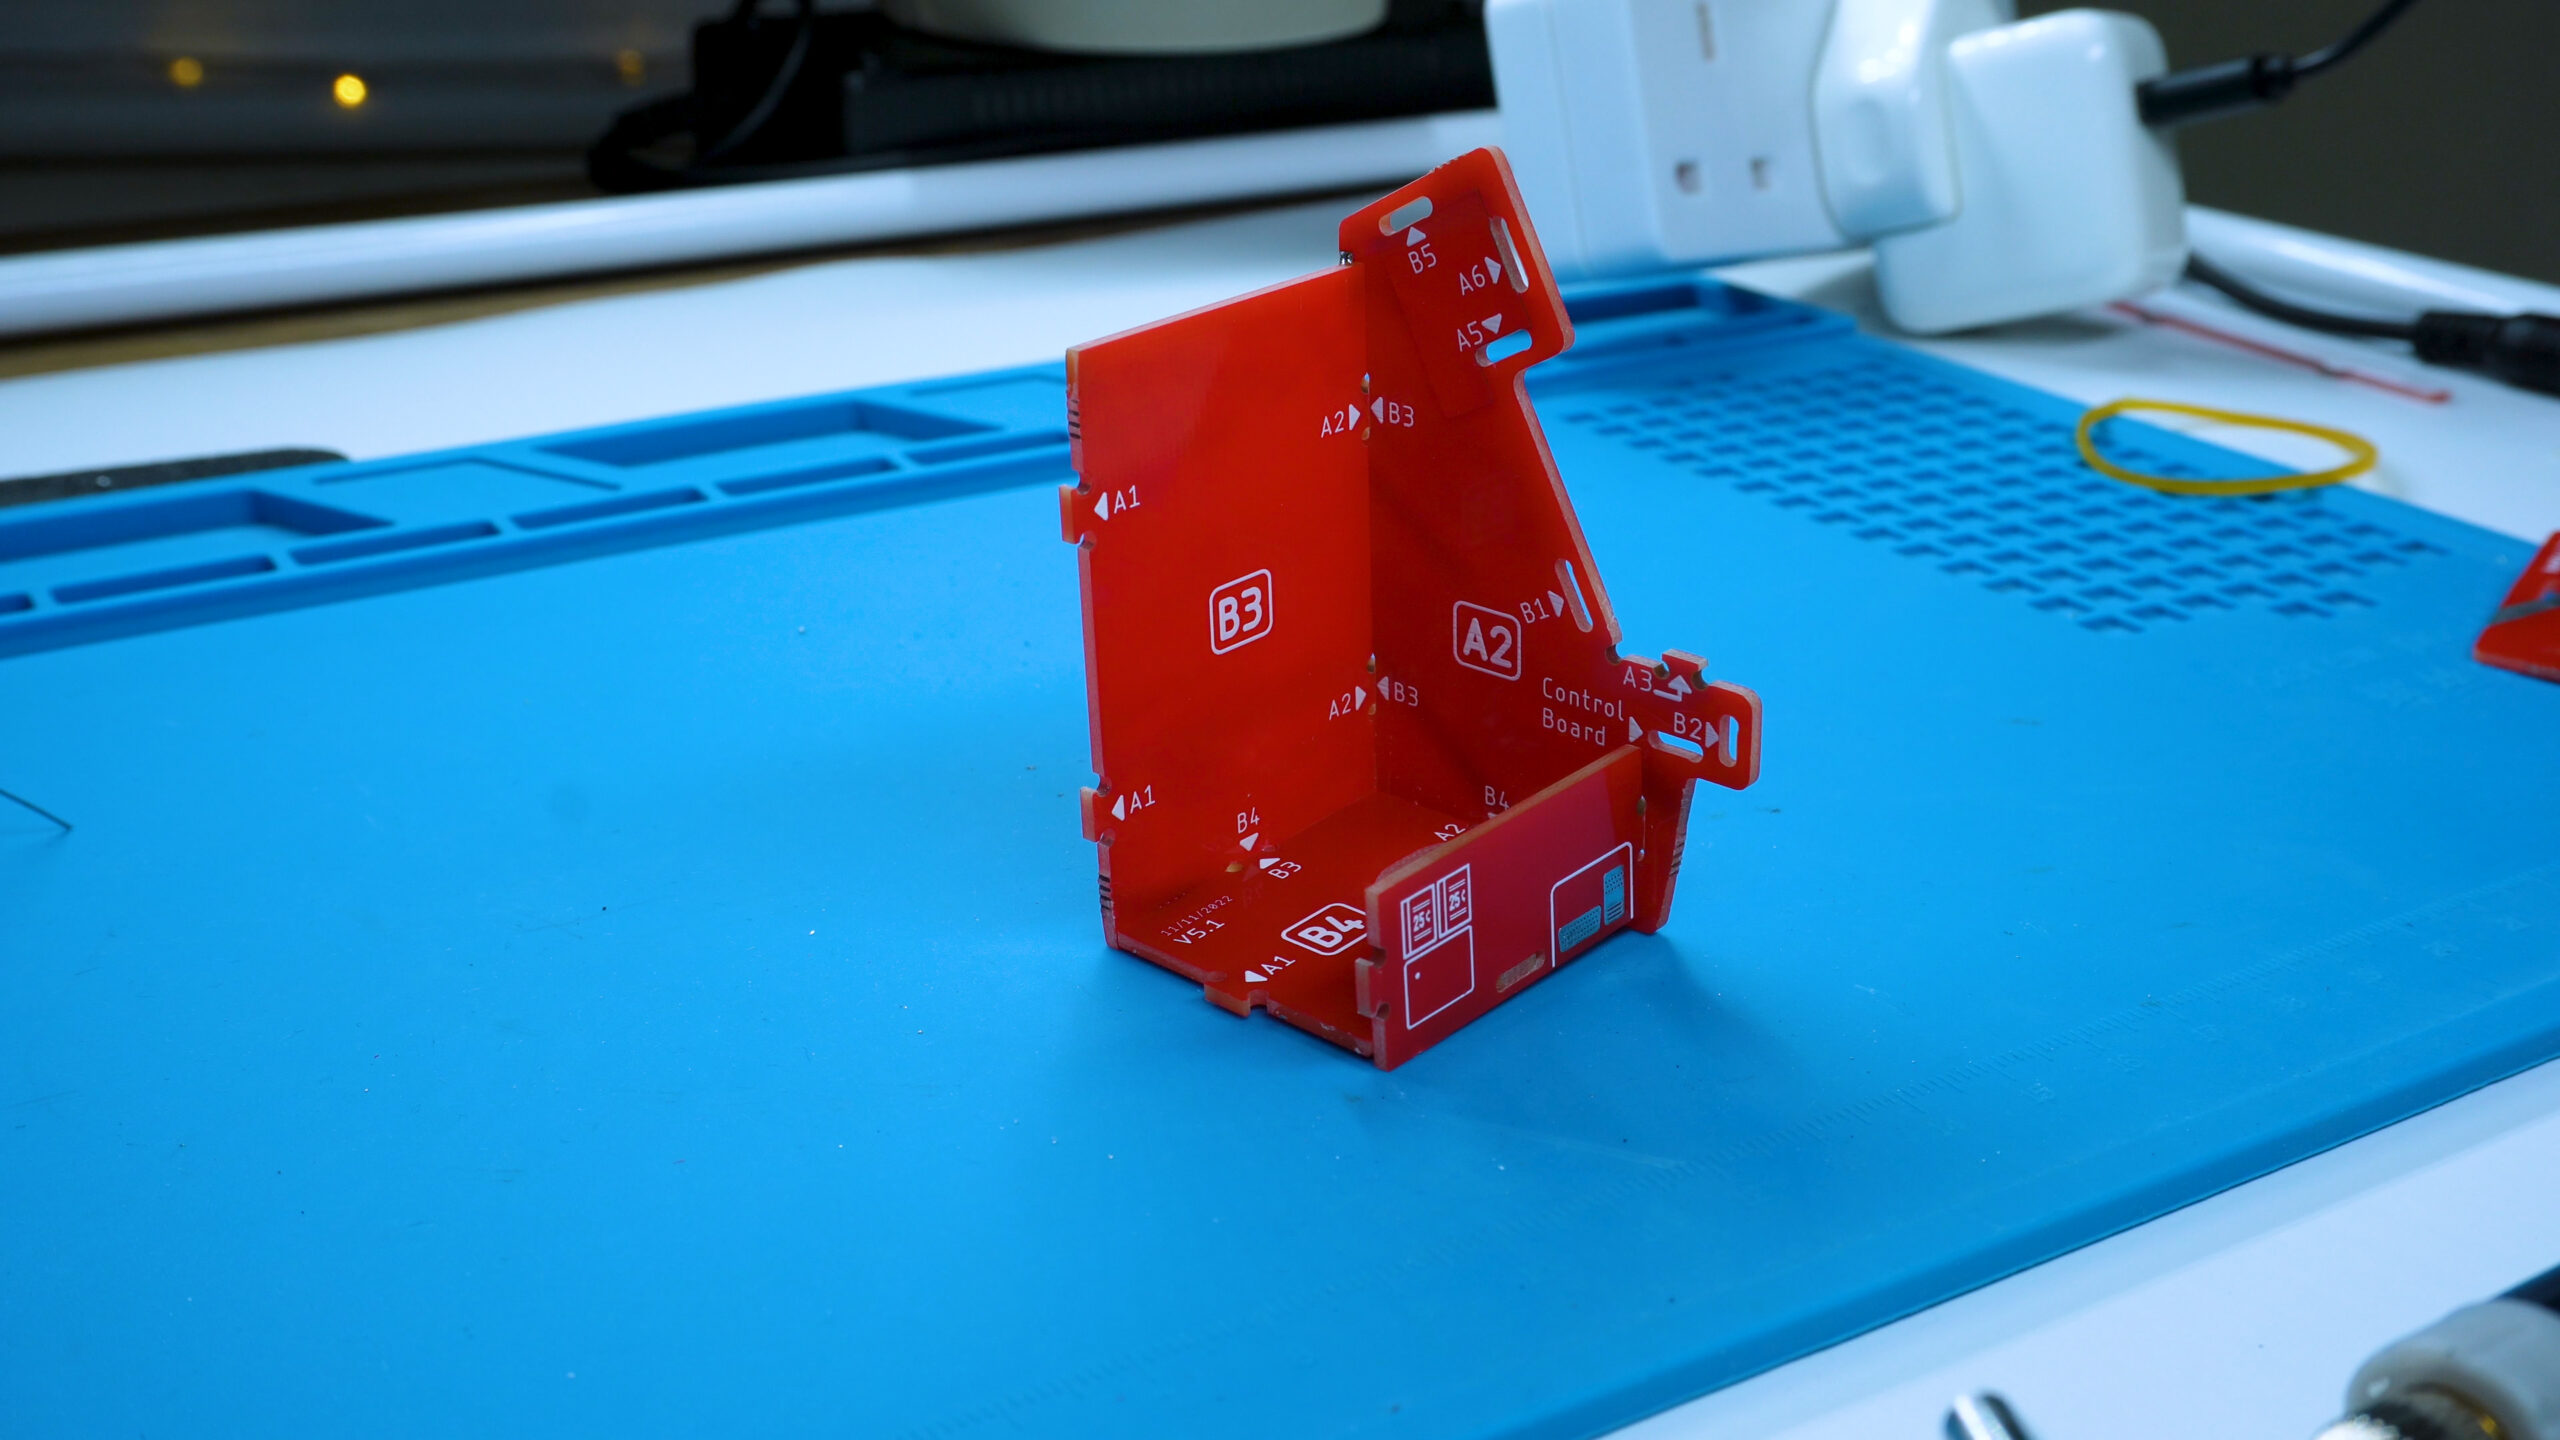
When assembling, youll notice that all panels have a code. Youll also notice that all TABS and HOLES have codes as well.
Each TAB and HOLE code points to where it needs to go.
E.g. In this diagram on the left, B3 only has a TAB which points to A2.
We know a TAB must go into a HOLE so we check all the HOLES and we find… Oh! Theres a HOLE marked B3! So we know that the TAB goes into that HOLE!
1. Assemble B3, A2, B4 and A4
B3 goes into A2 and B4 slots into the bottom of both. Then A4 slots into A2 and B4!
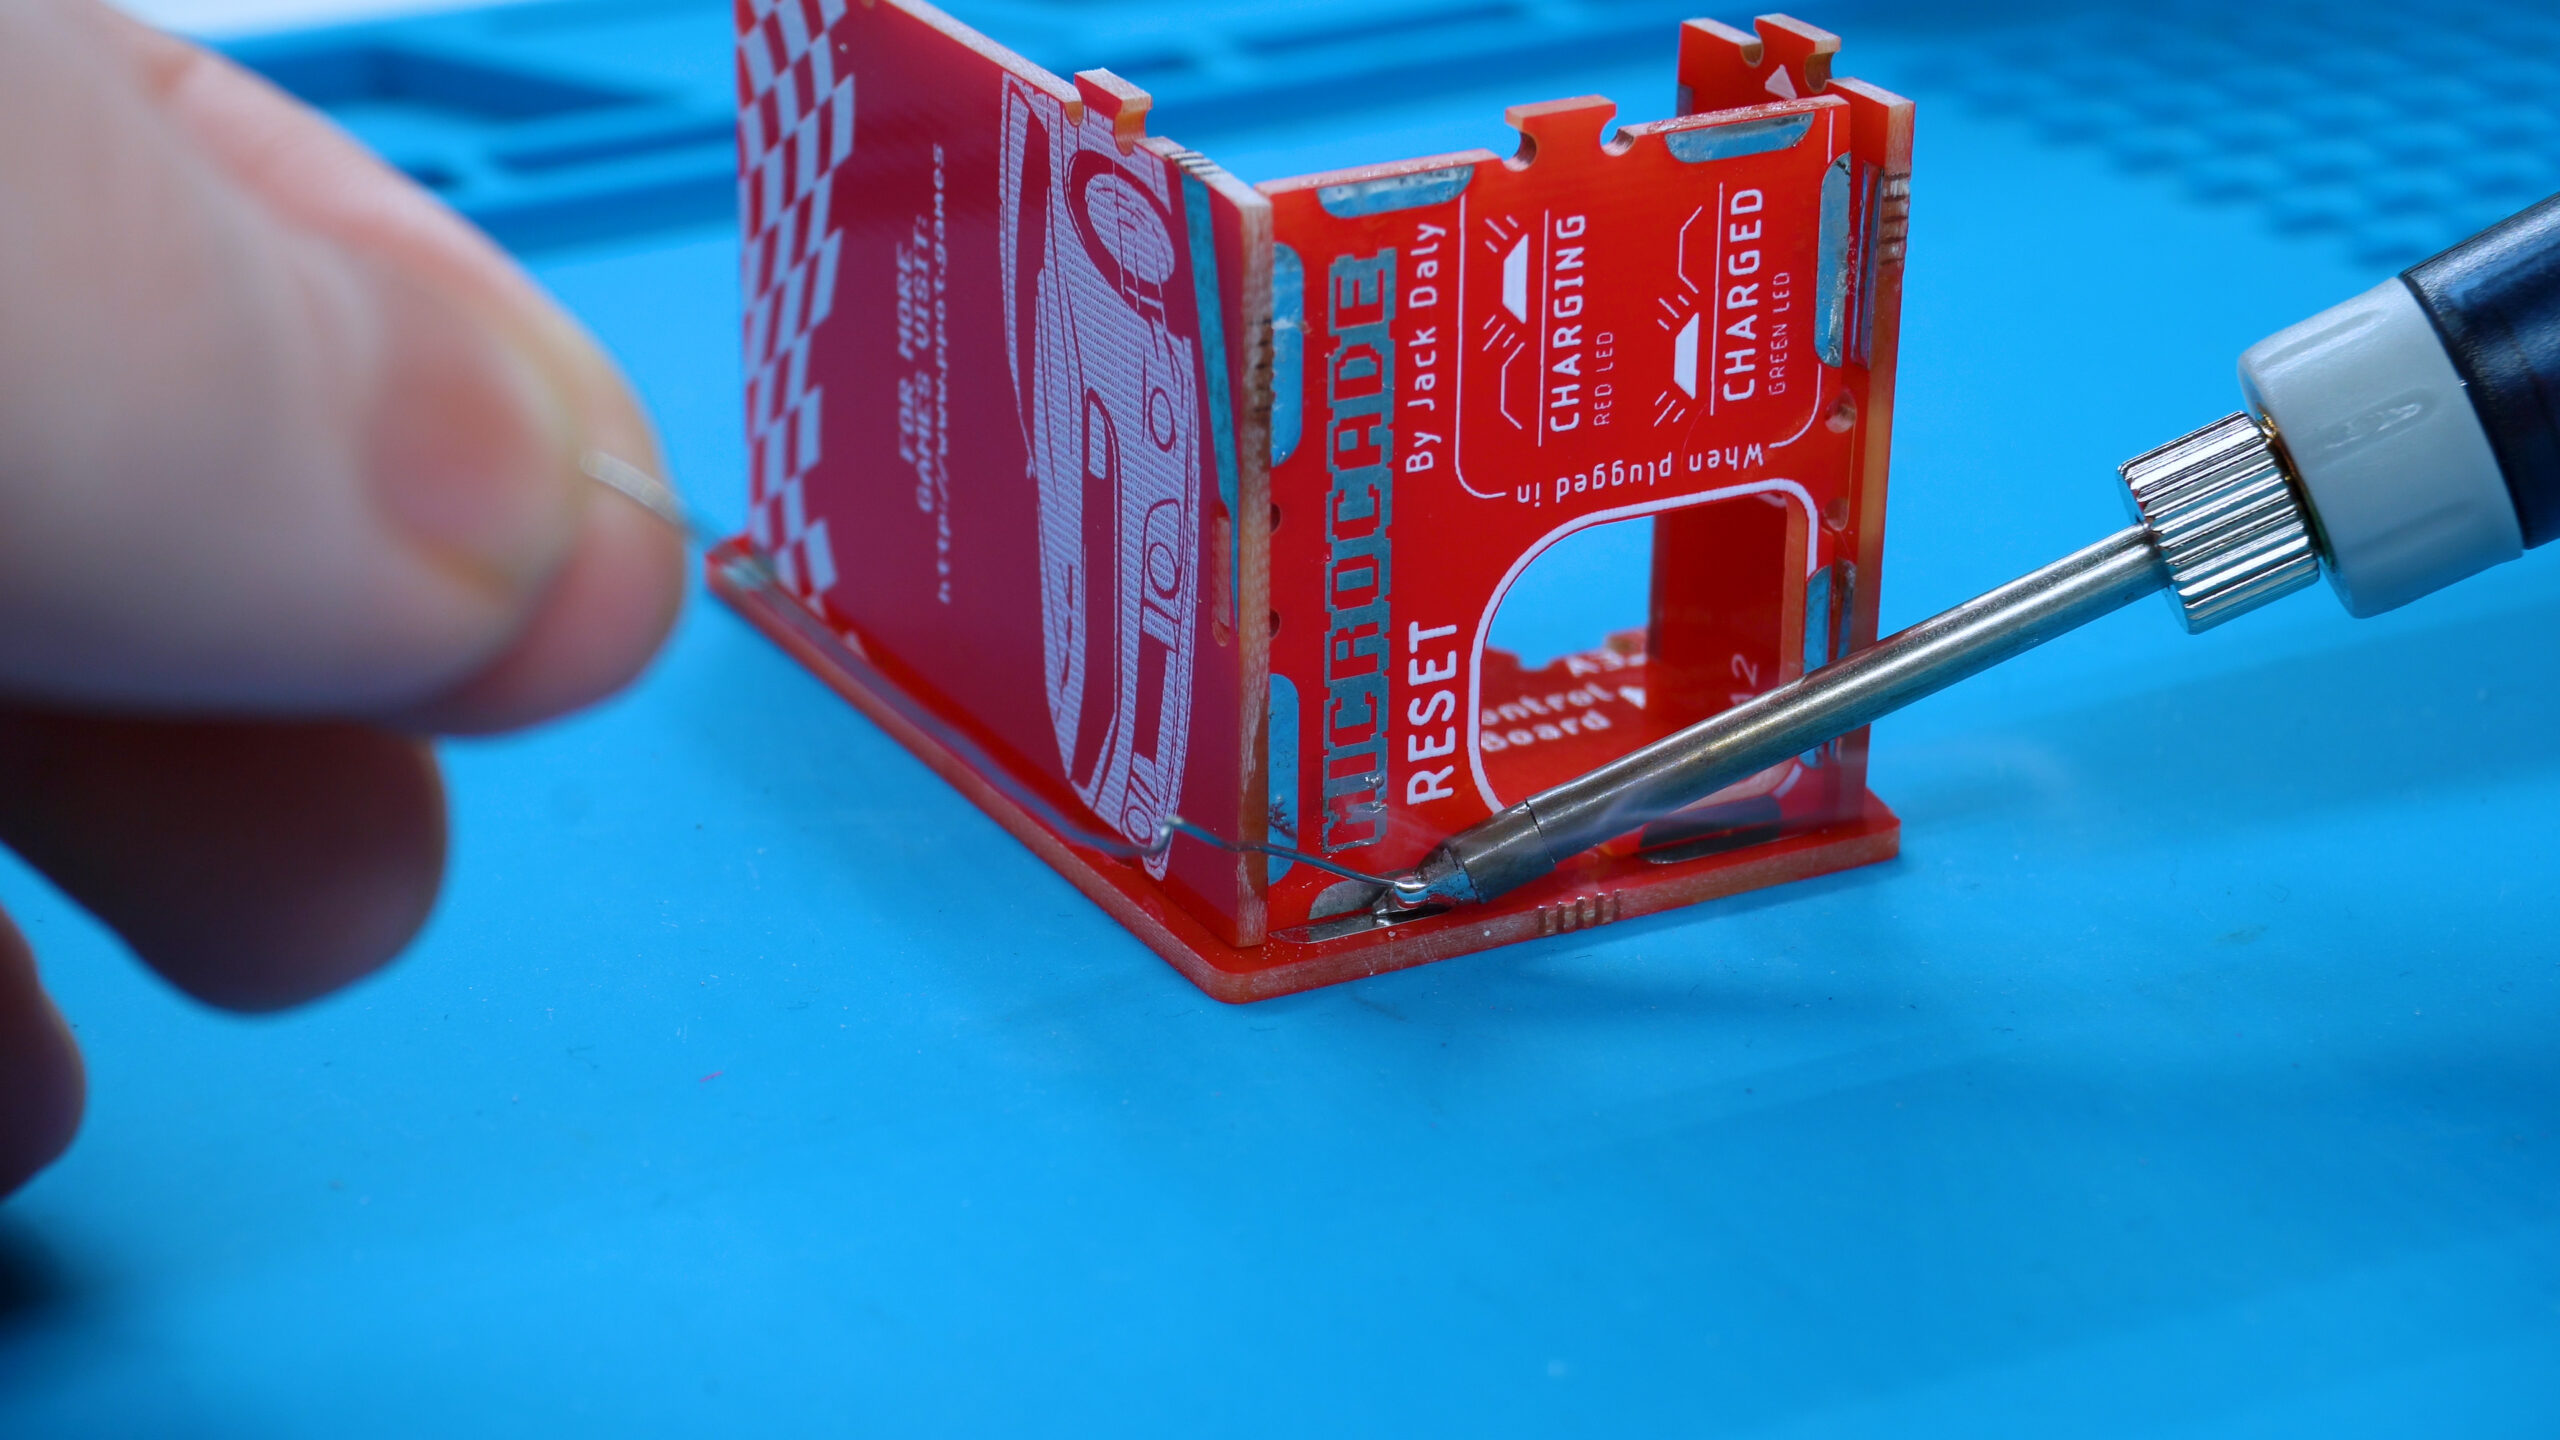
2. Solder the panels together
There are only 3 solder joints that are needed here. 2 on the bottom panel (B4 to A2) and the back panel to the side panel (B3 to A2)
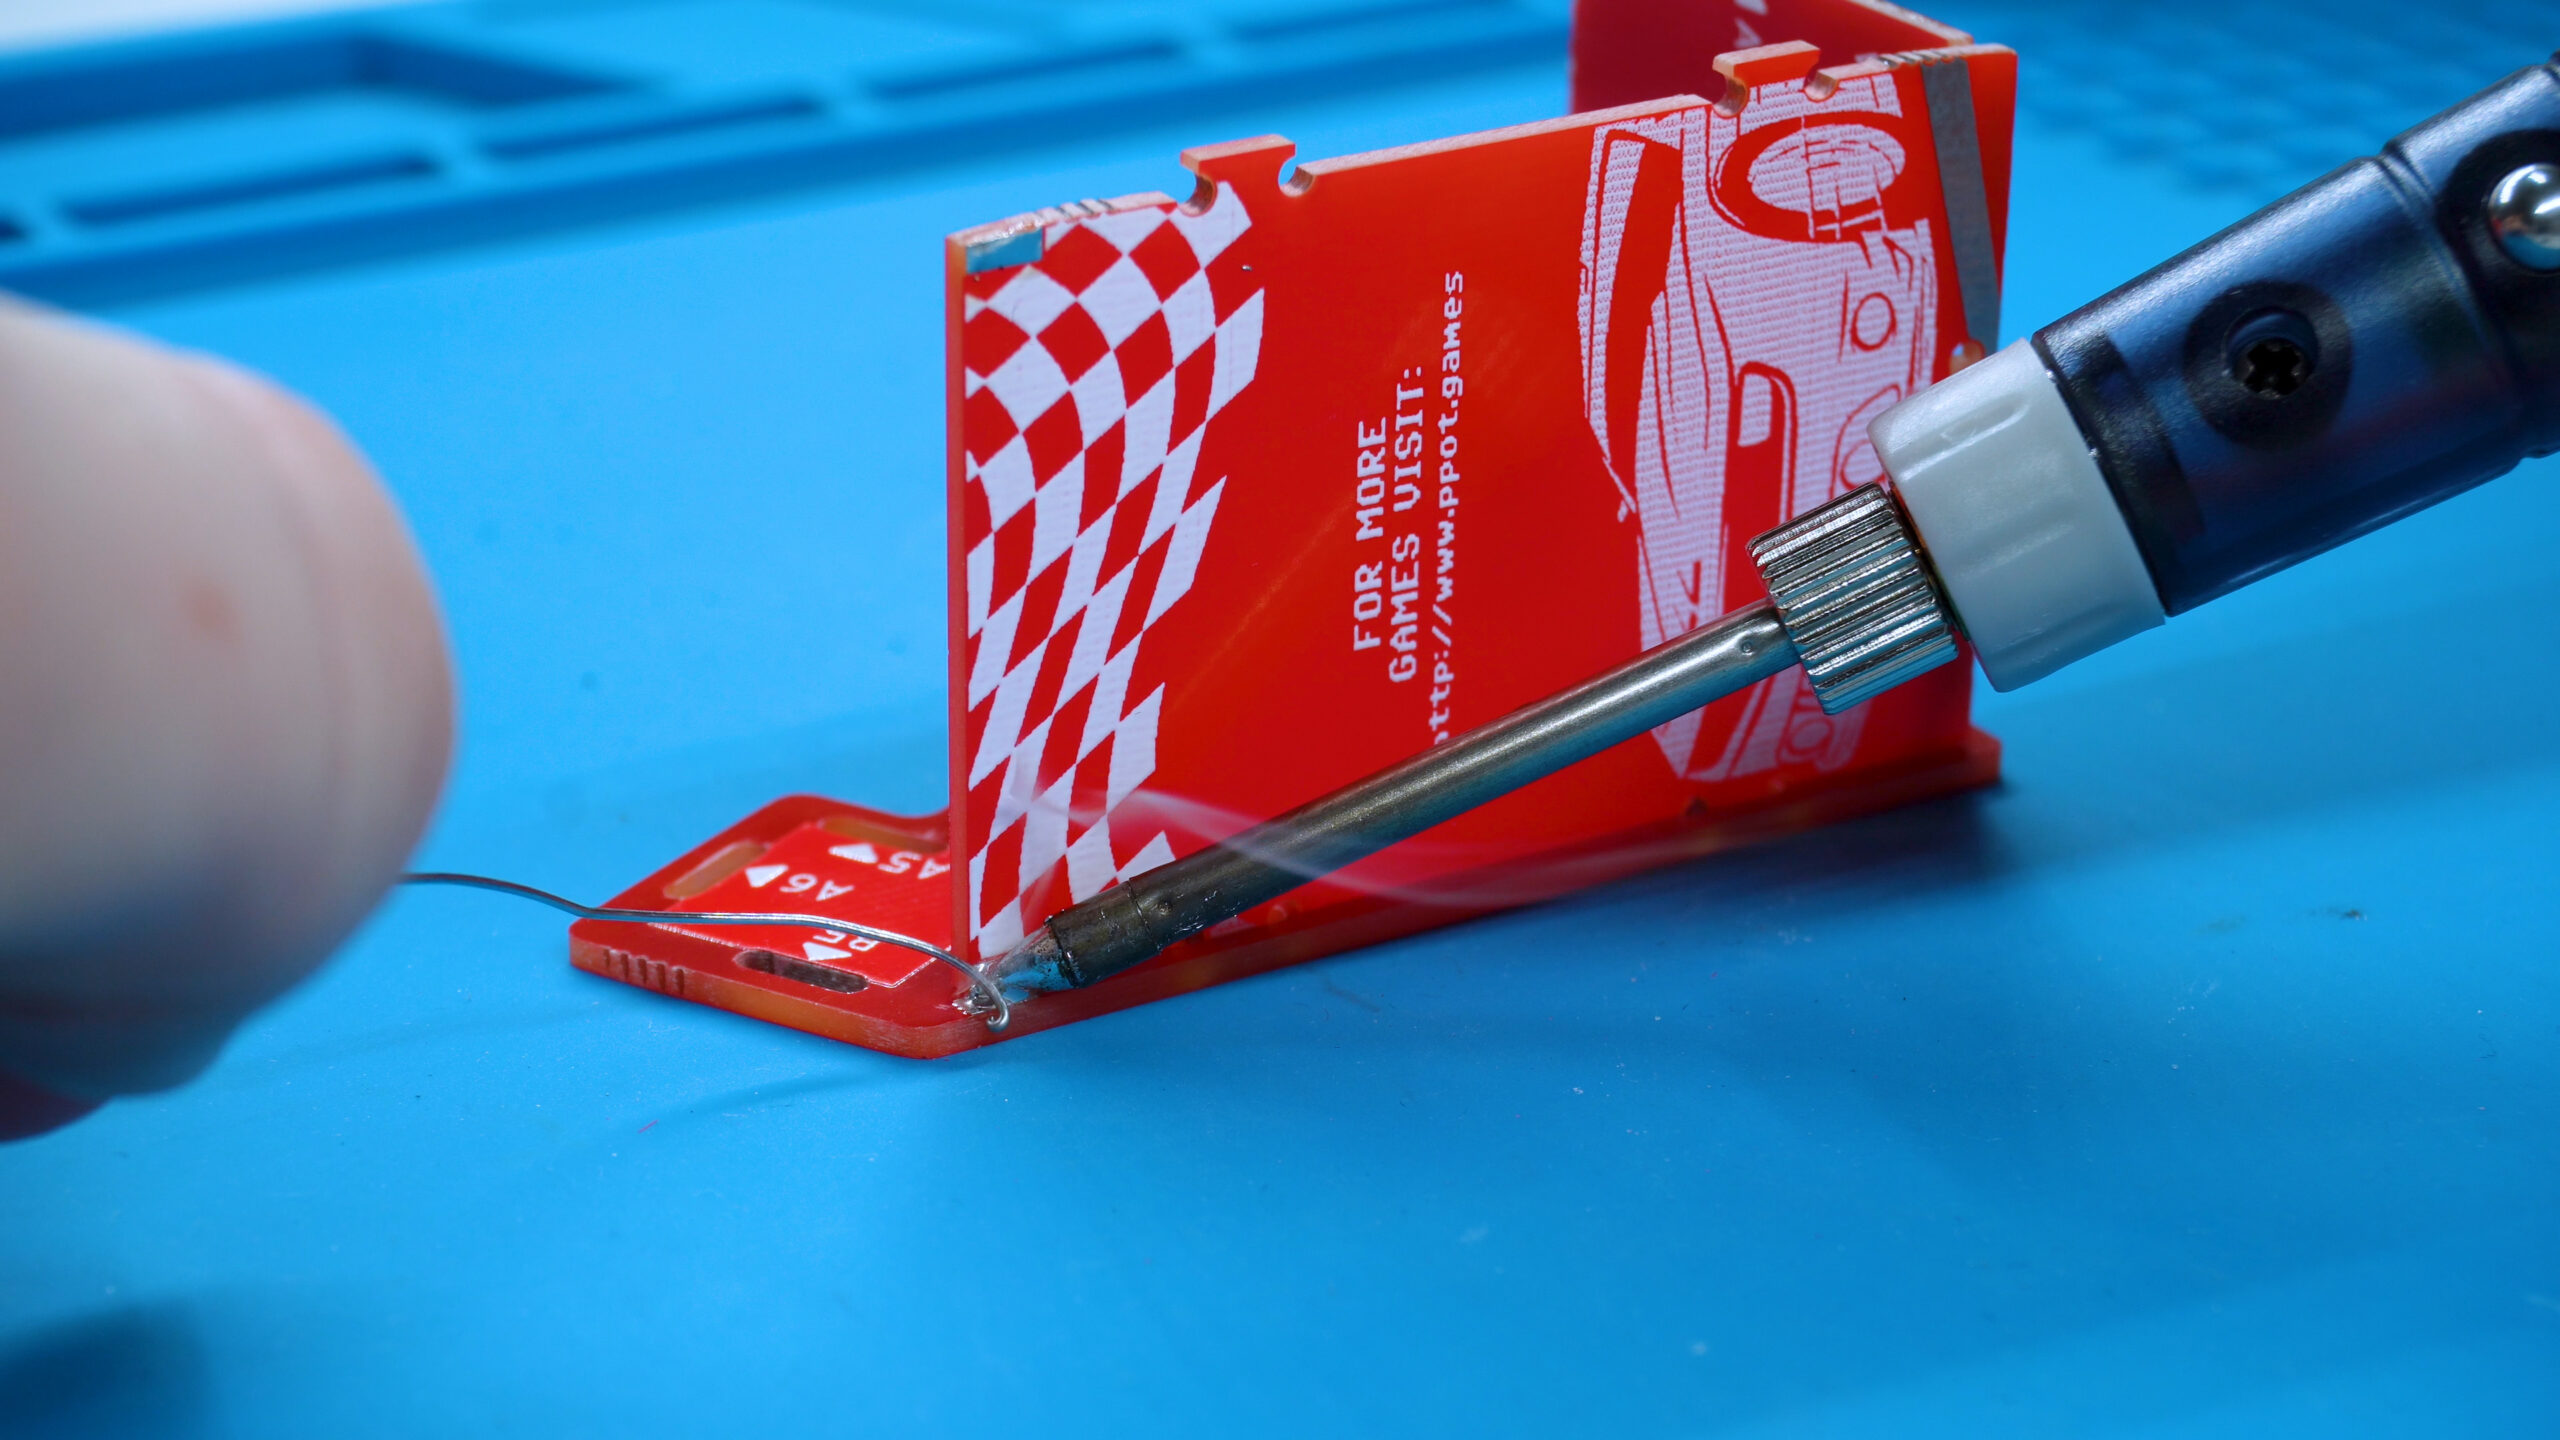
3. Soldering A4's joints
Here we temporarily add the other side panel to hold all the panels together so we can solder the 2 joints that hold A4 onto B4. Once the joints are soldered on, we remove the side panel.
Remember the side panel is temporary! Do NOT solder it on!
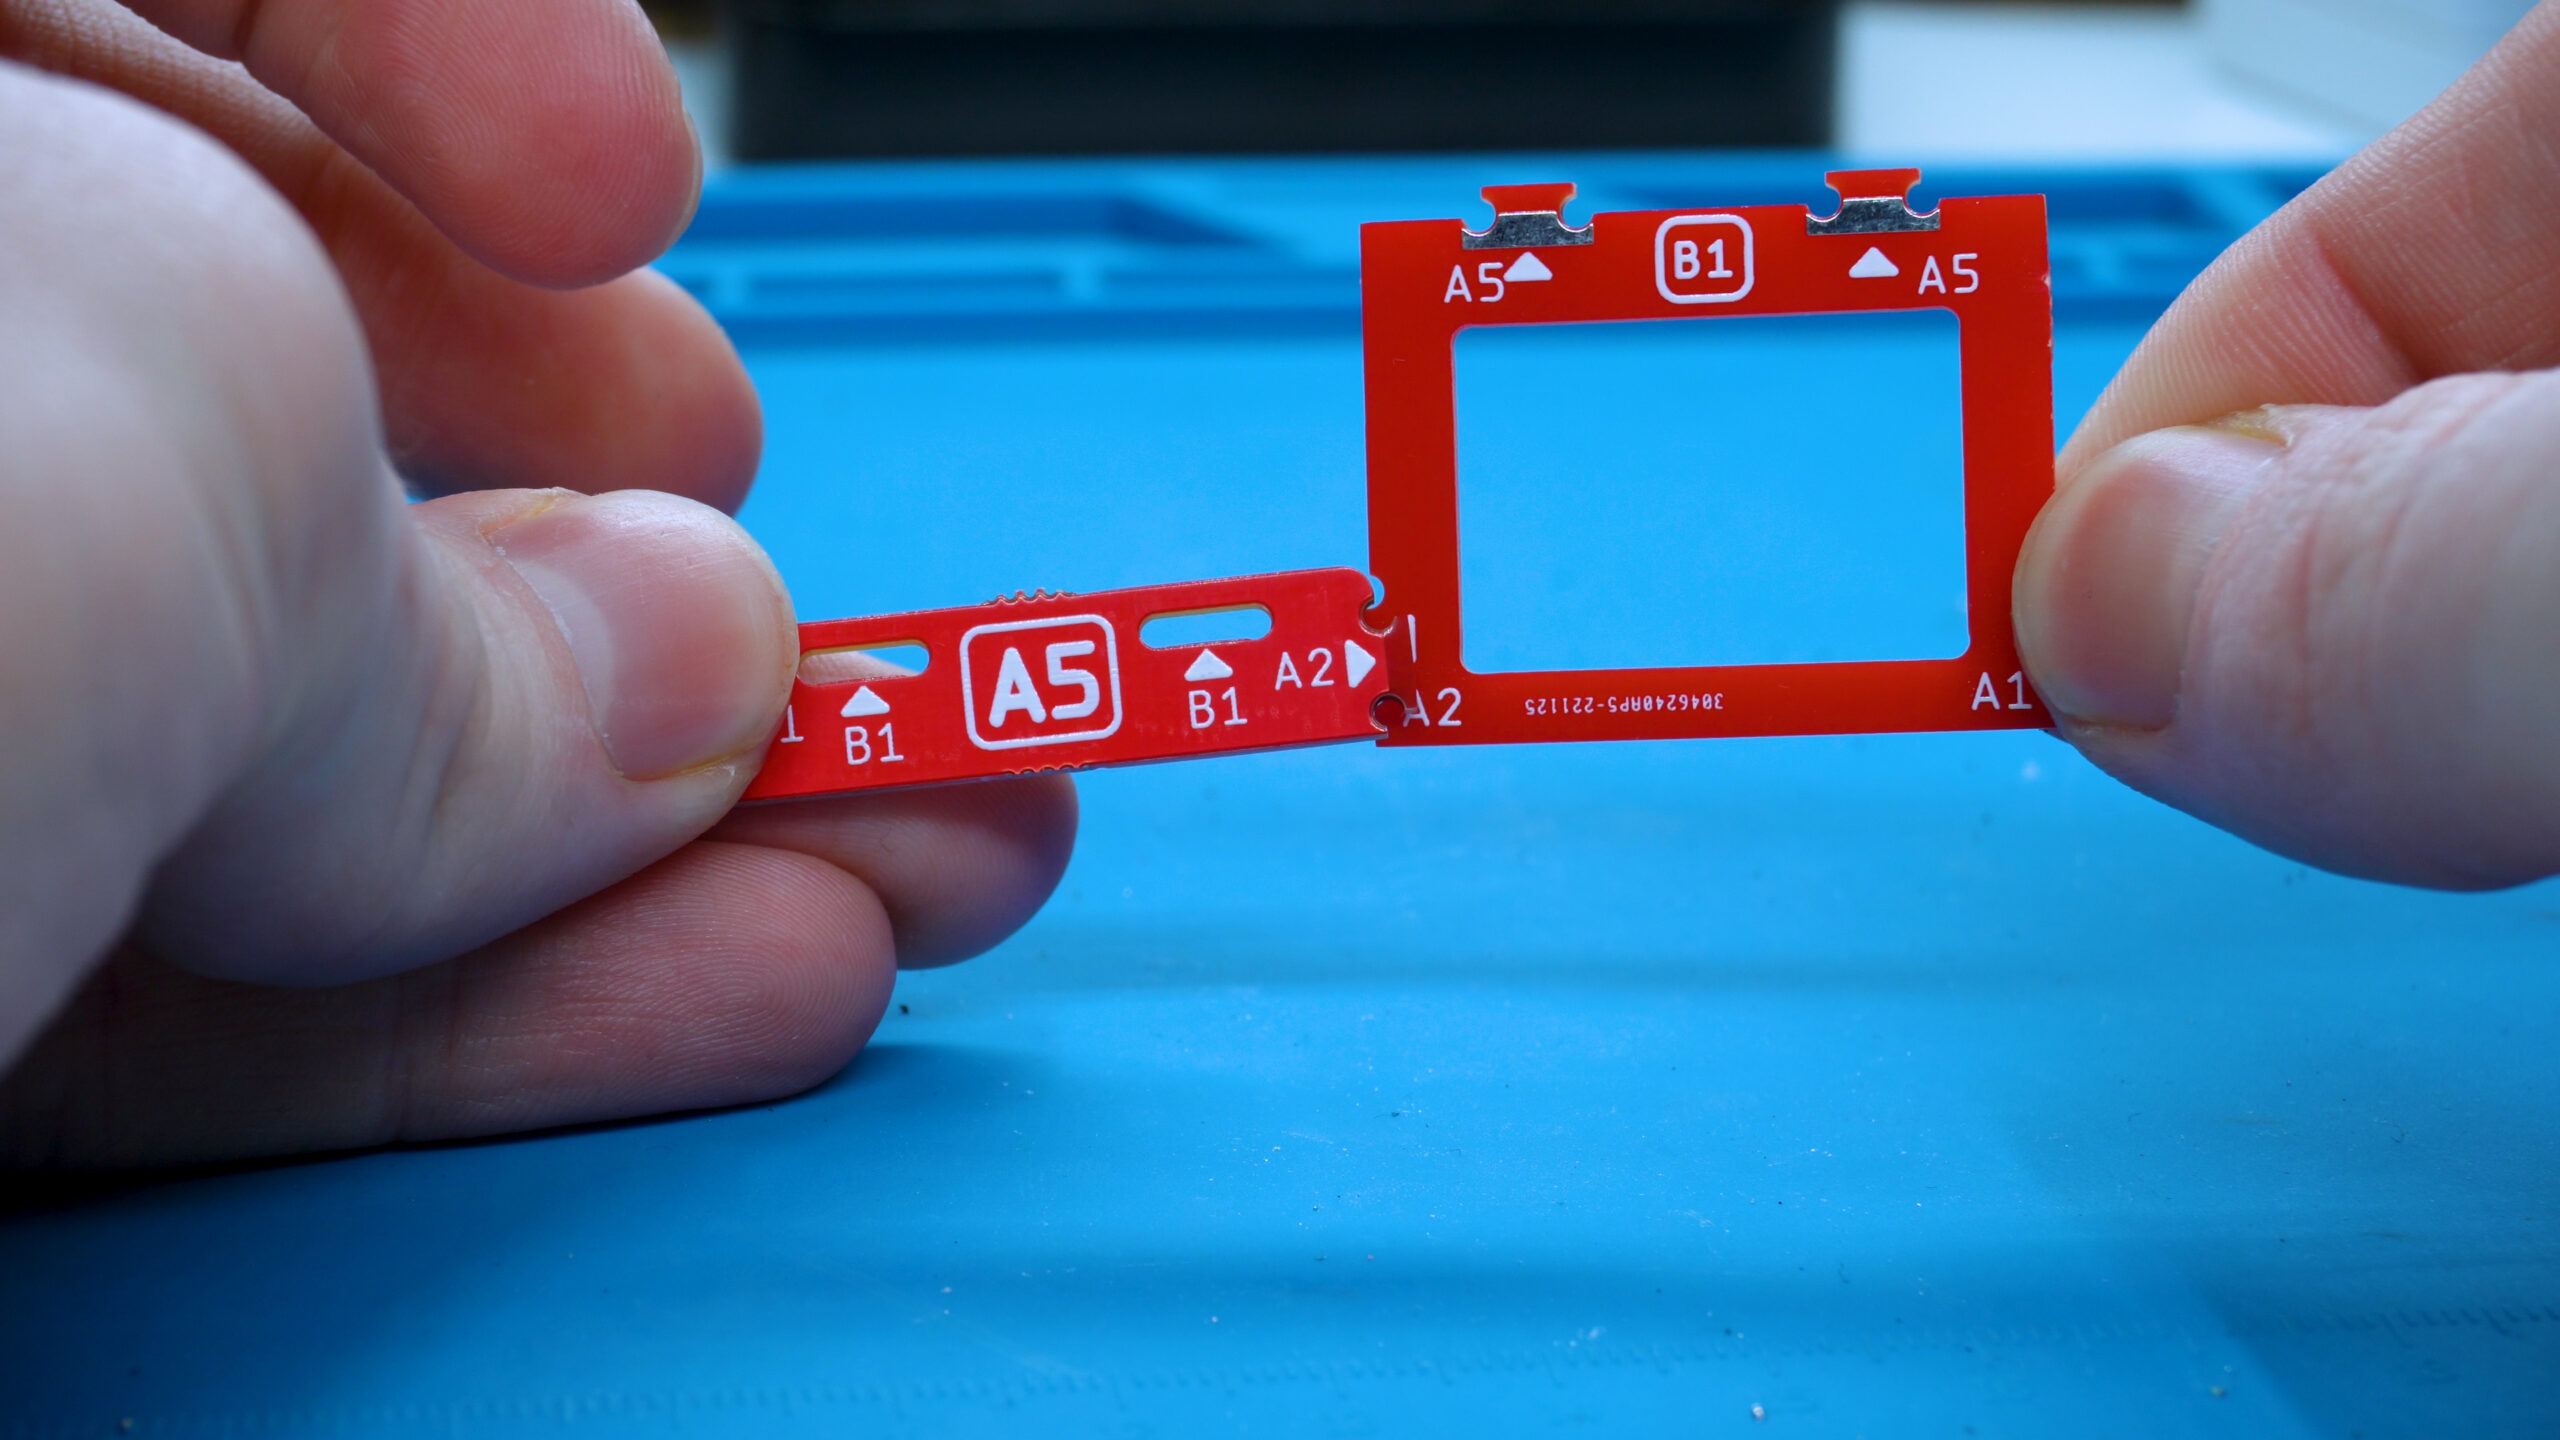
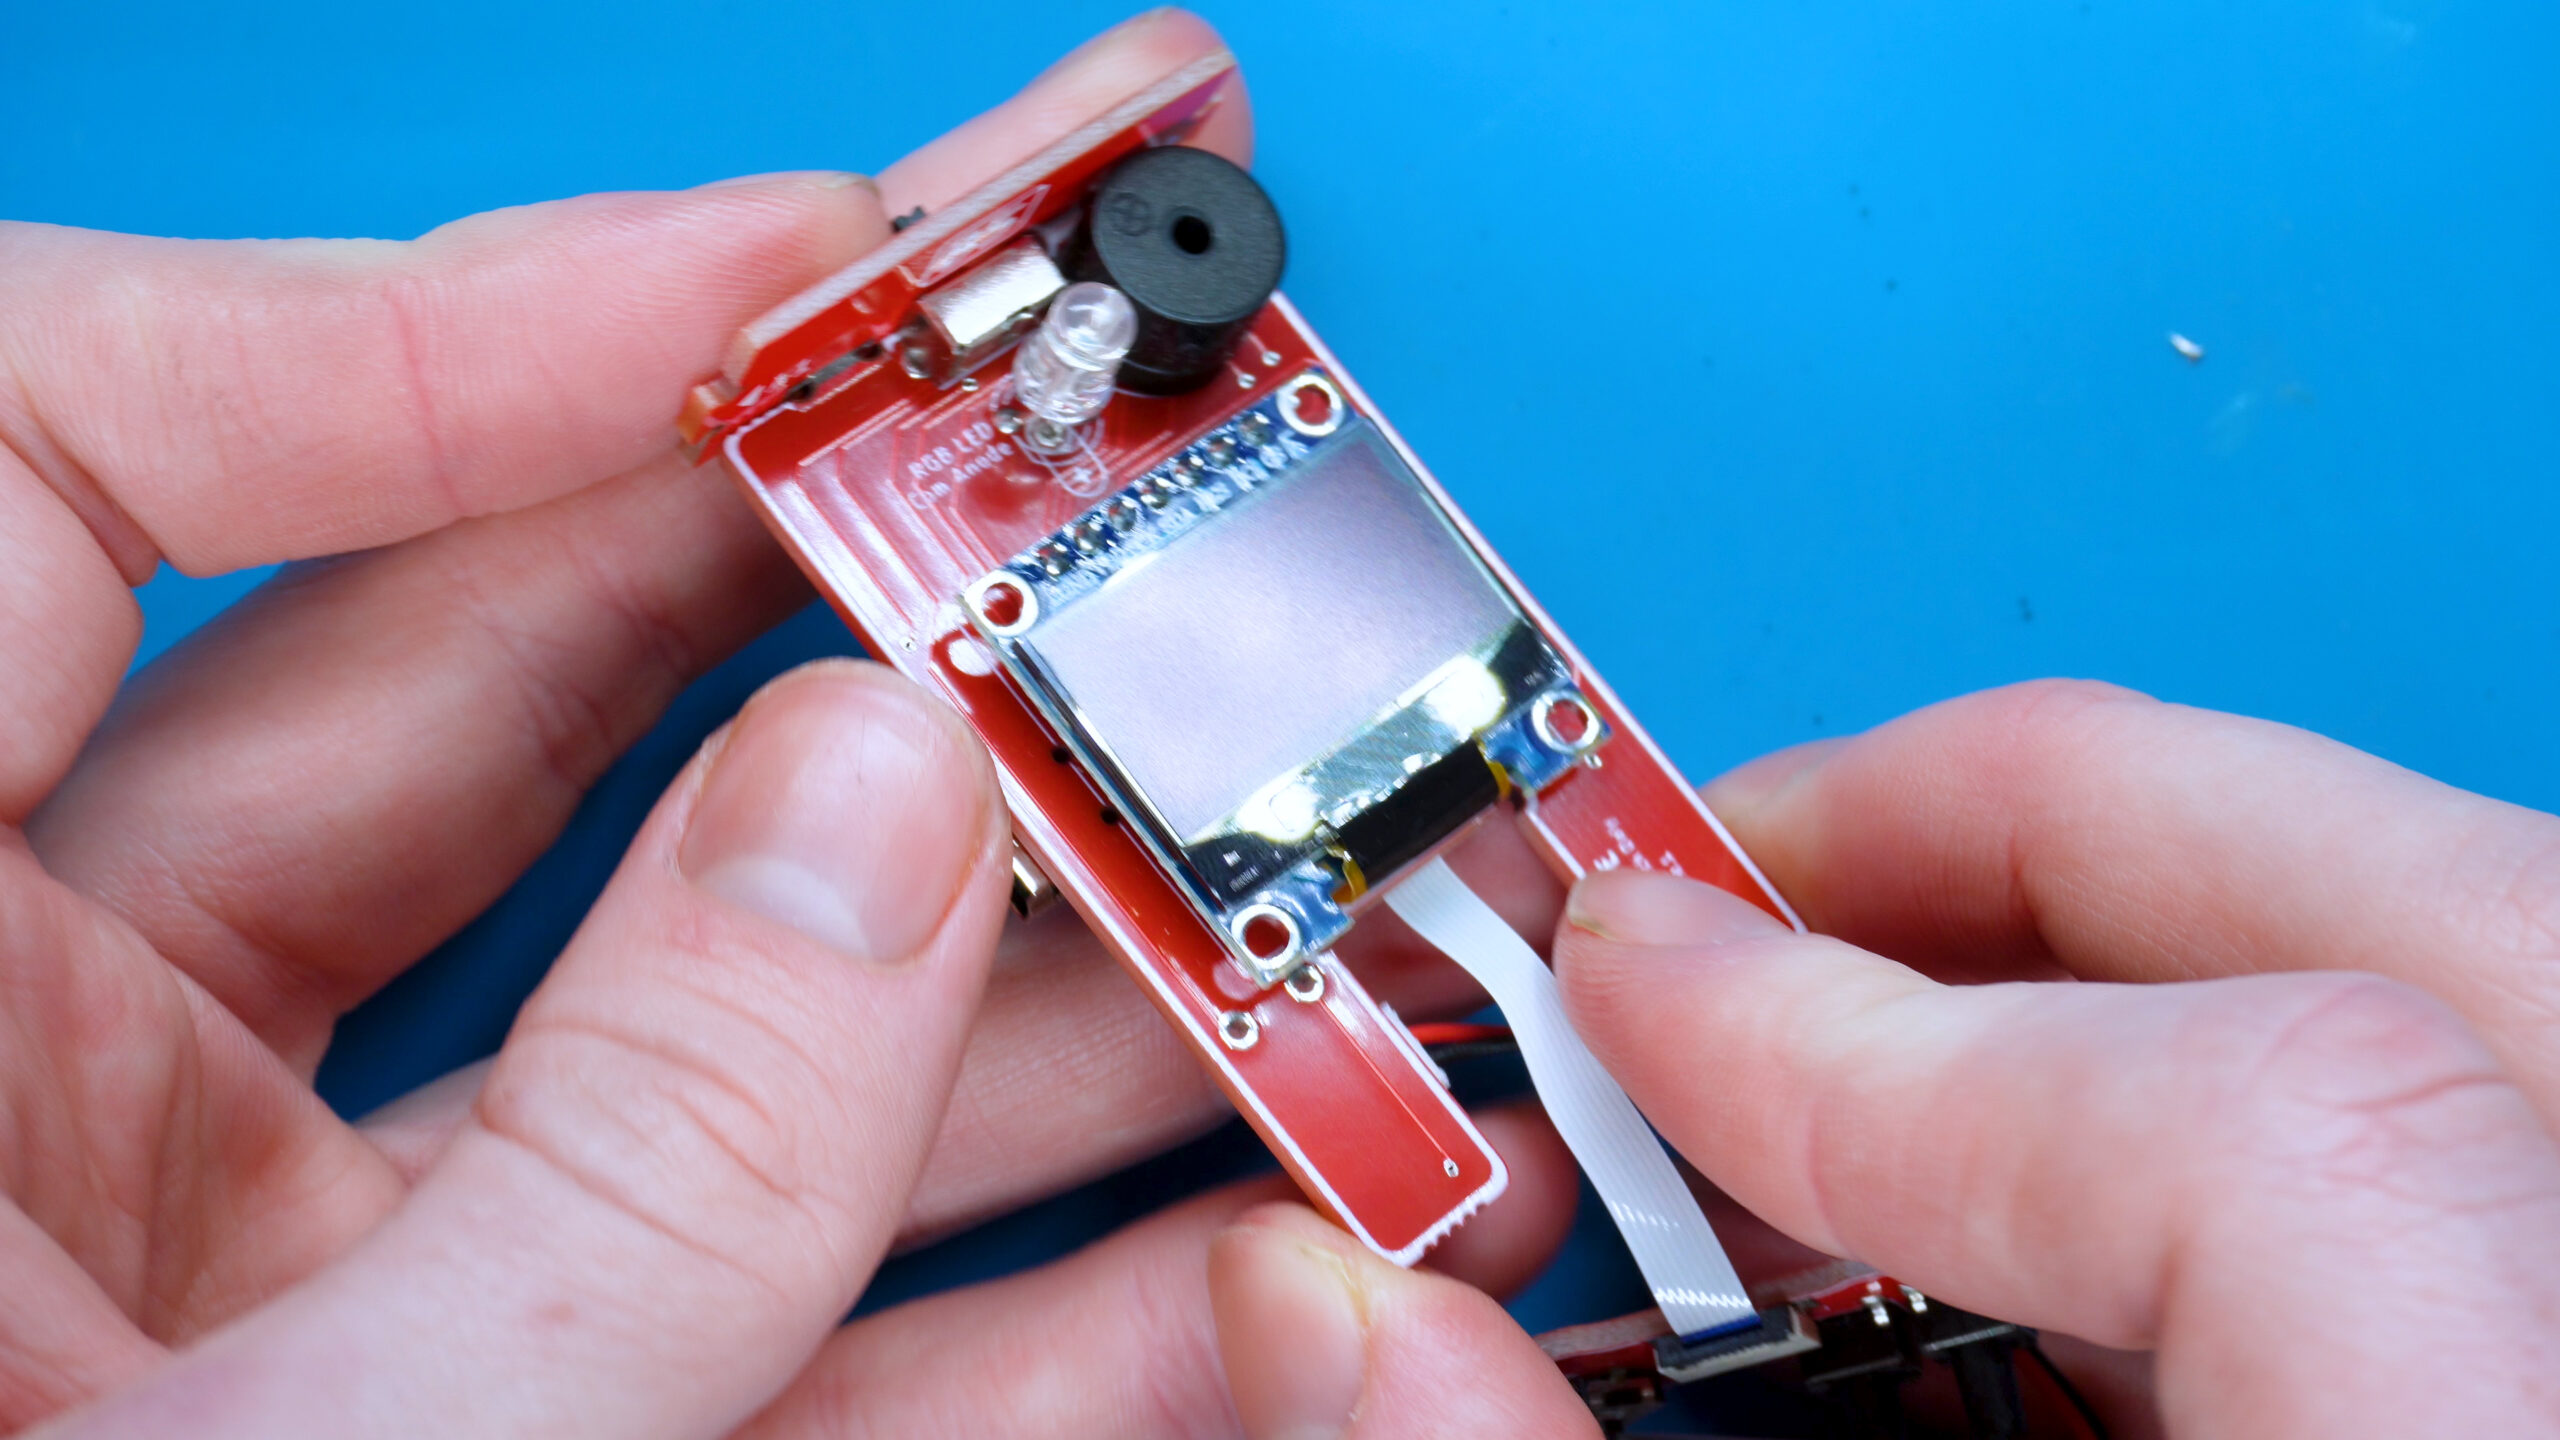
1. Assemble A5 & B1 (Screen Assembly)
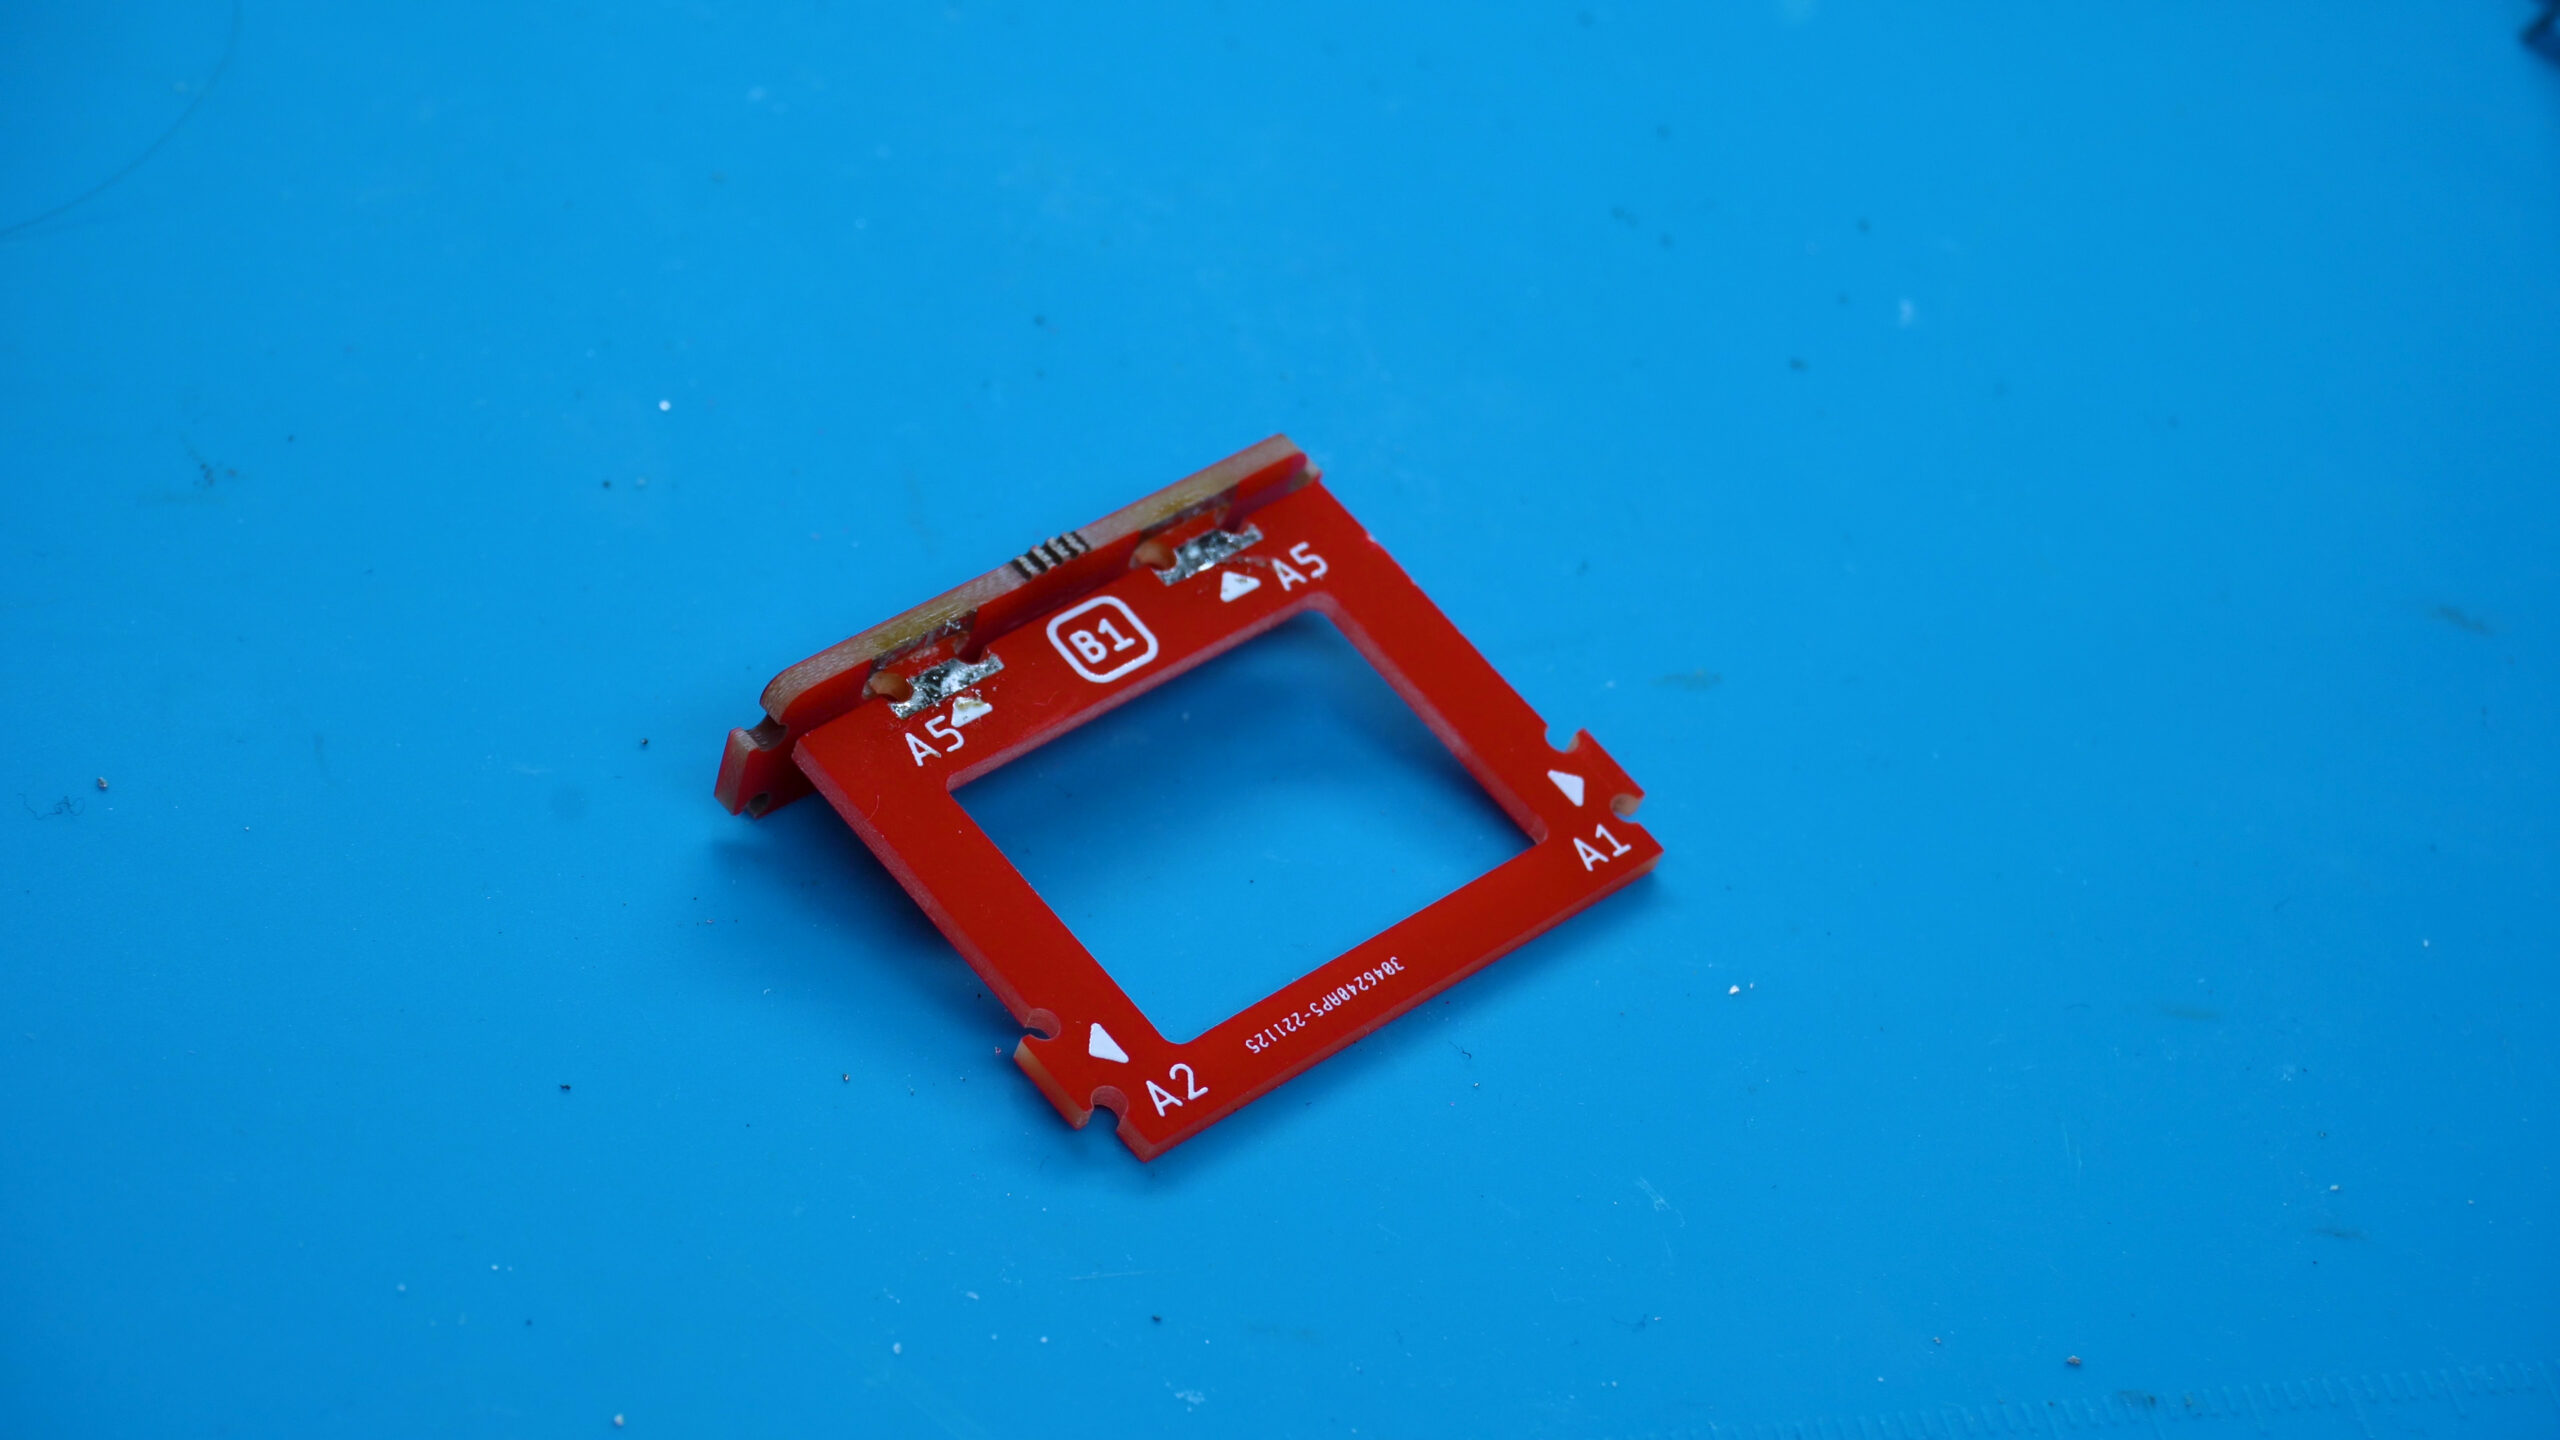
Get parts A5 and B1 and place it so the 2 metallic slots are next to each other.
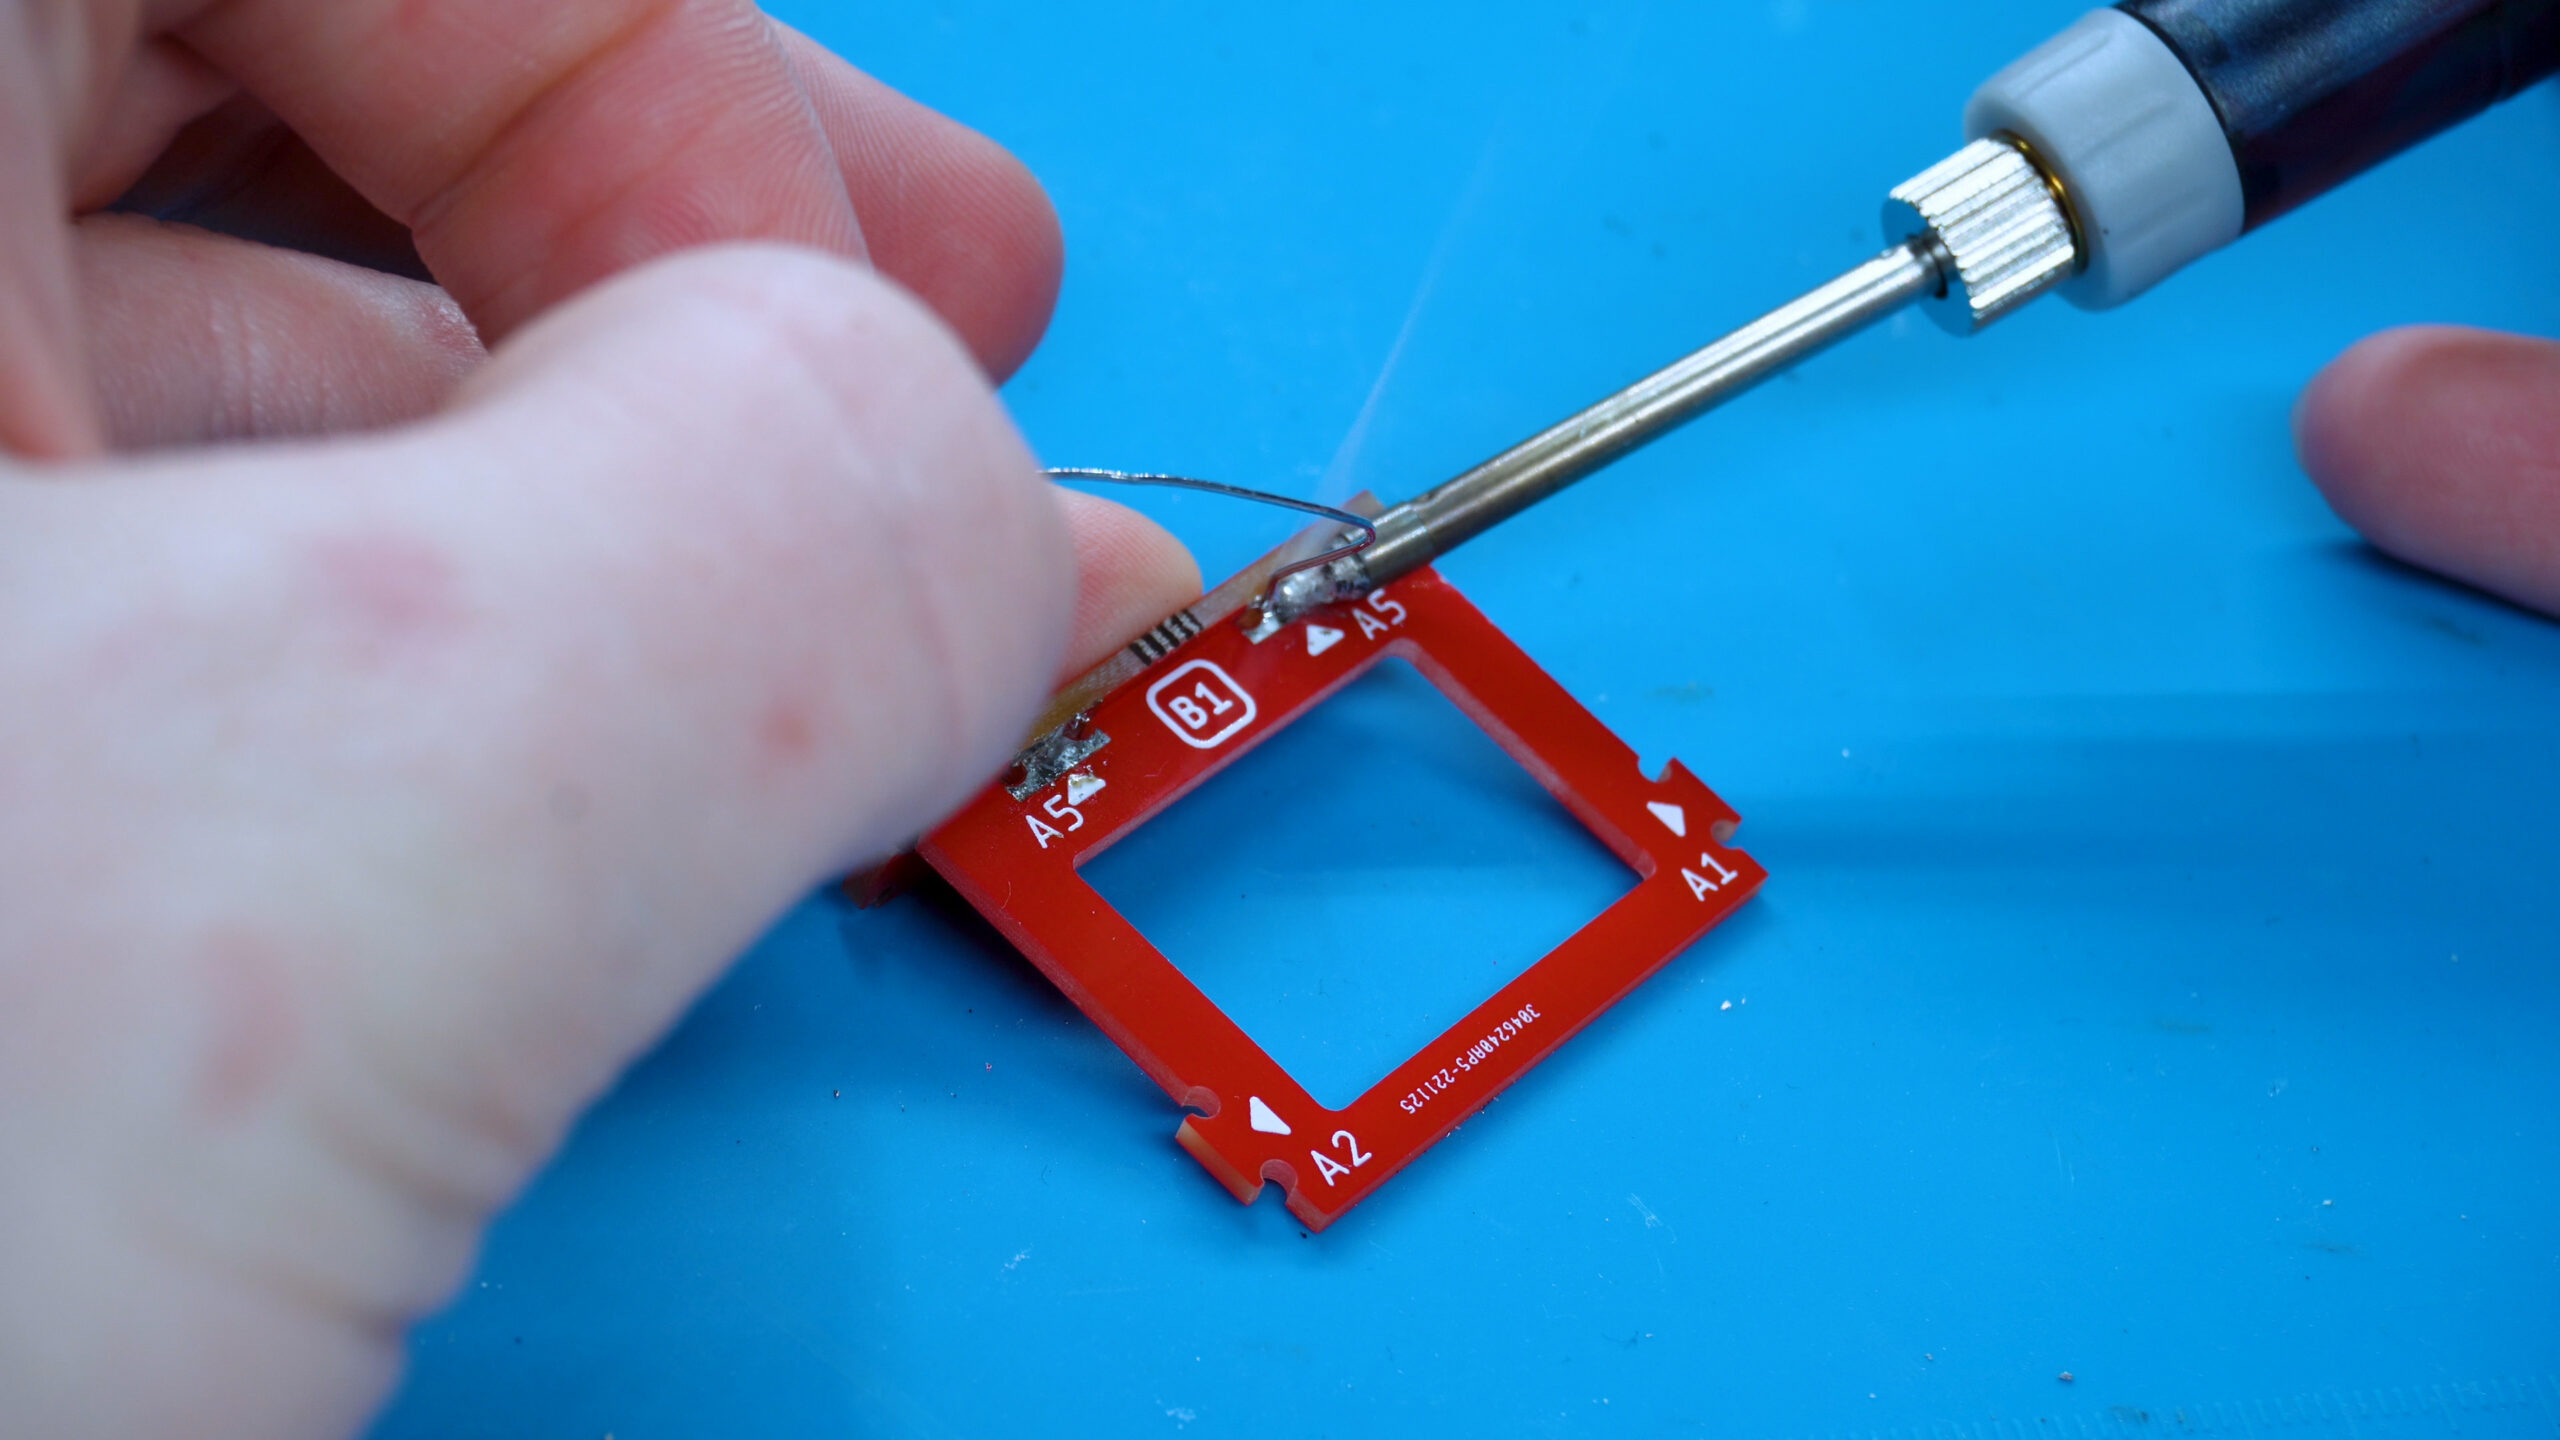
Next, we will solder ONE of the slots.
Remember to only solder ONE joint
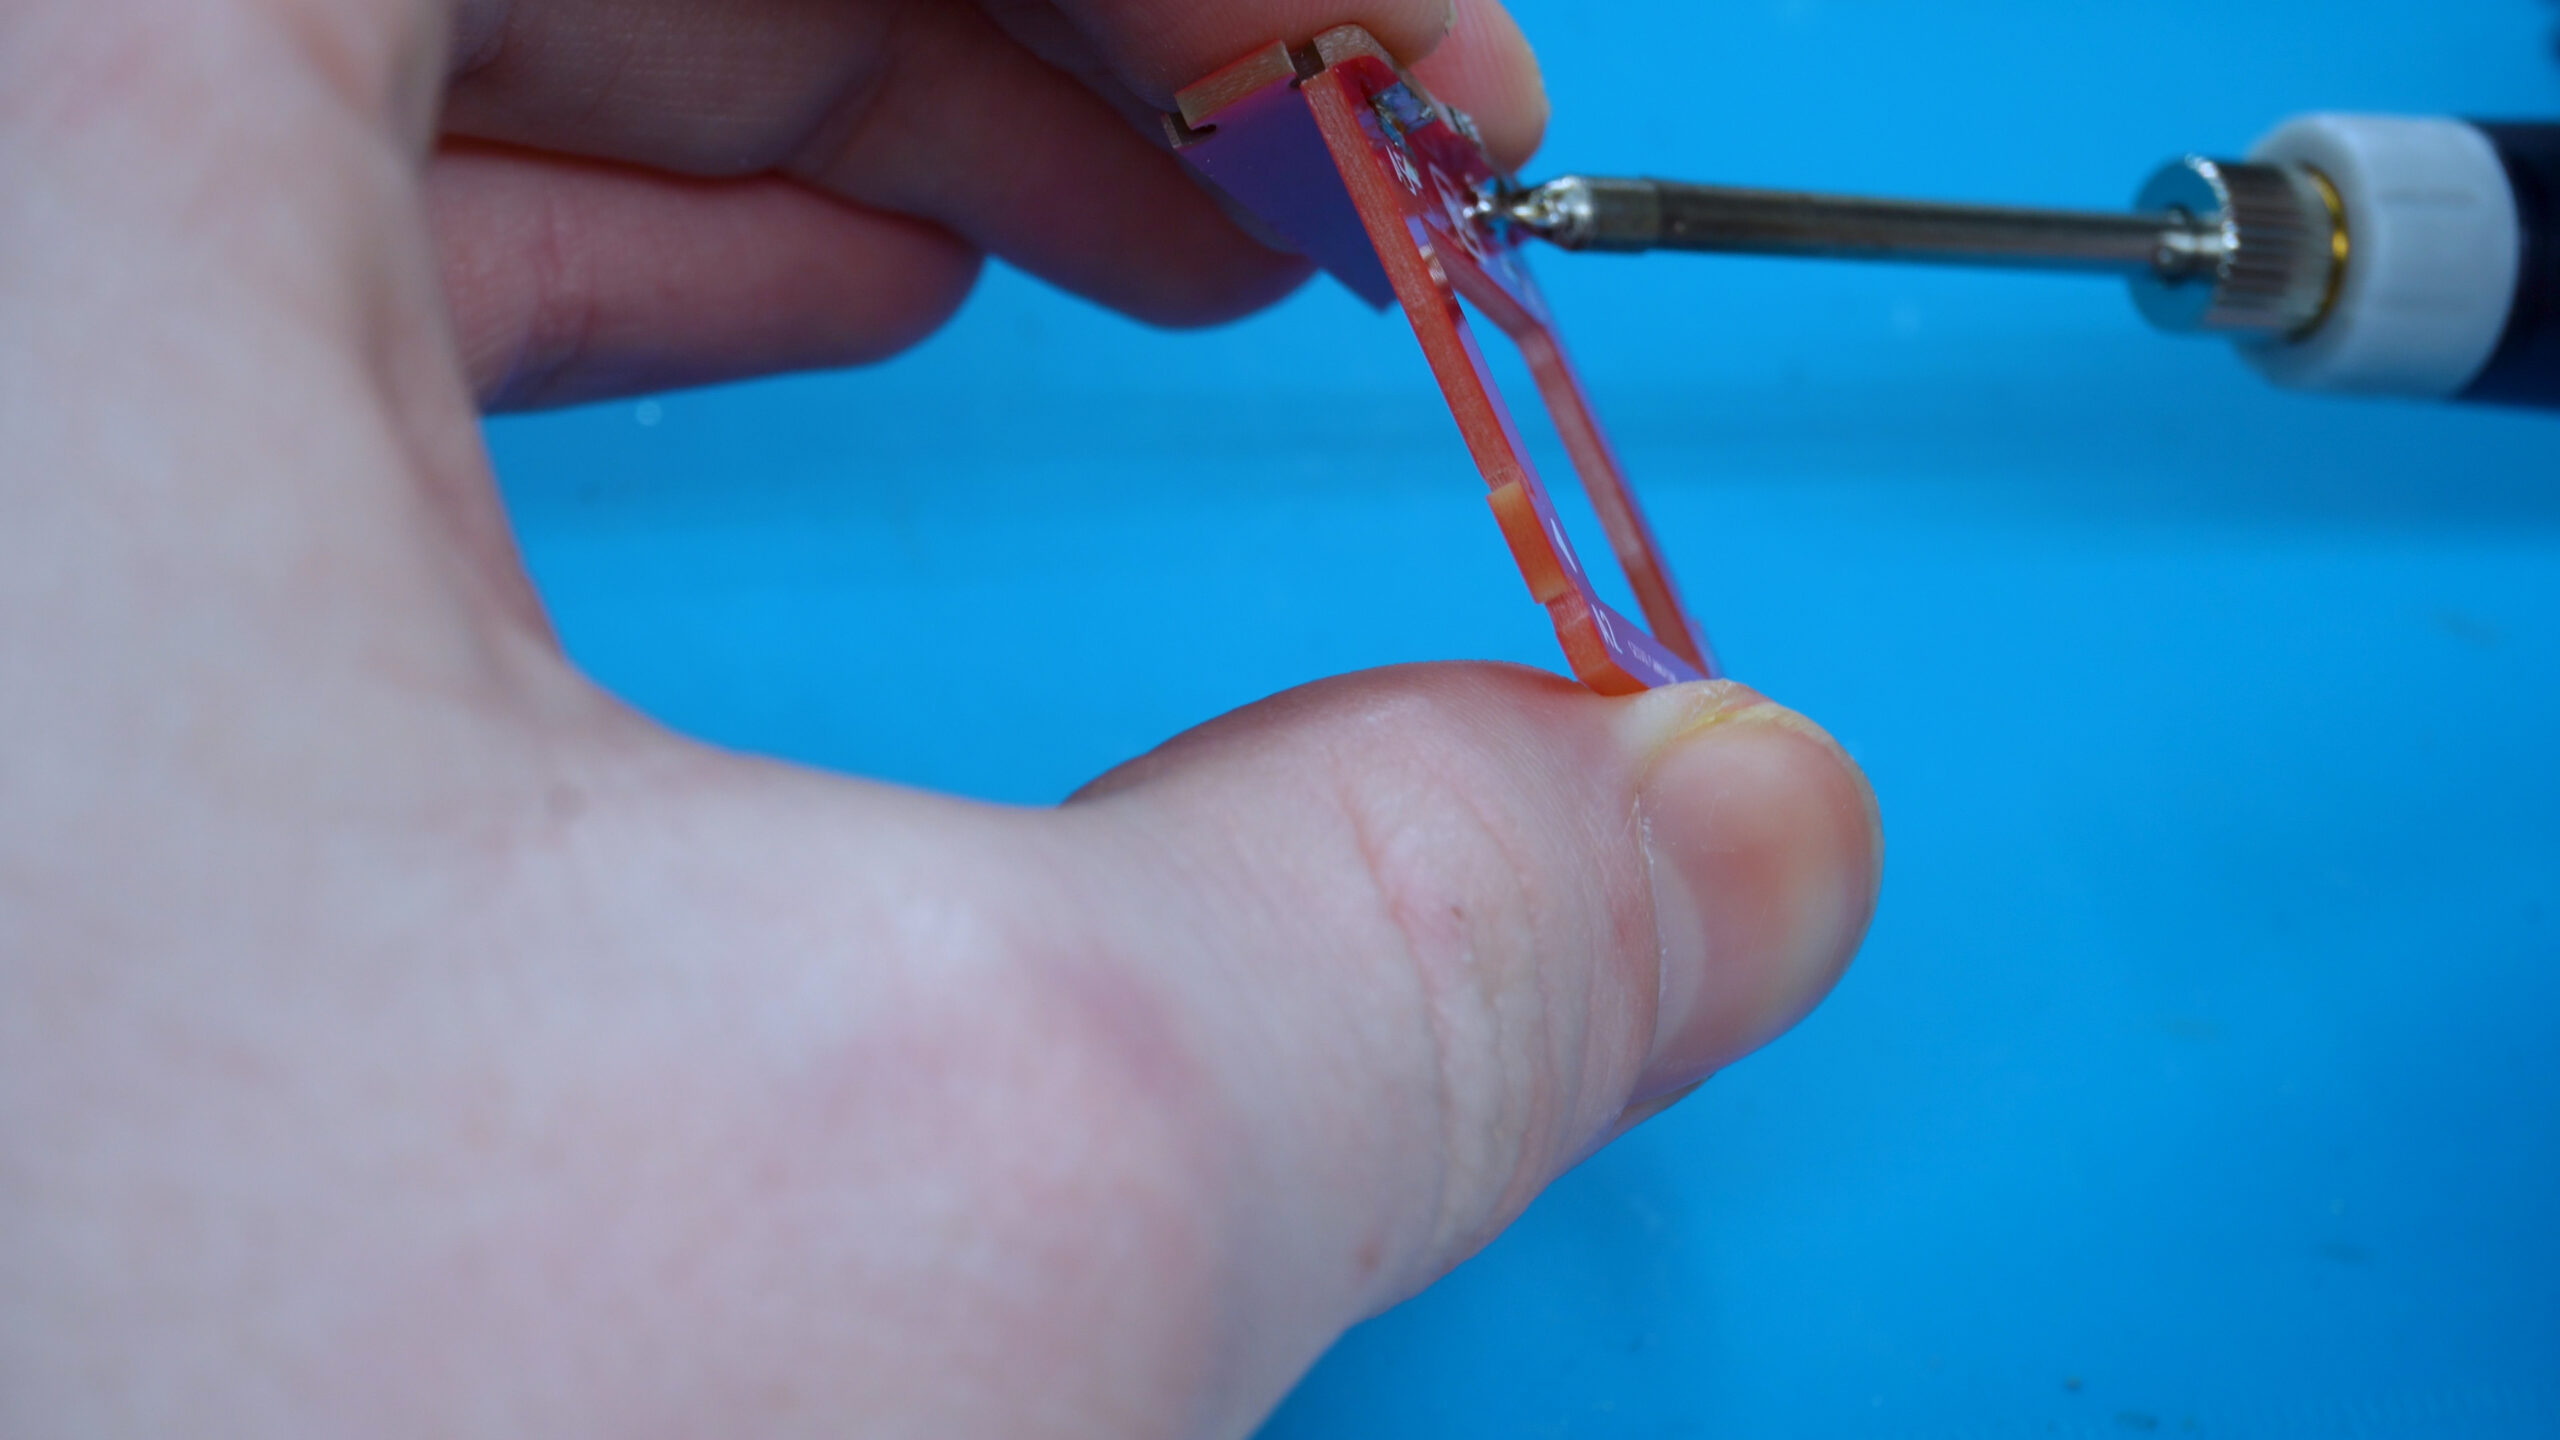
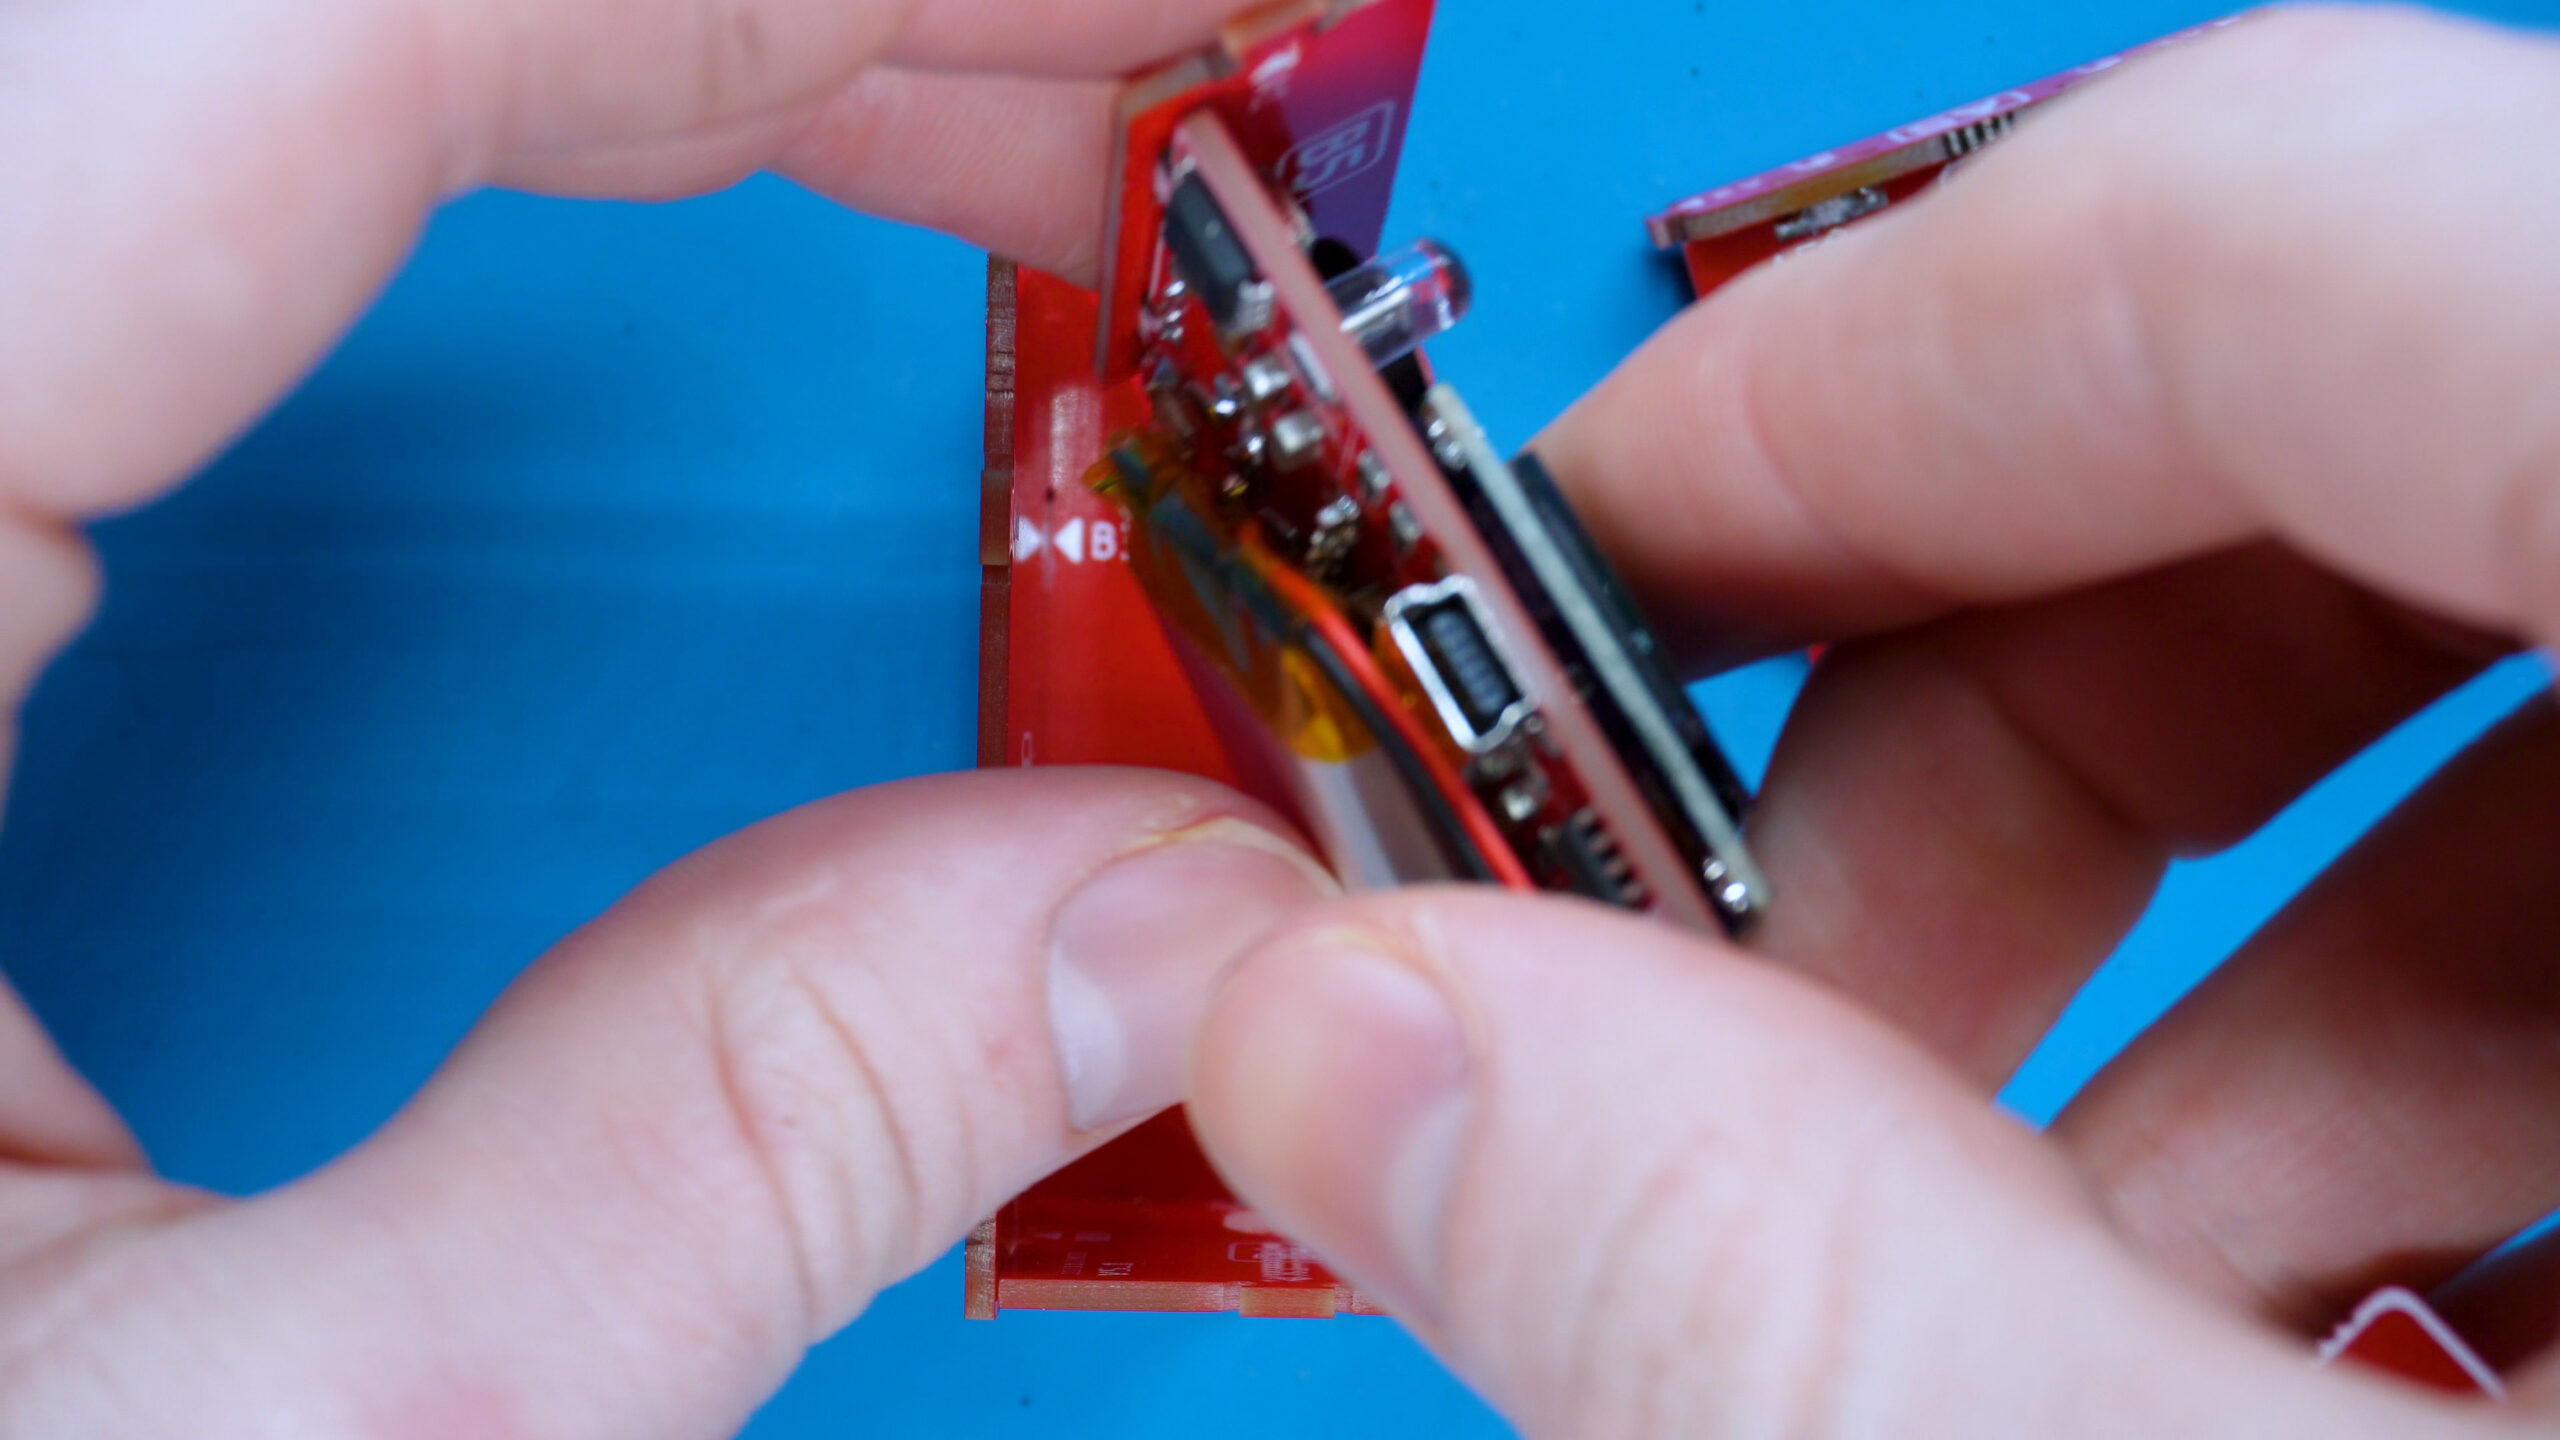
2. Solder the last joint
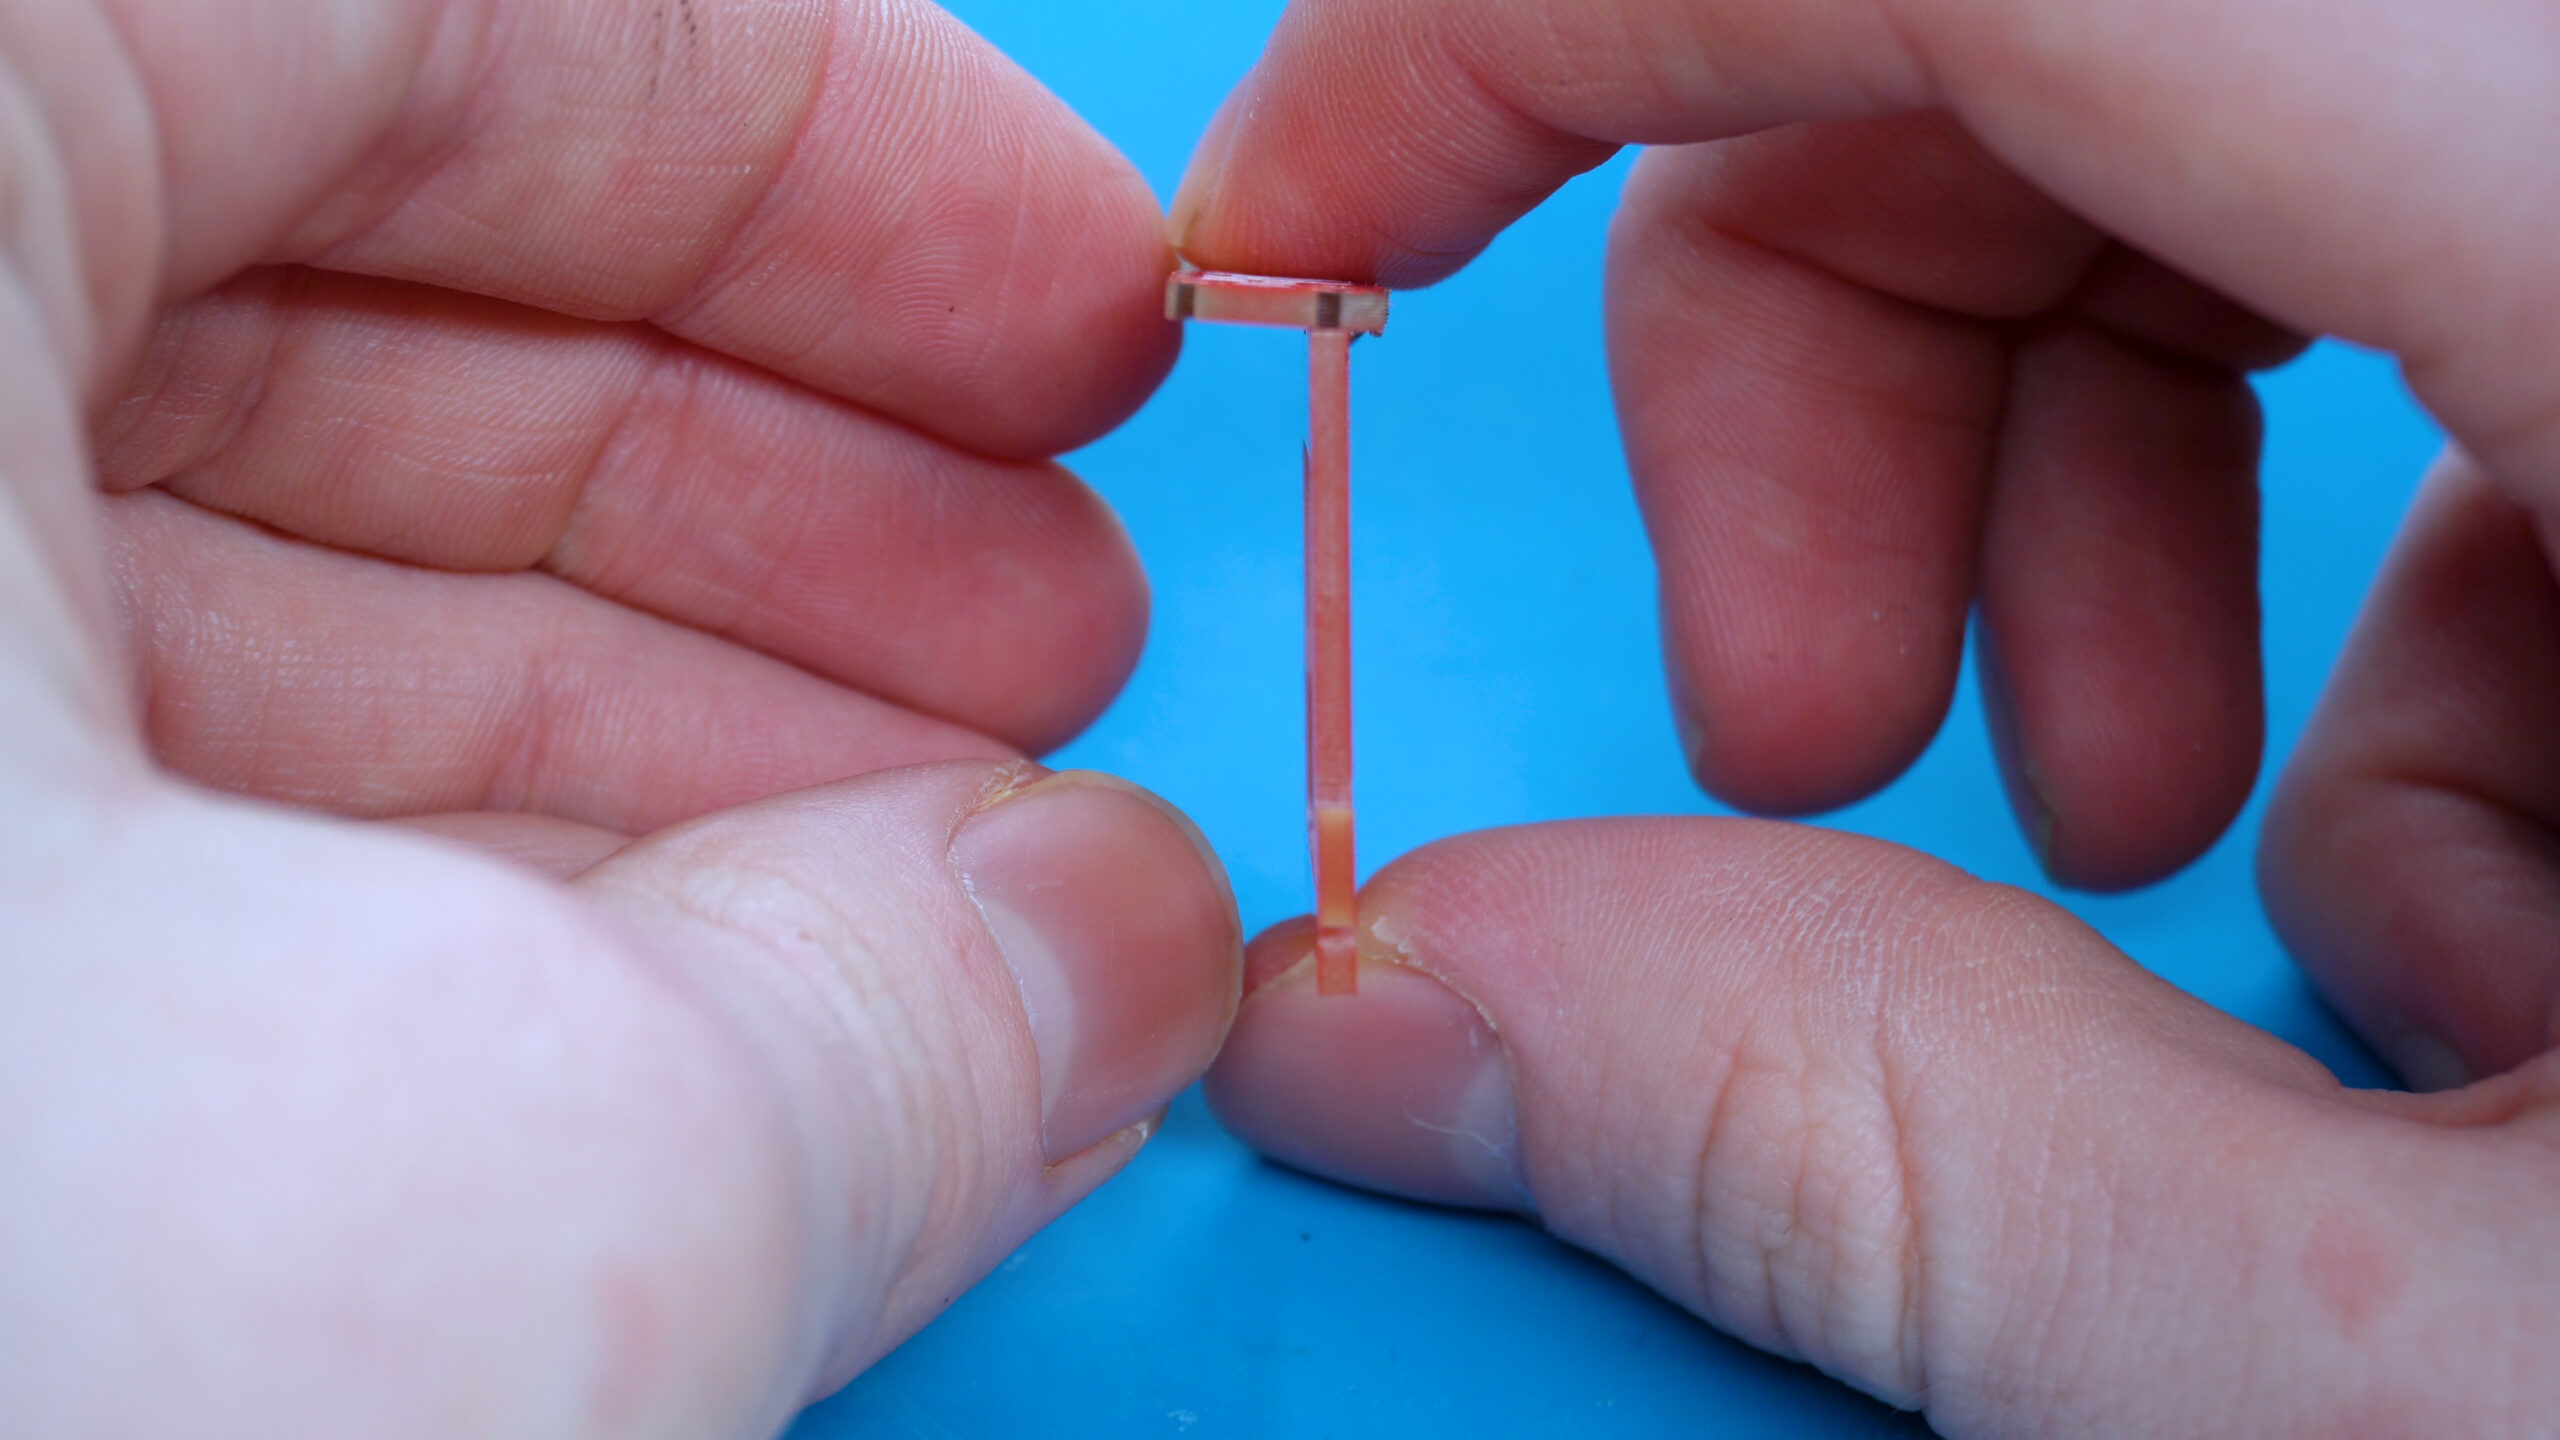
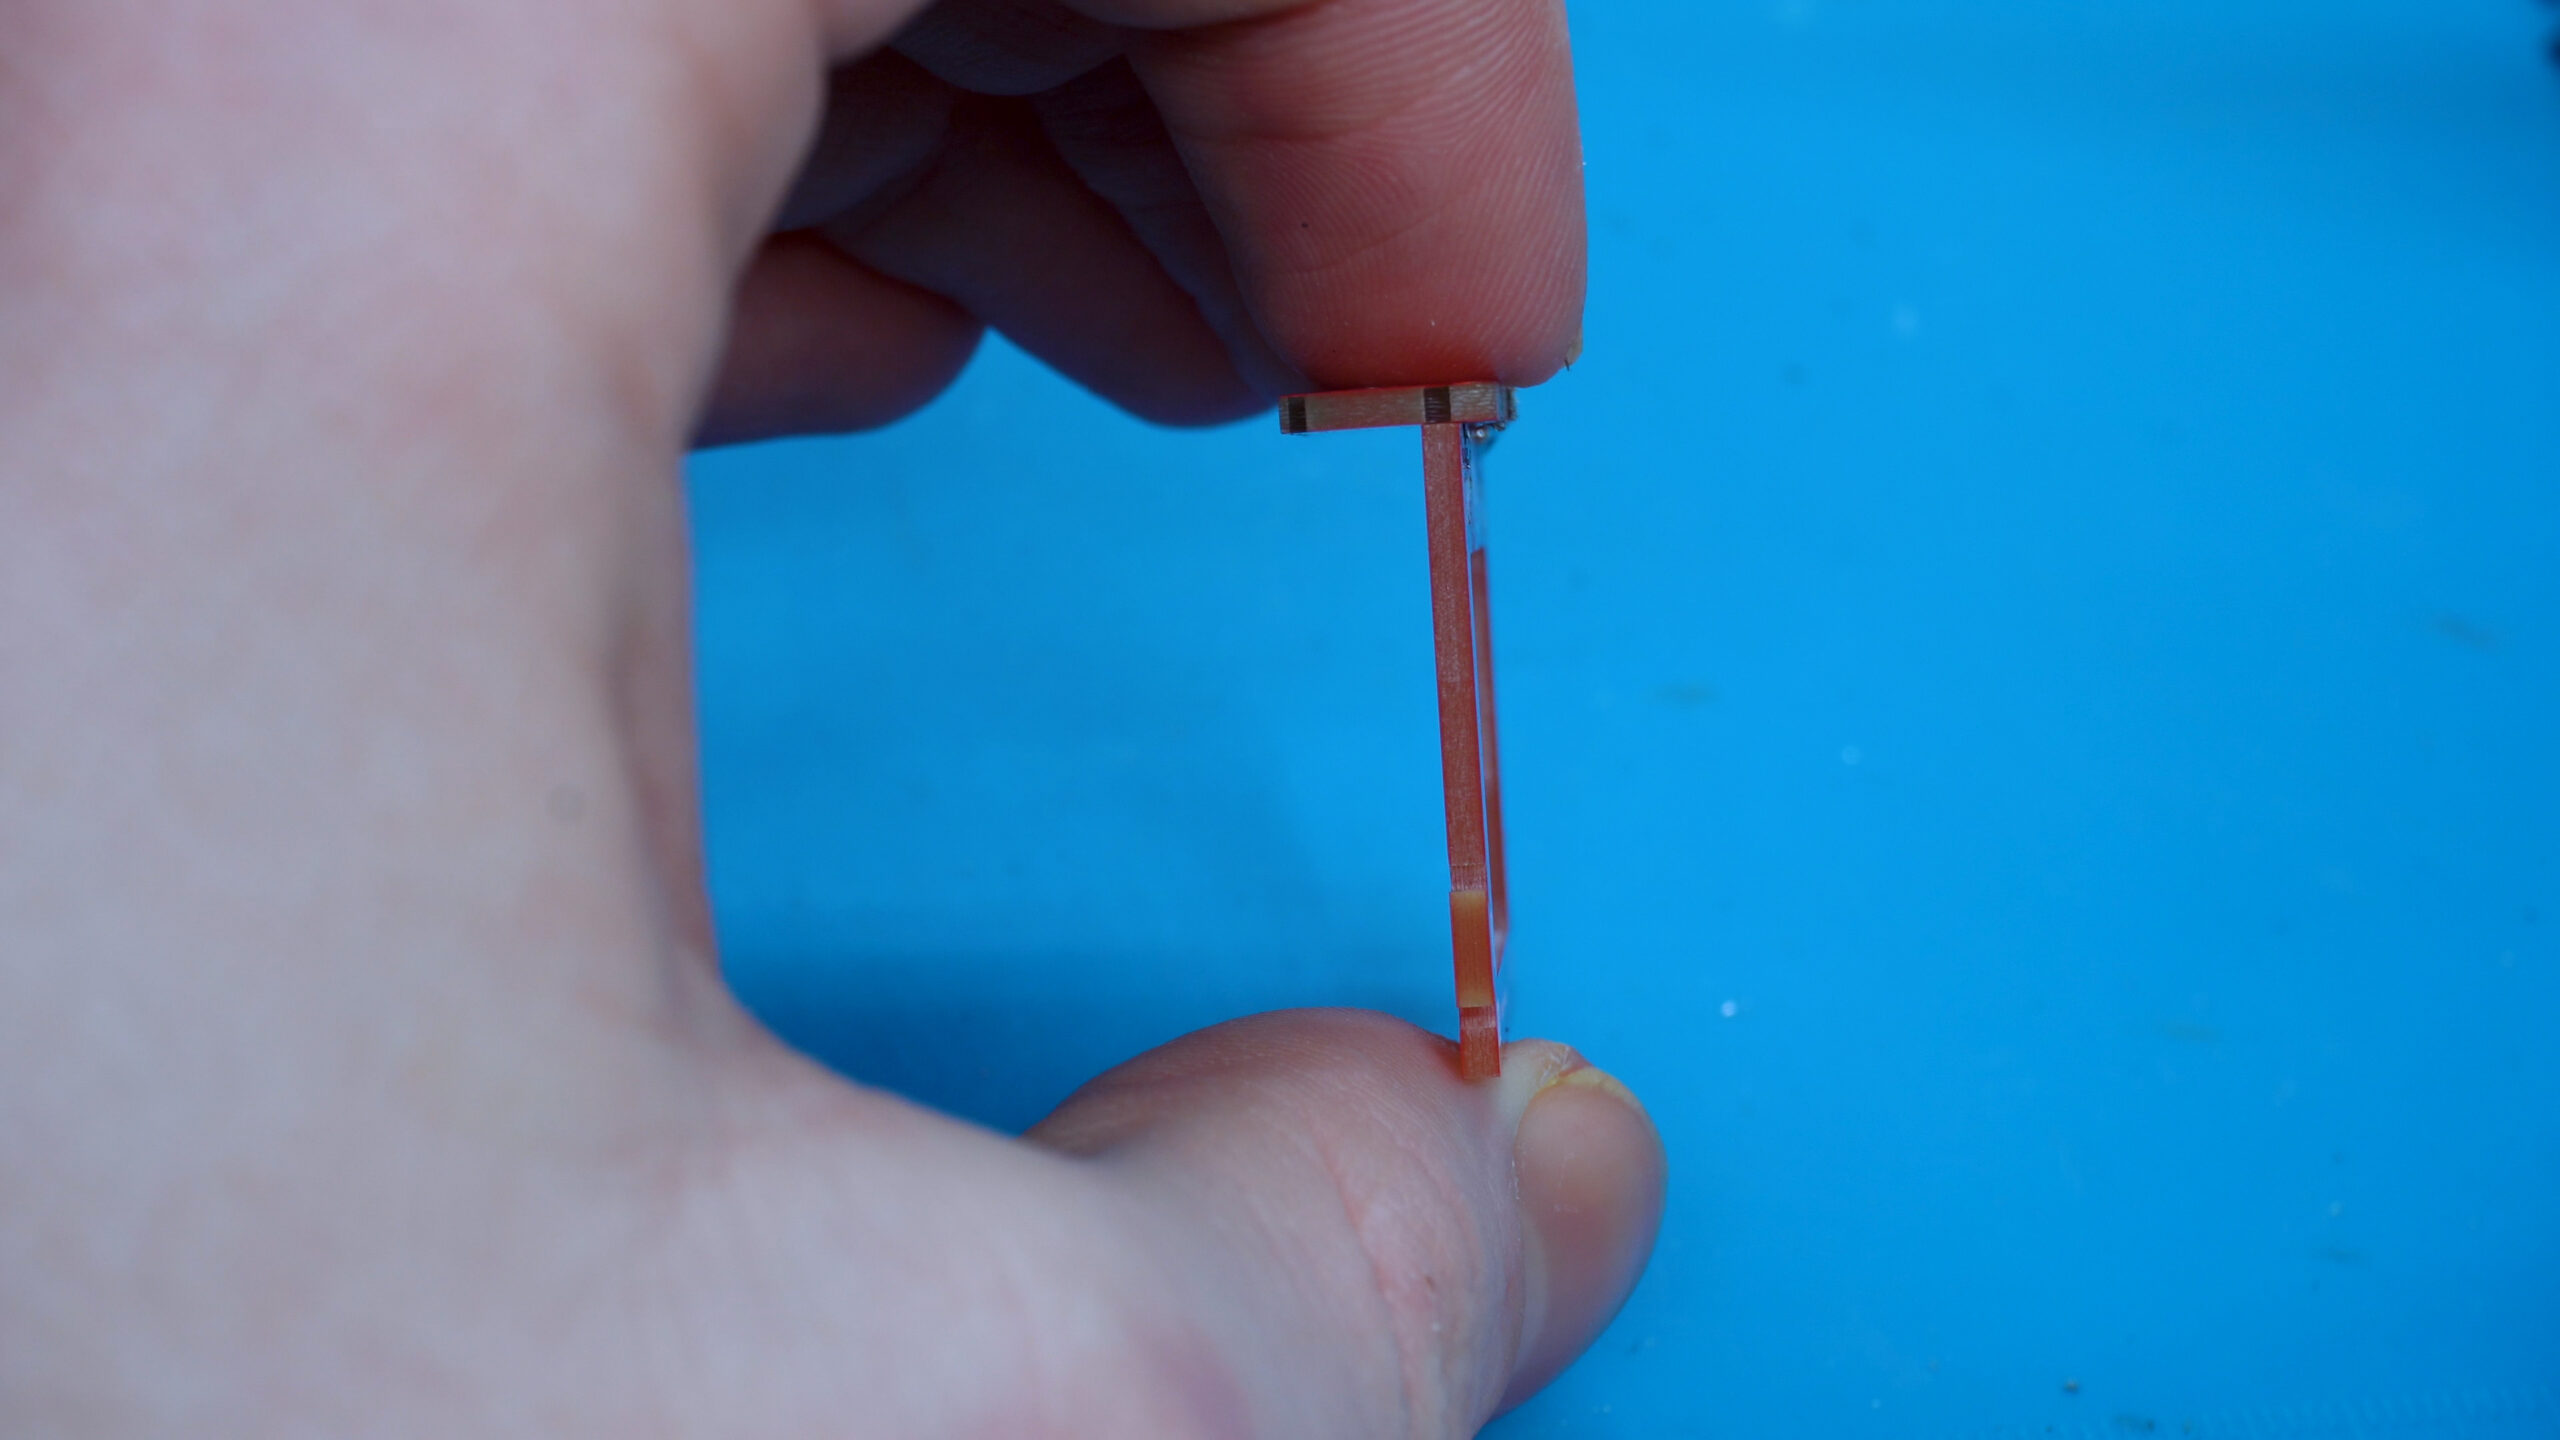
In the first picture, you can see that the assembly isn’t perfectly 90 degrees.
In order to make it 90 degrees, we will reflow the solder joint while holding the assembly and adjust it till it is roughly 90 degrees.
Once we are happy, we can remove the soldering iron and let it solidify in place.
Then we can solder in that last joint!
Its advised to watch the video for this next part as it can be quite difficult to grasp the steps.
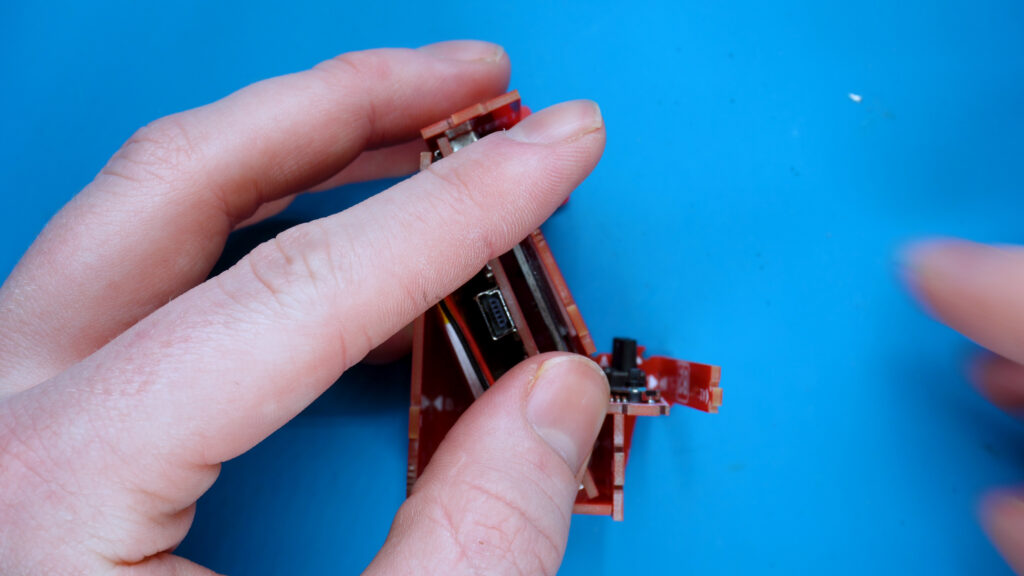
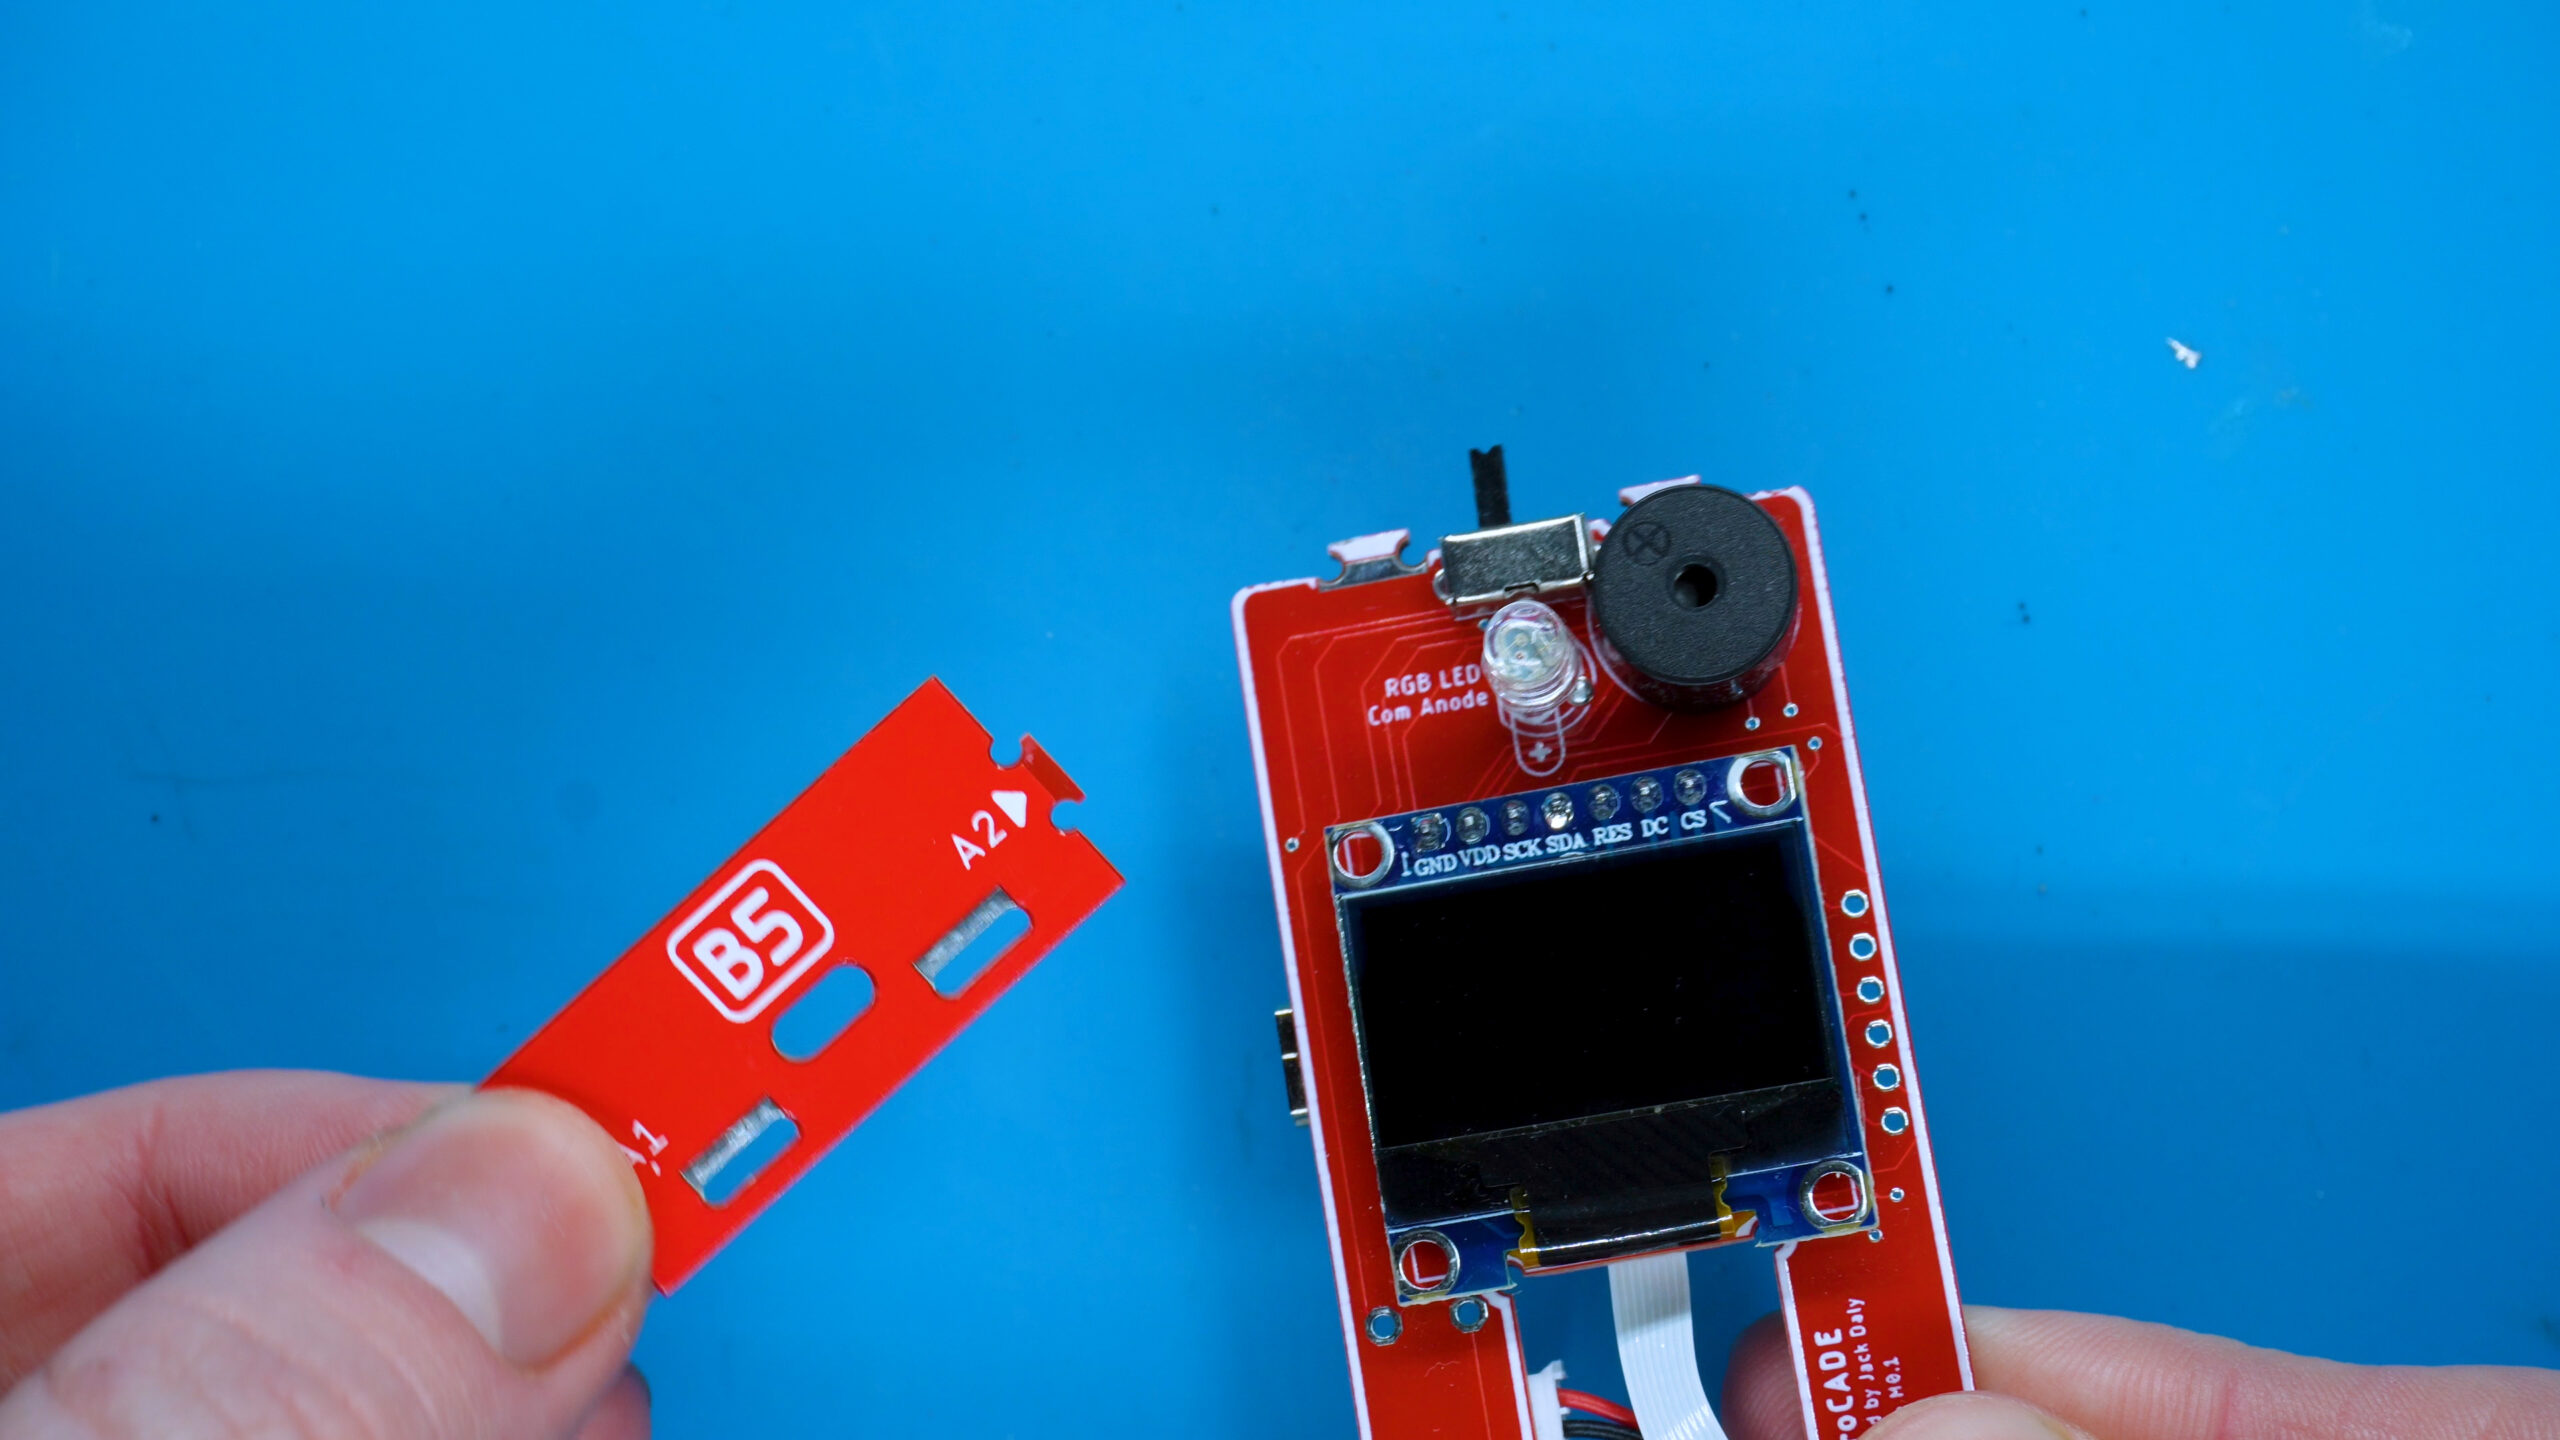
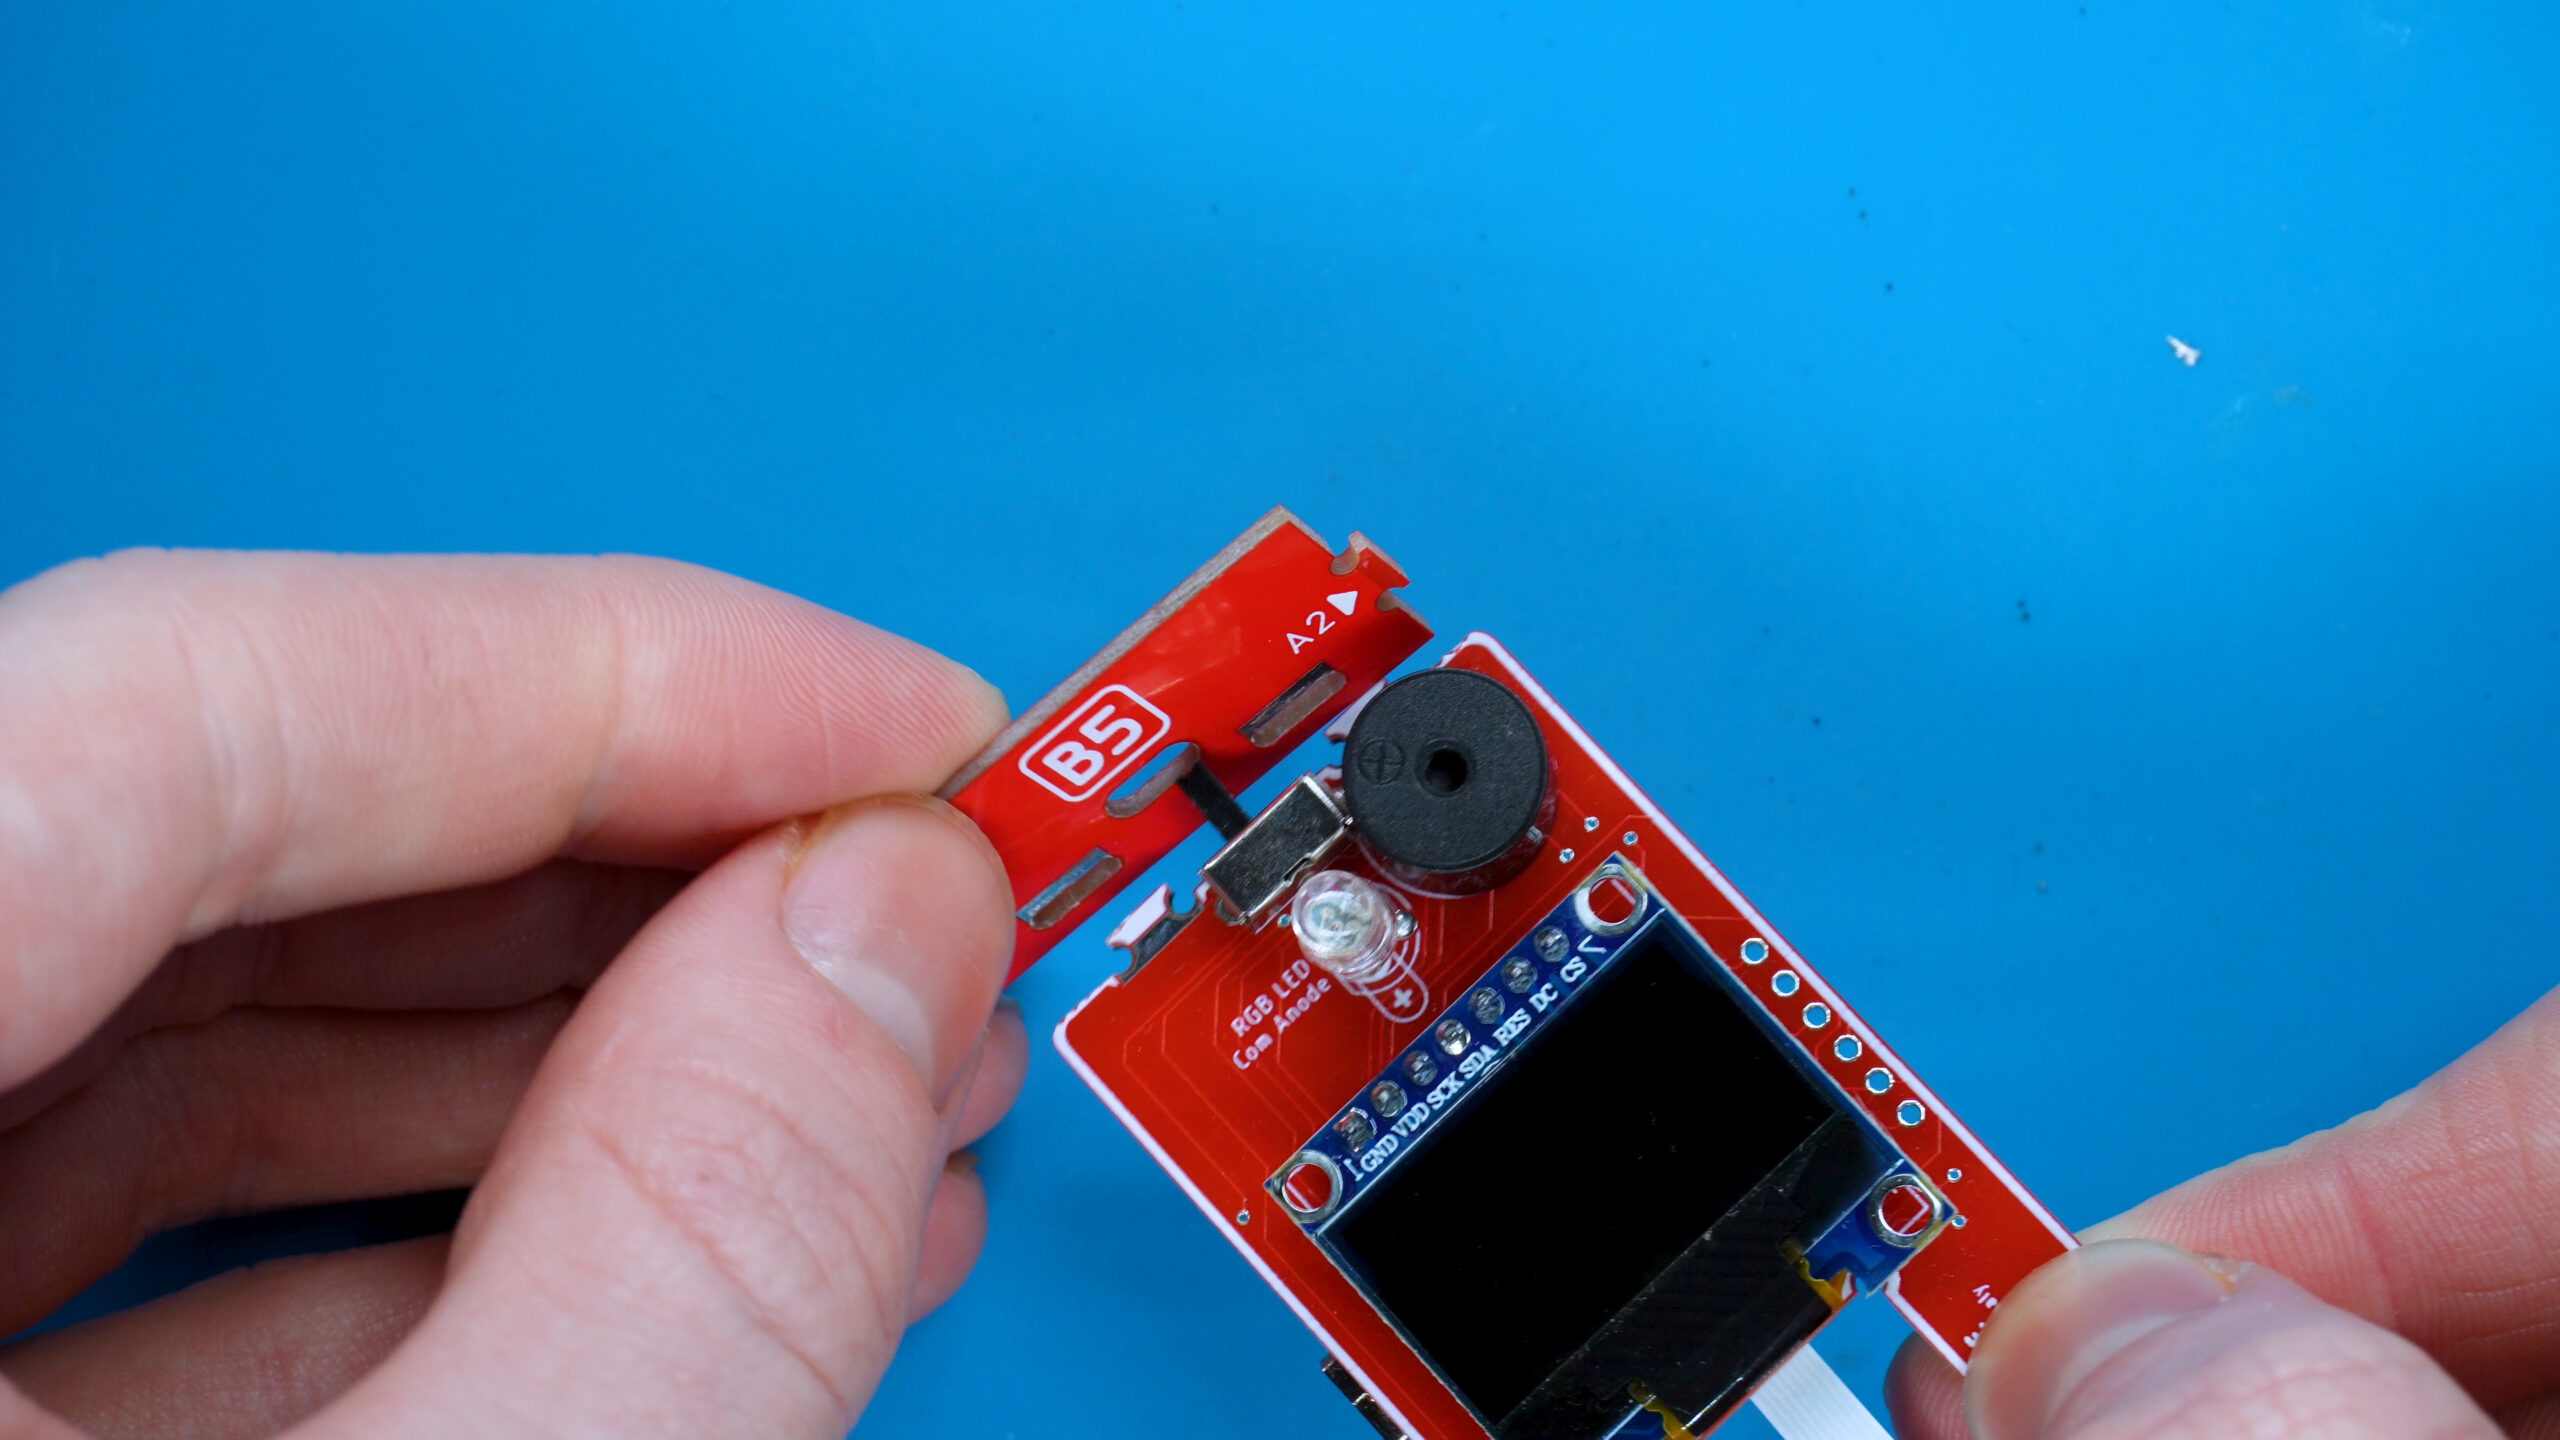
1. Assemble B5 onto the Motherboard
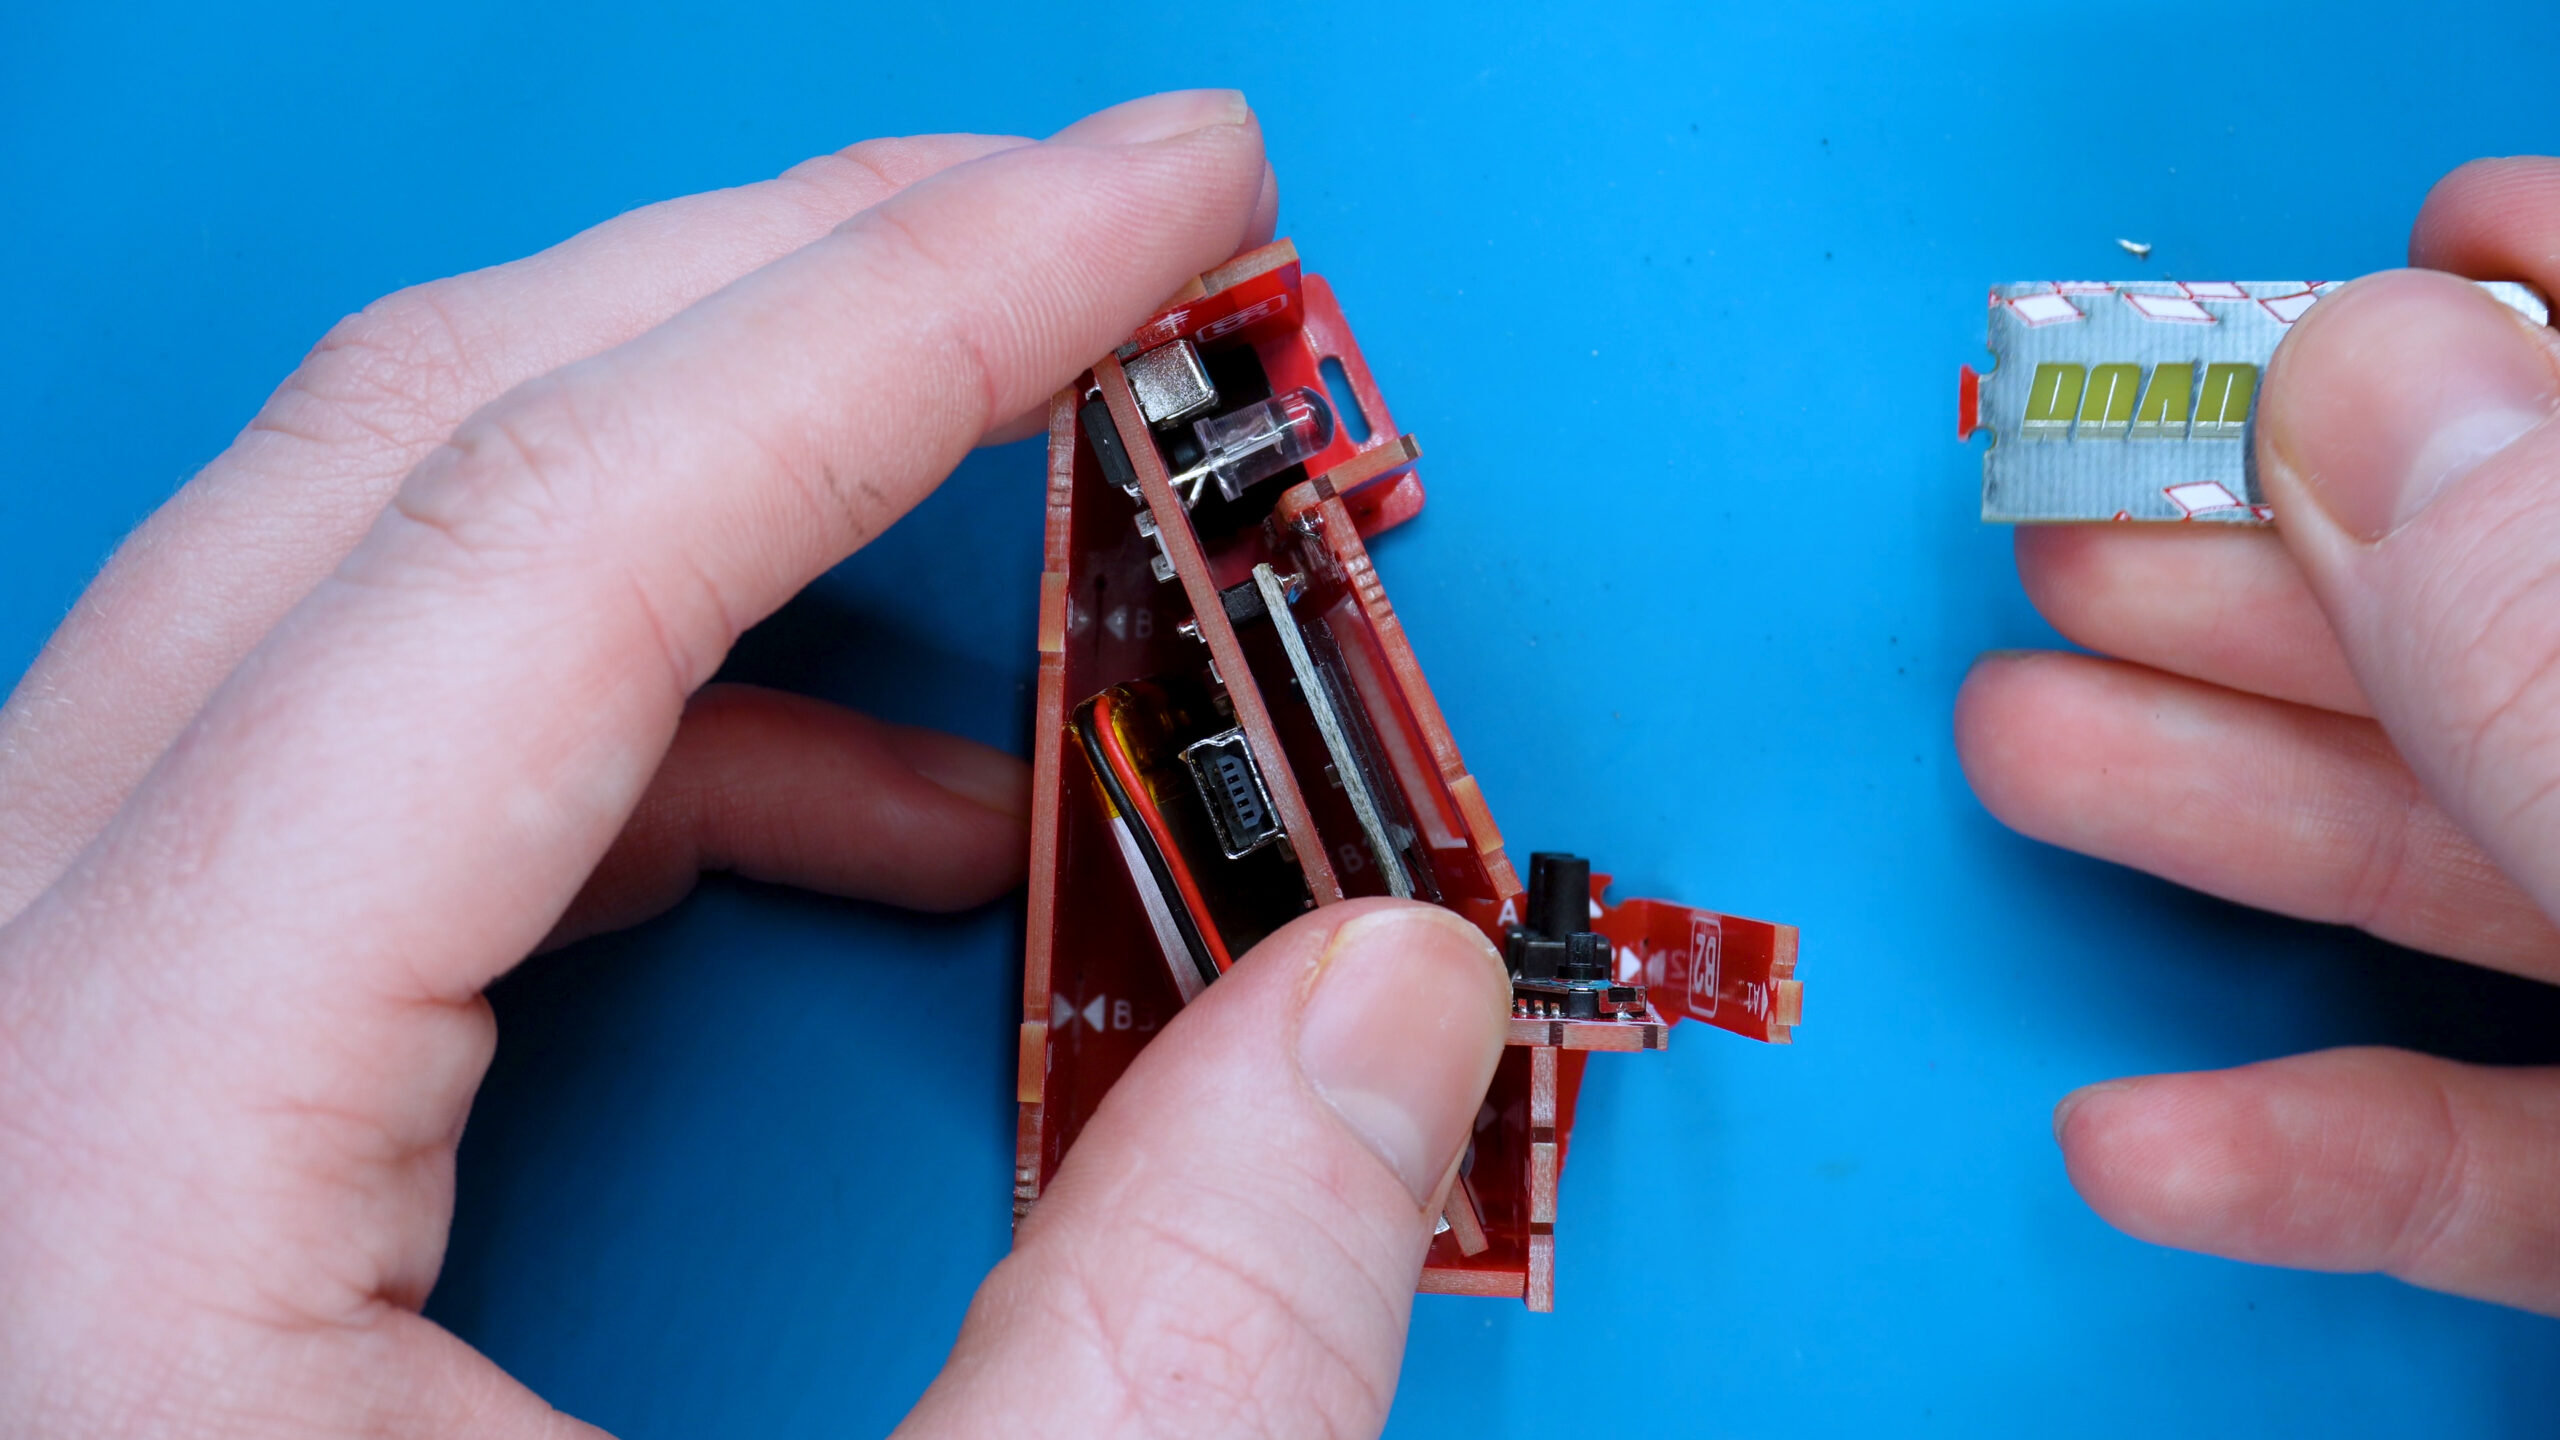
Get parts B5 and the motherboard and simply put B5 onto the end of the motherboard.
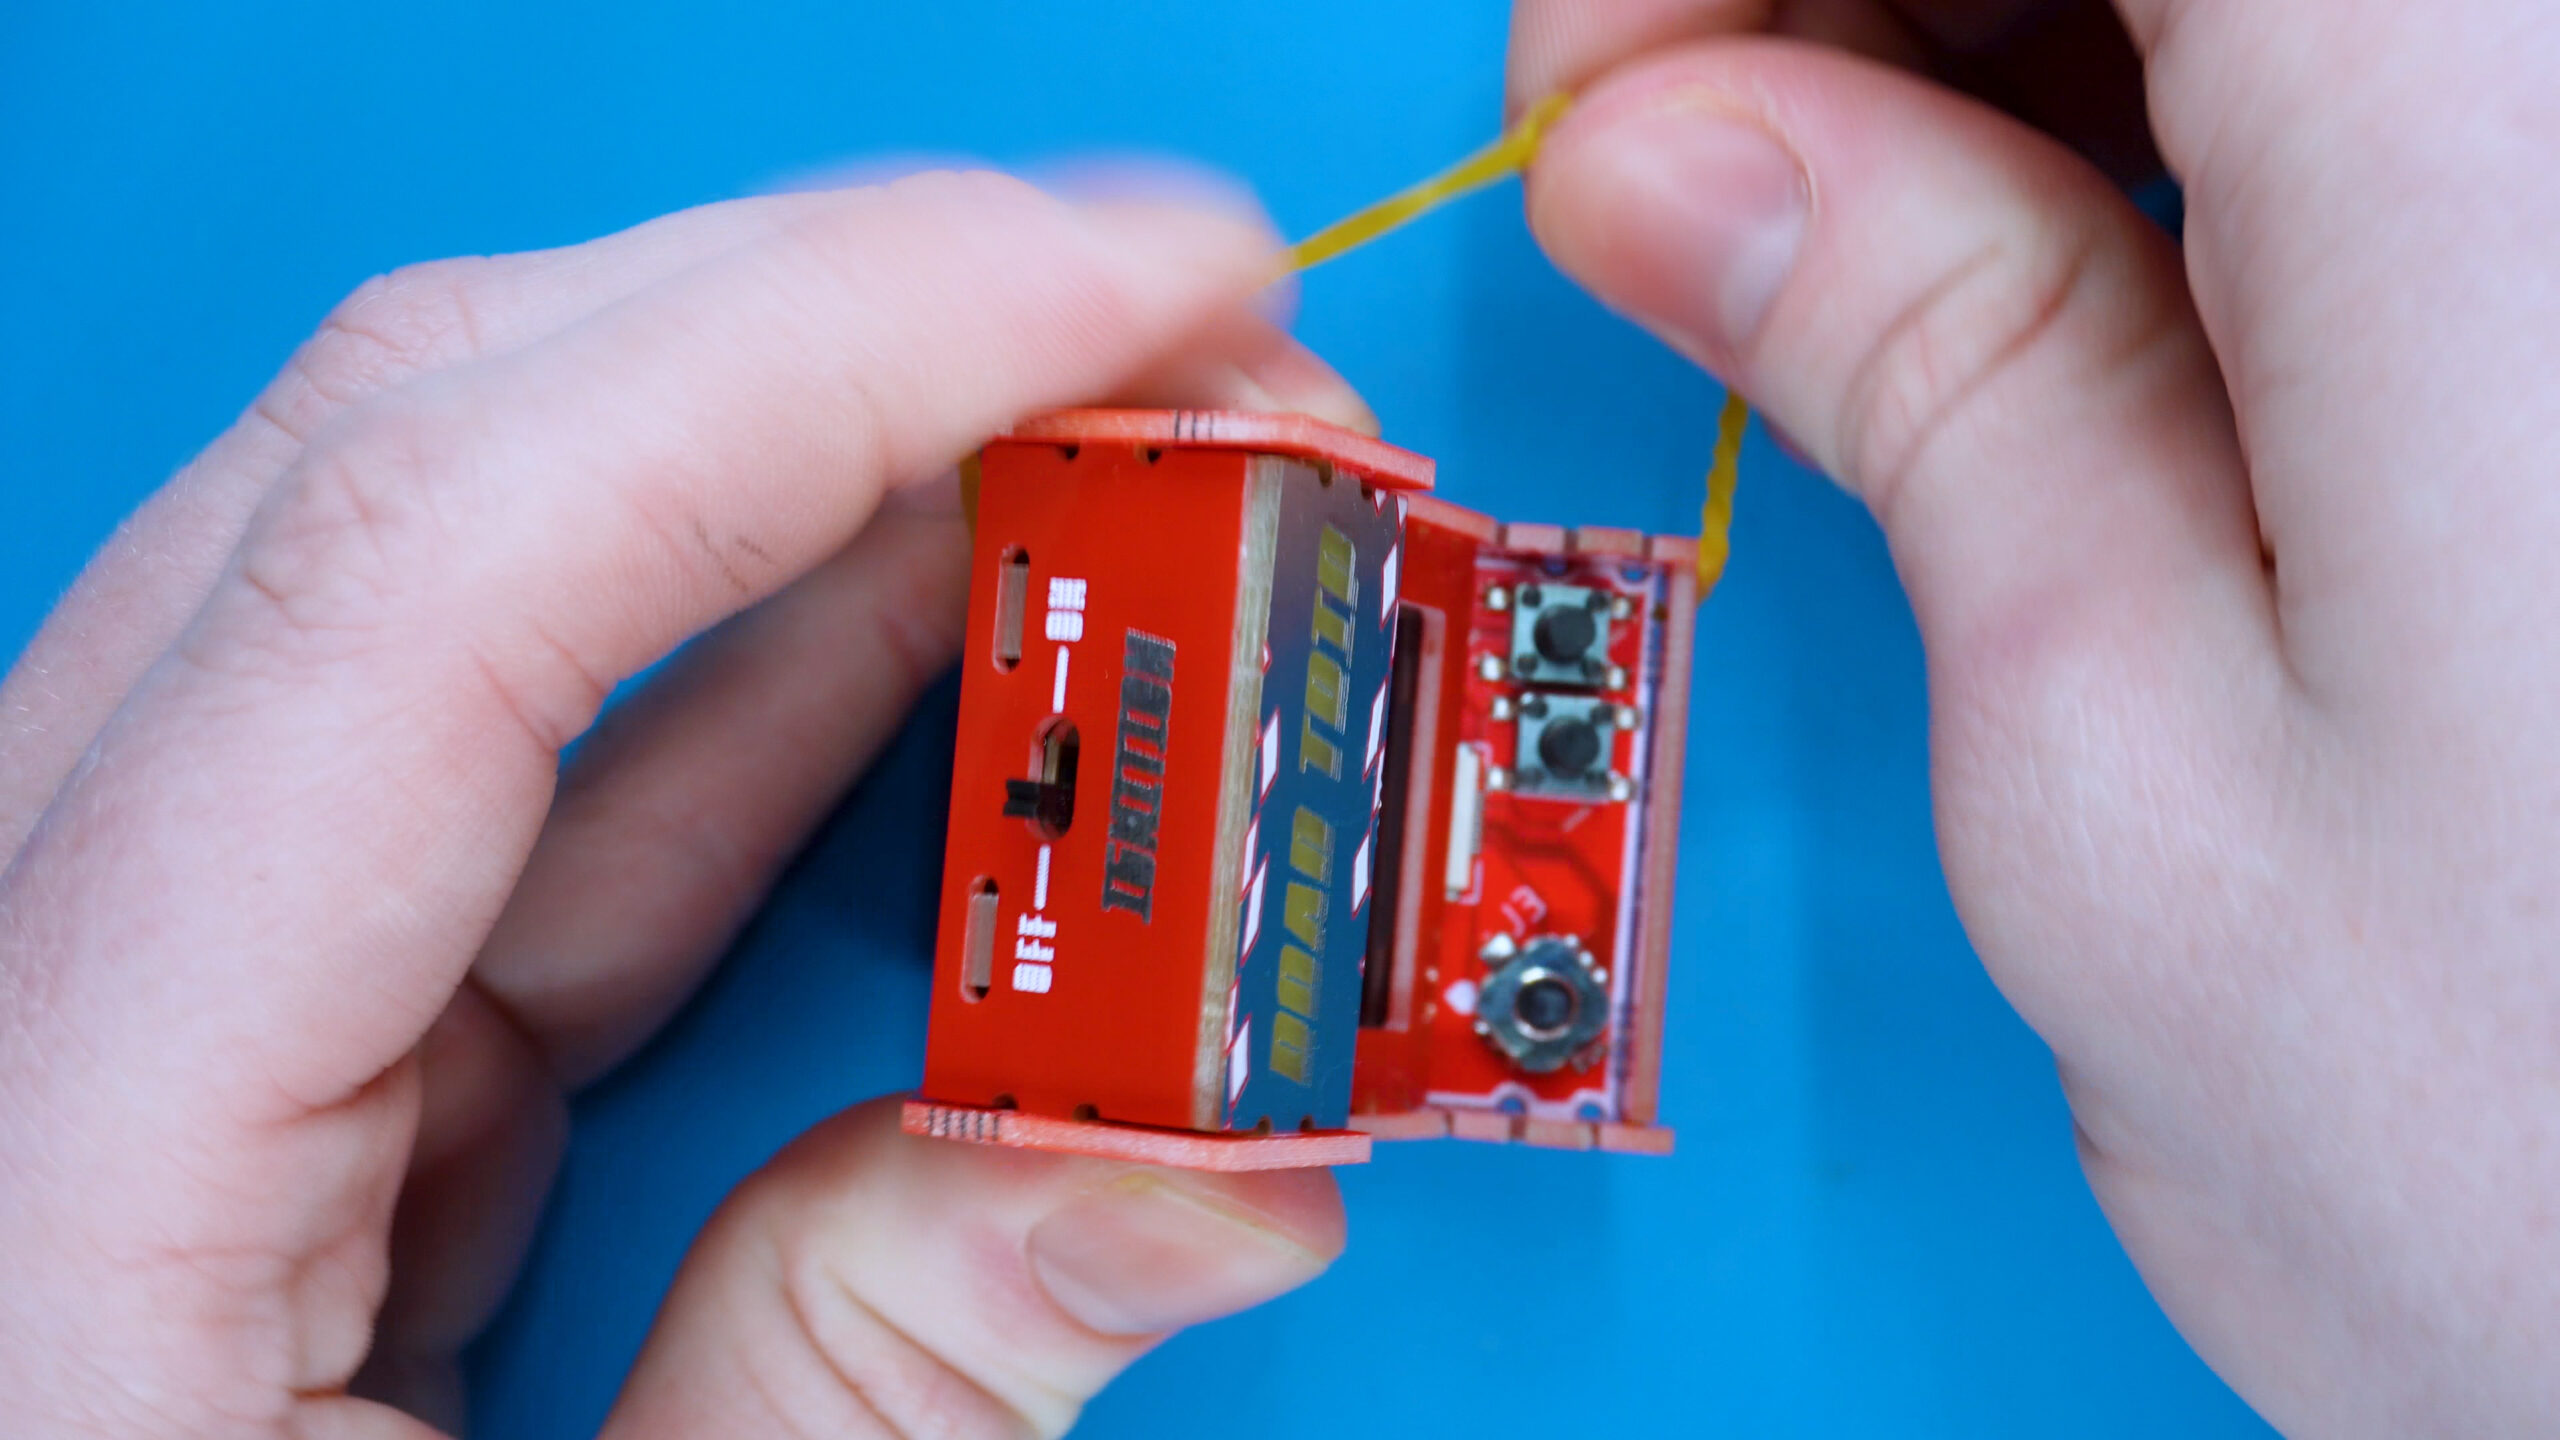
2. Place B5 and the Motherboard into the assembly
Place the Motherboard and B5 into the main assembly we made. The motherboards feet should be between the bottom panel (B4) and front panel (A4). B5 should slot into A2.
Hold this in place and move onto the next step
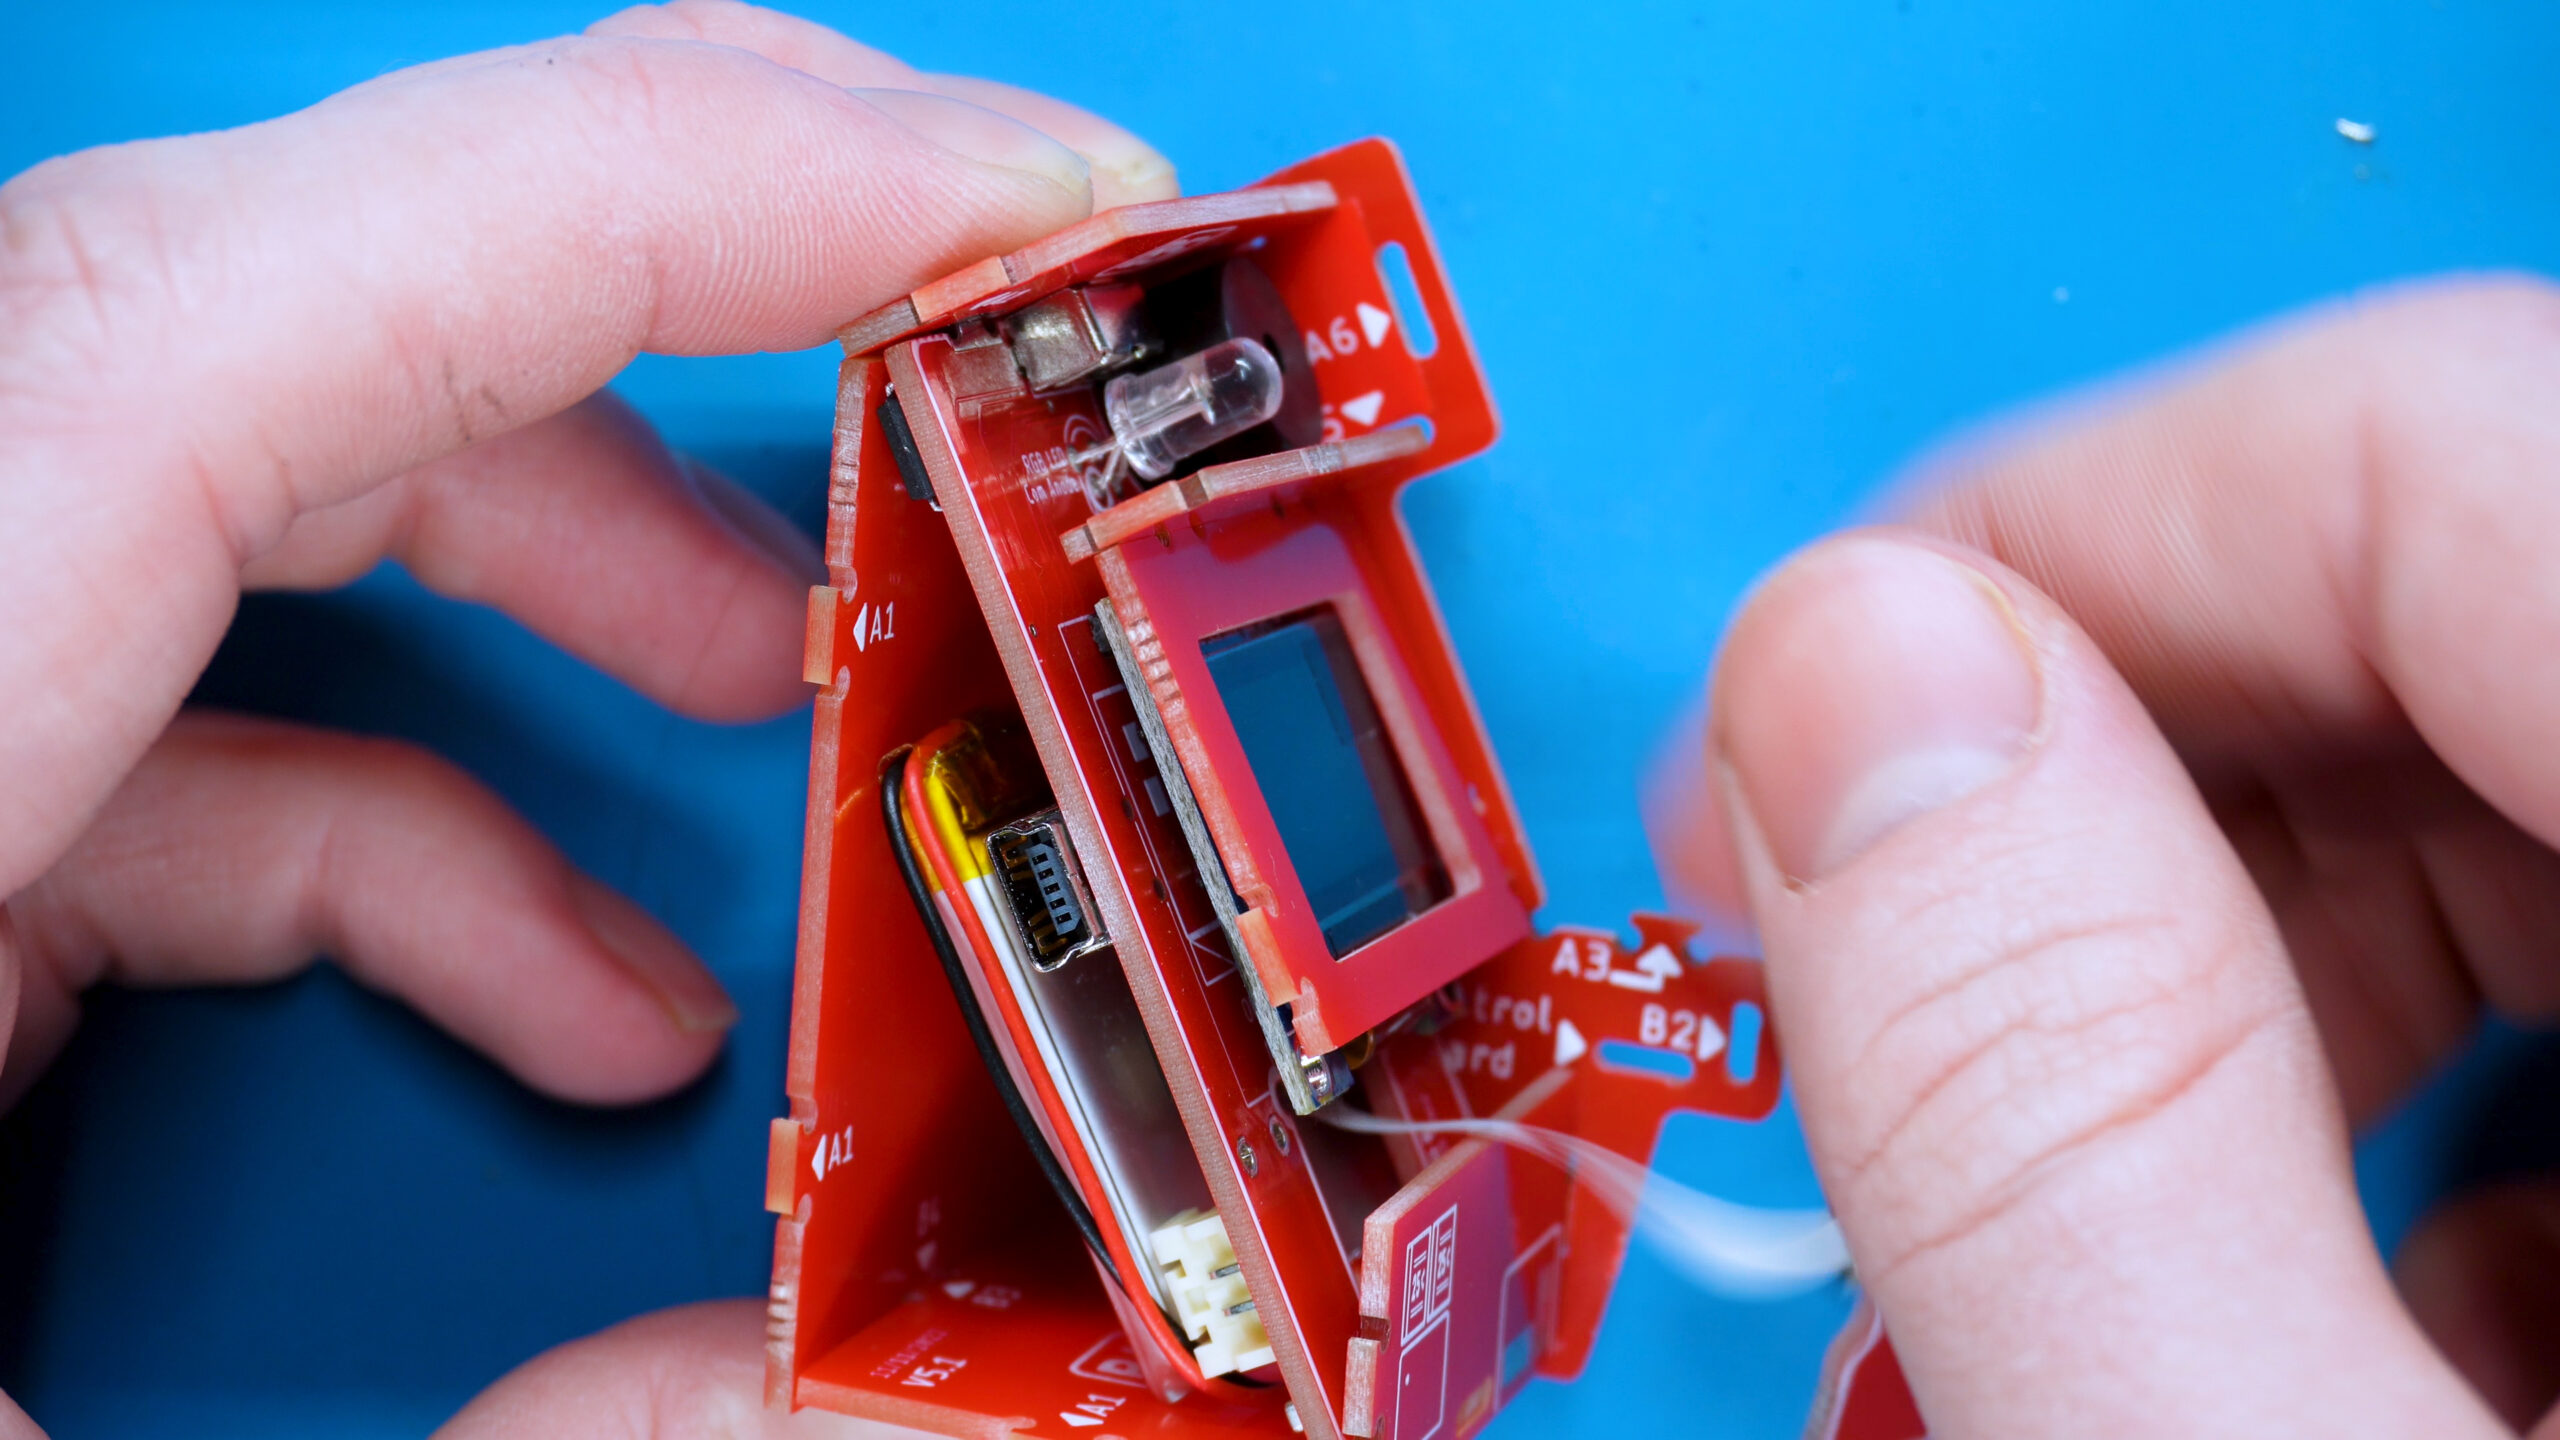
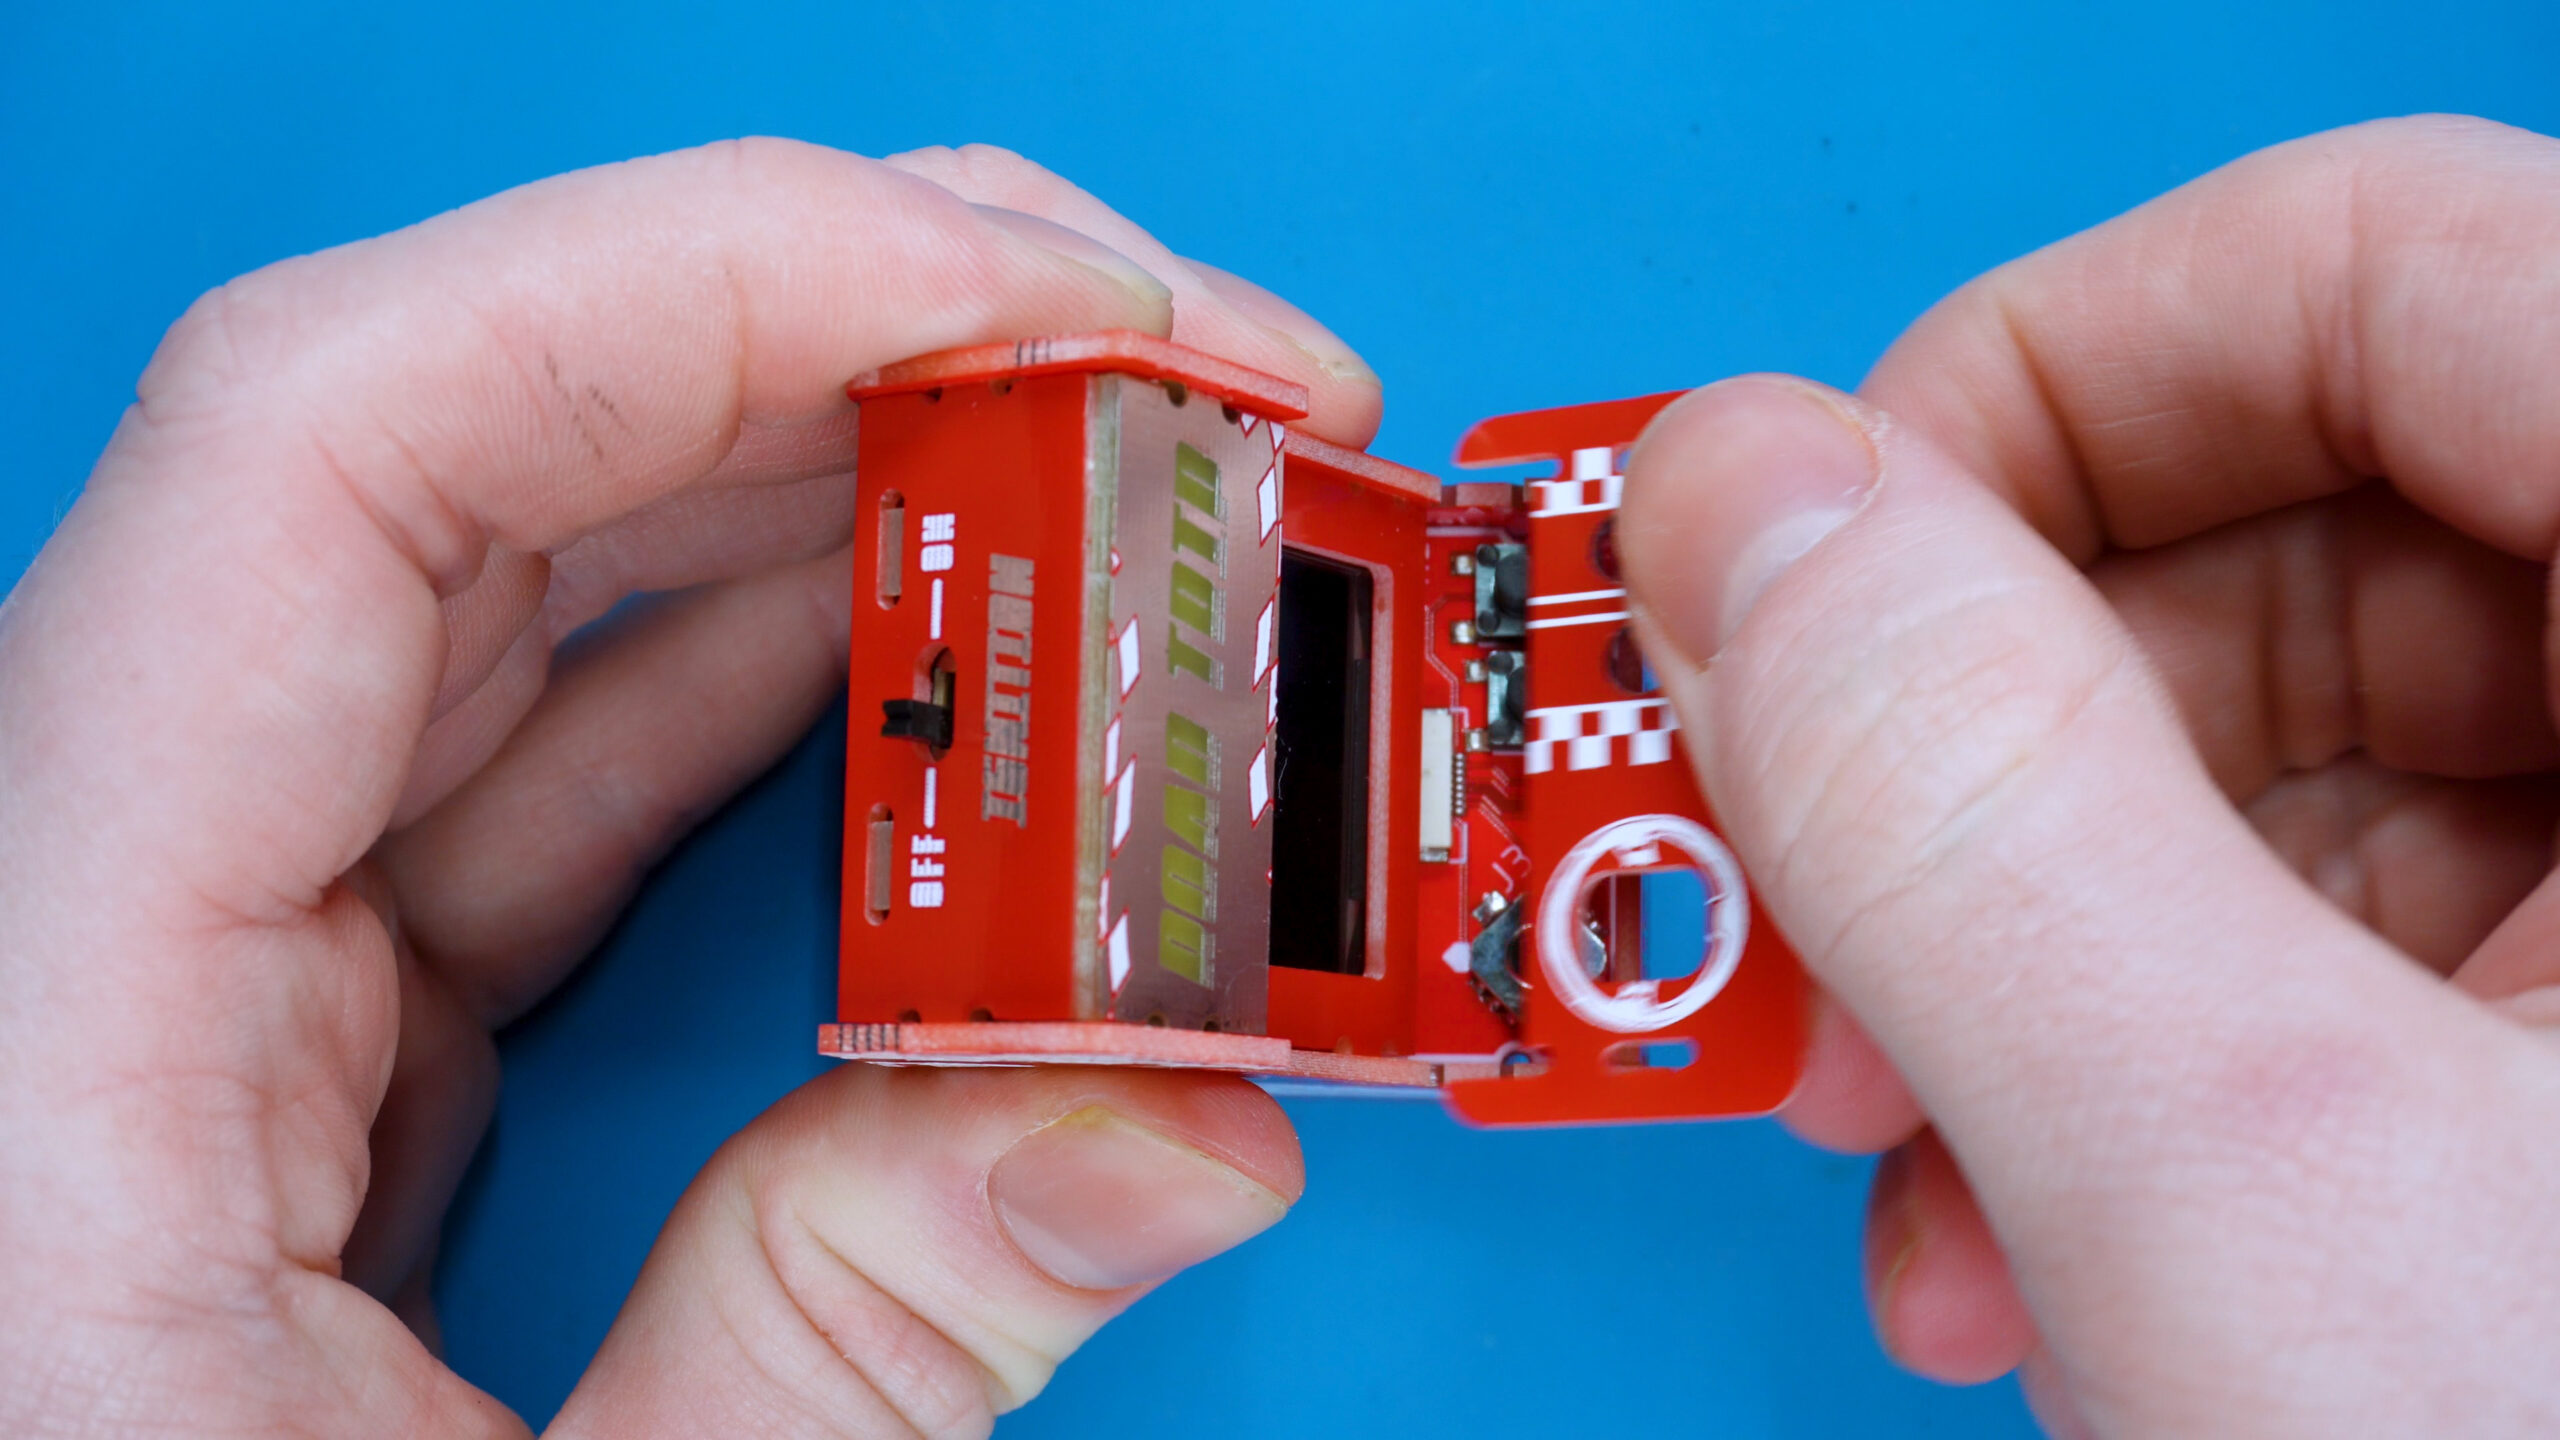
3. Place the screen assembly
Place the Screen Assembly in the 3 slots on the side panel (A4). Dont worry if its leaning and not at 90 degrees, we will sort that out in the next few steps.
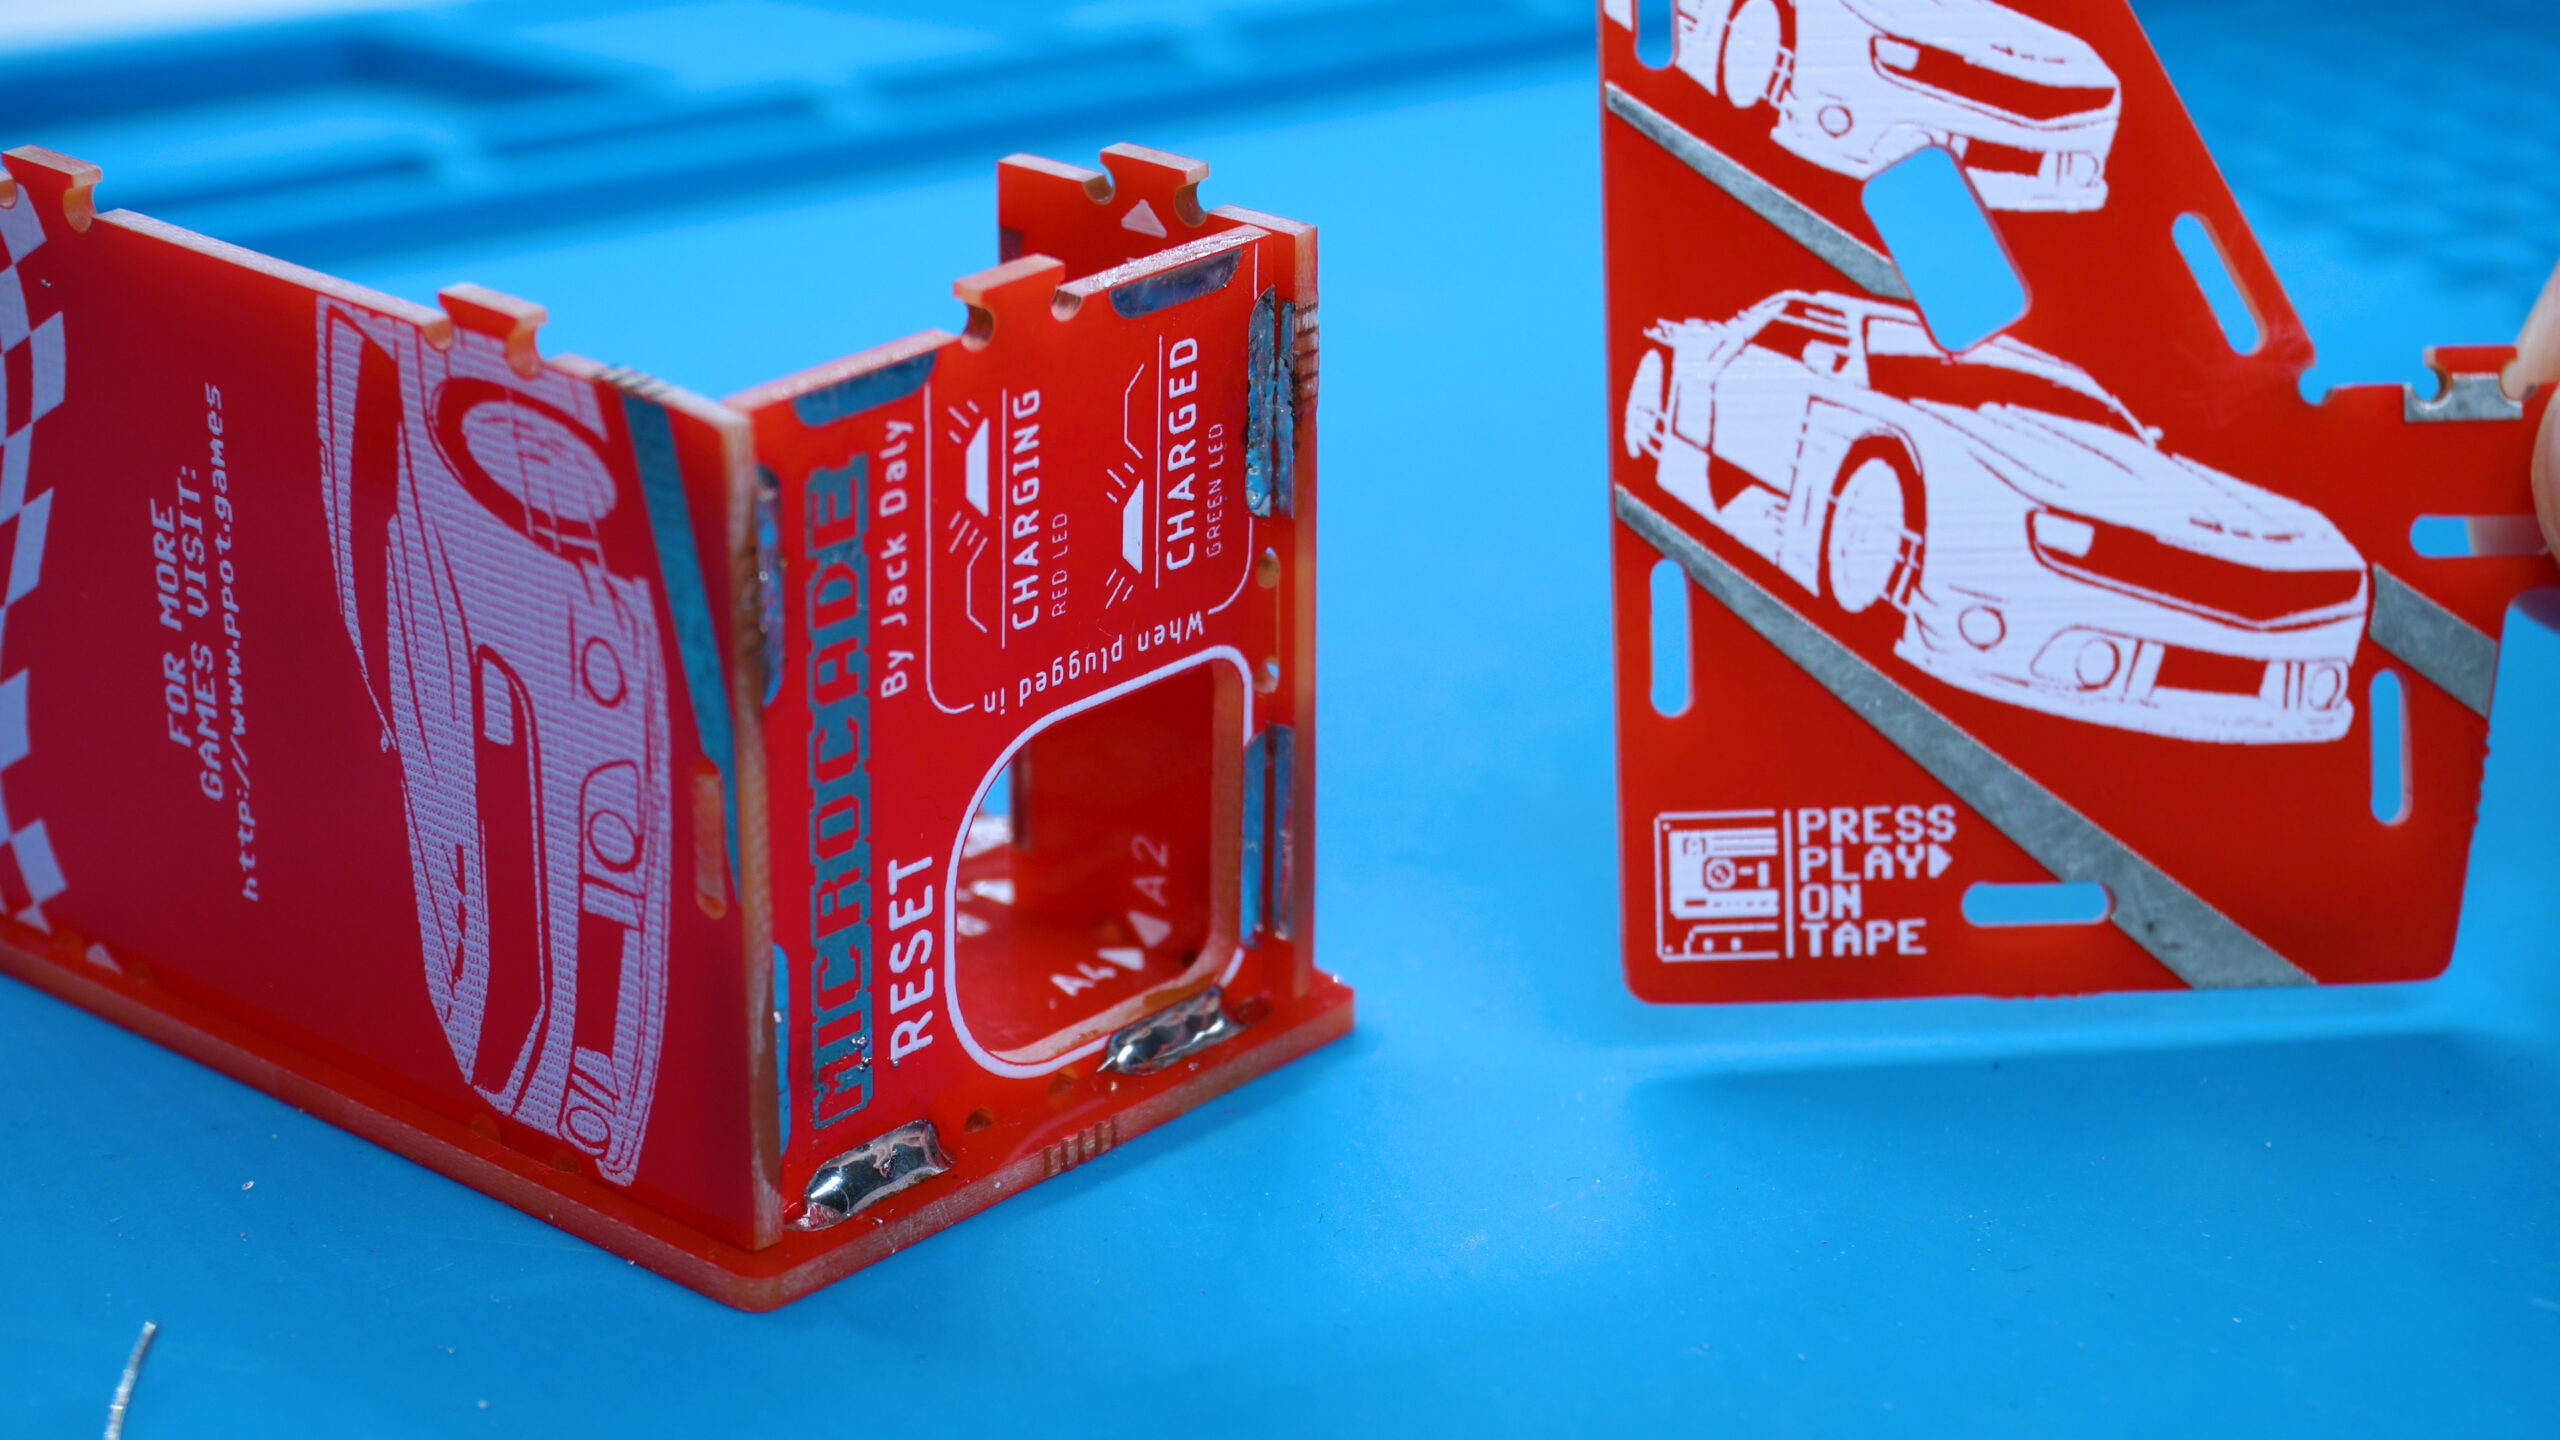
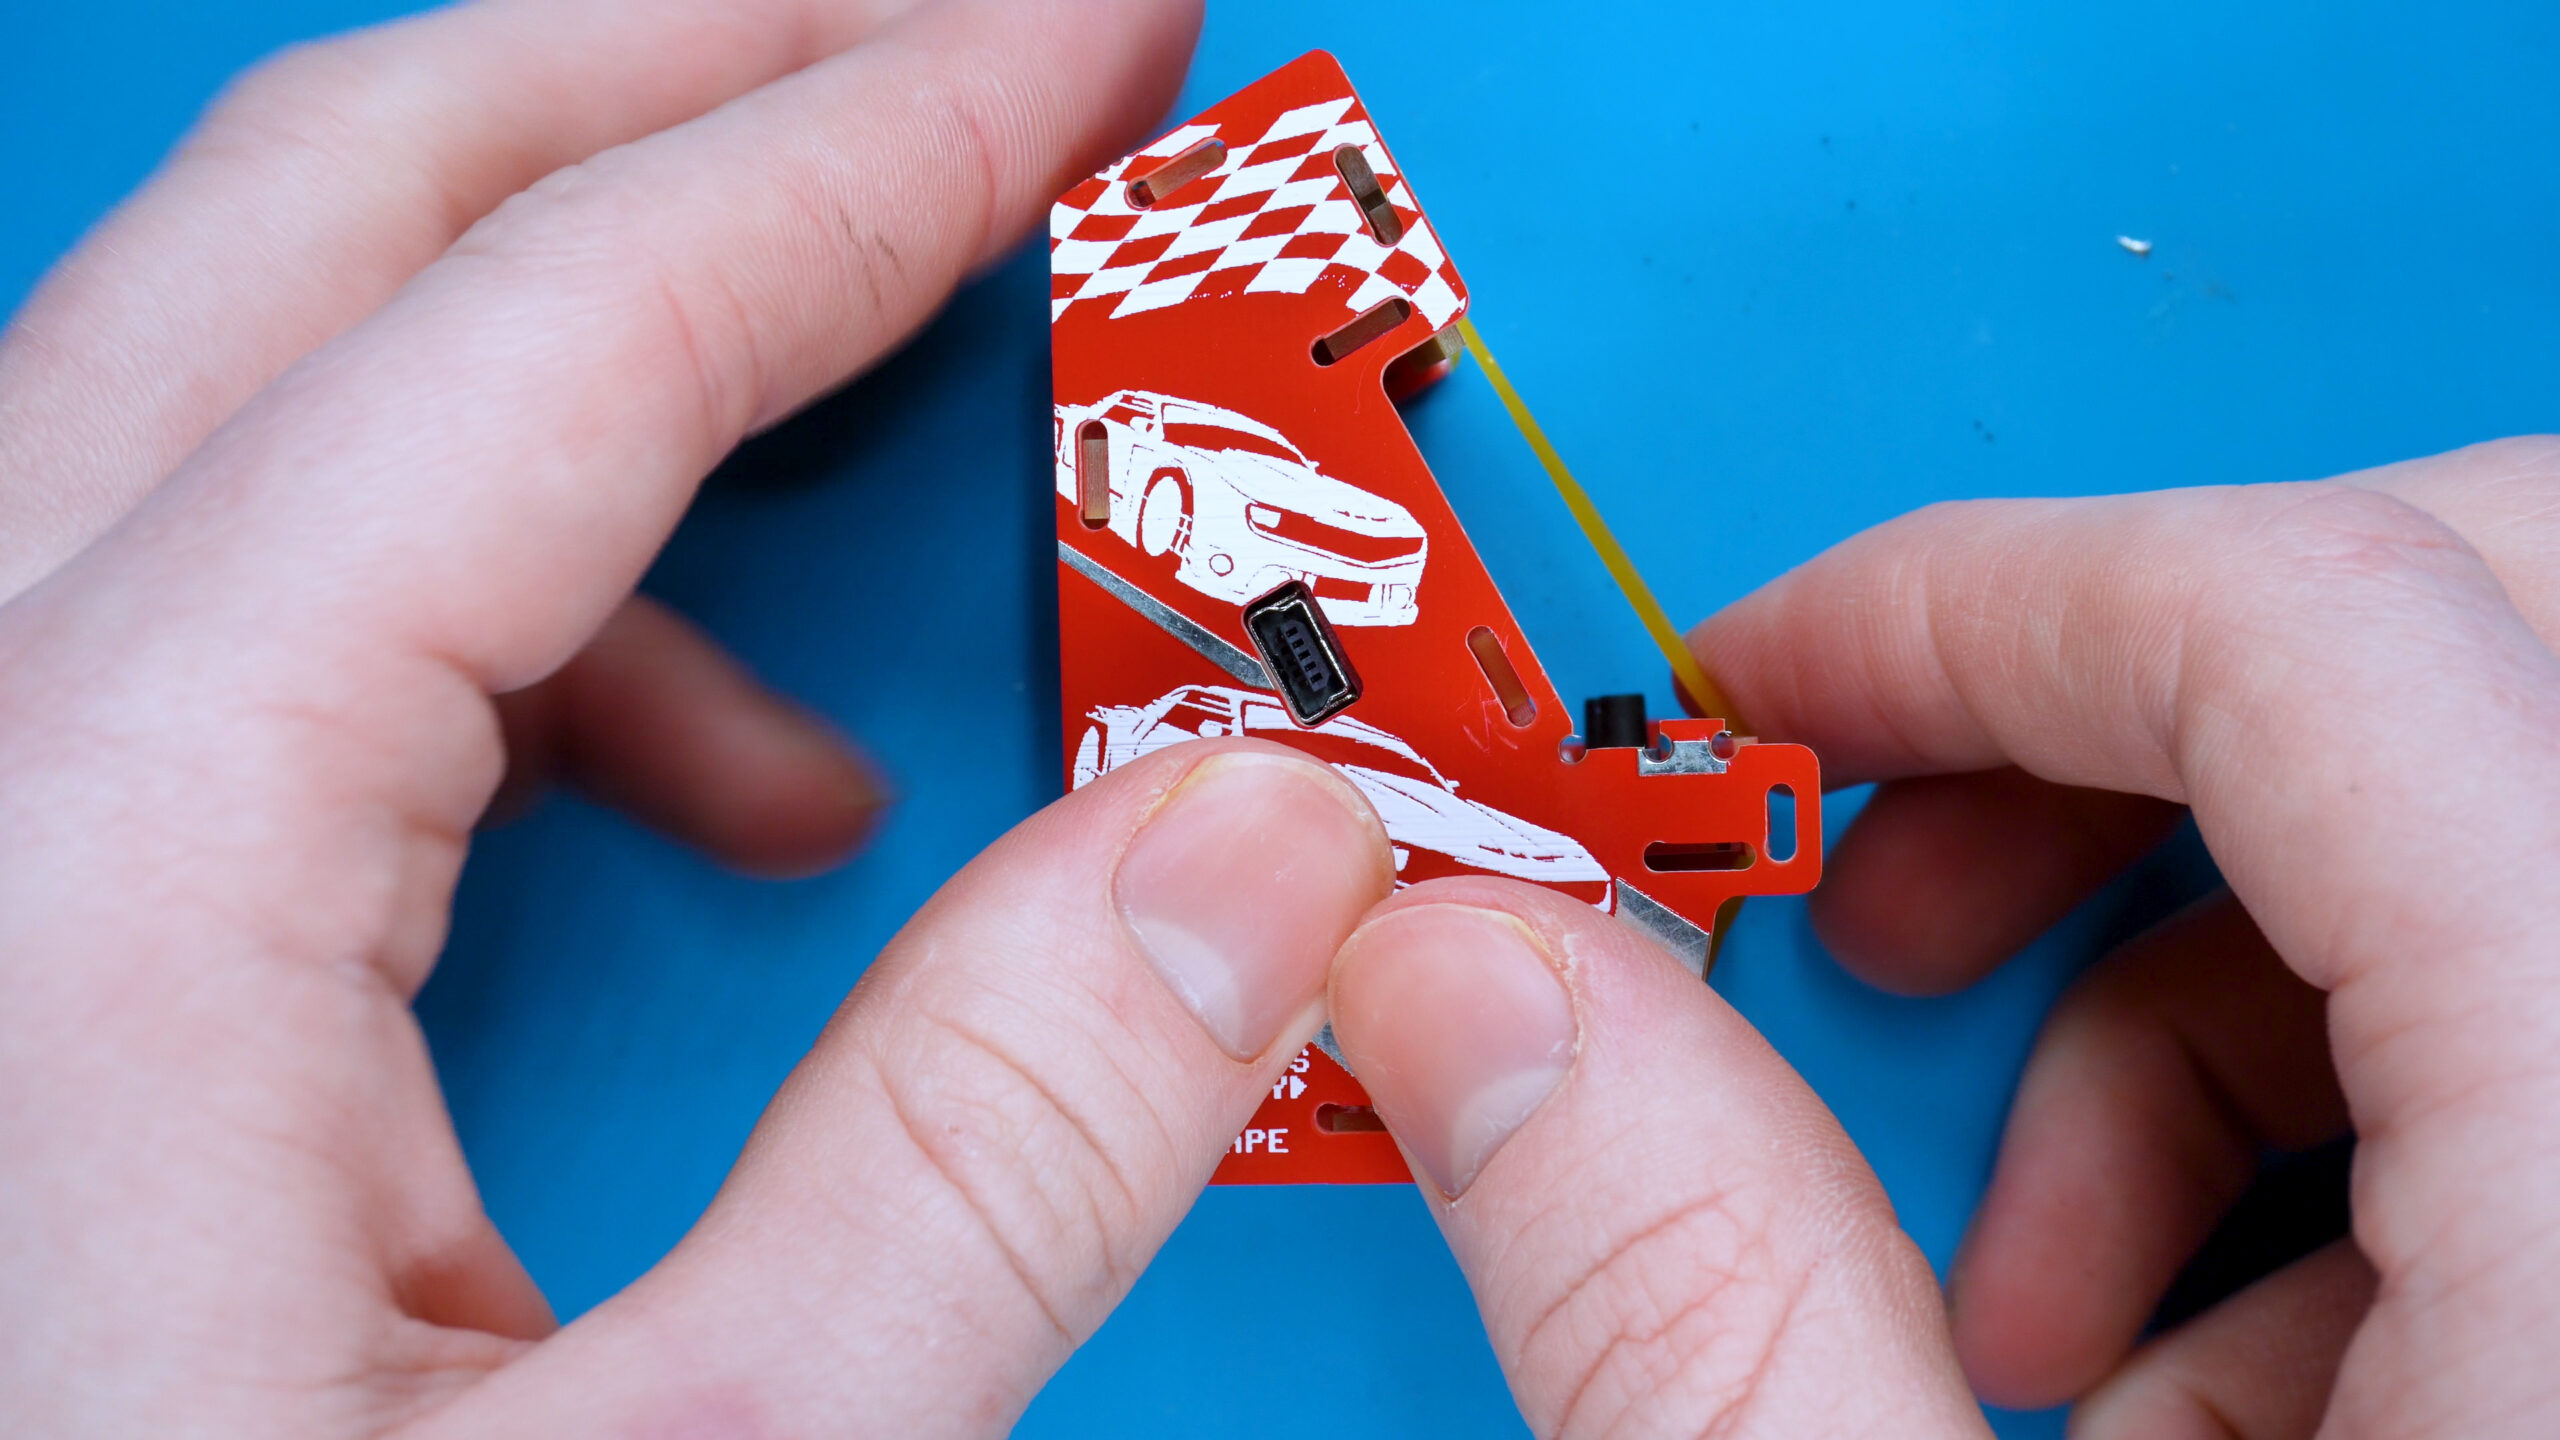
4. Place "microcade" panel
Place B2 into the front slot of the side panel.
Dont worry if it doesn’t stay vertical, we will sort this out in the next few steps
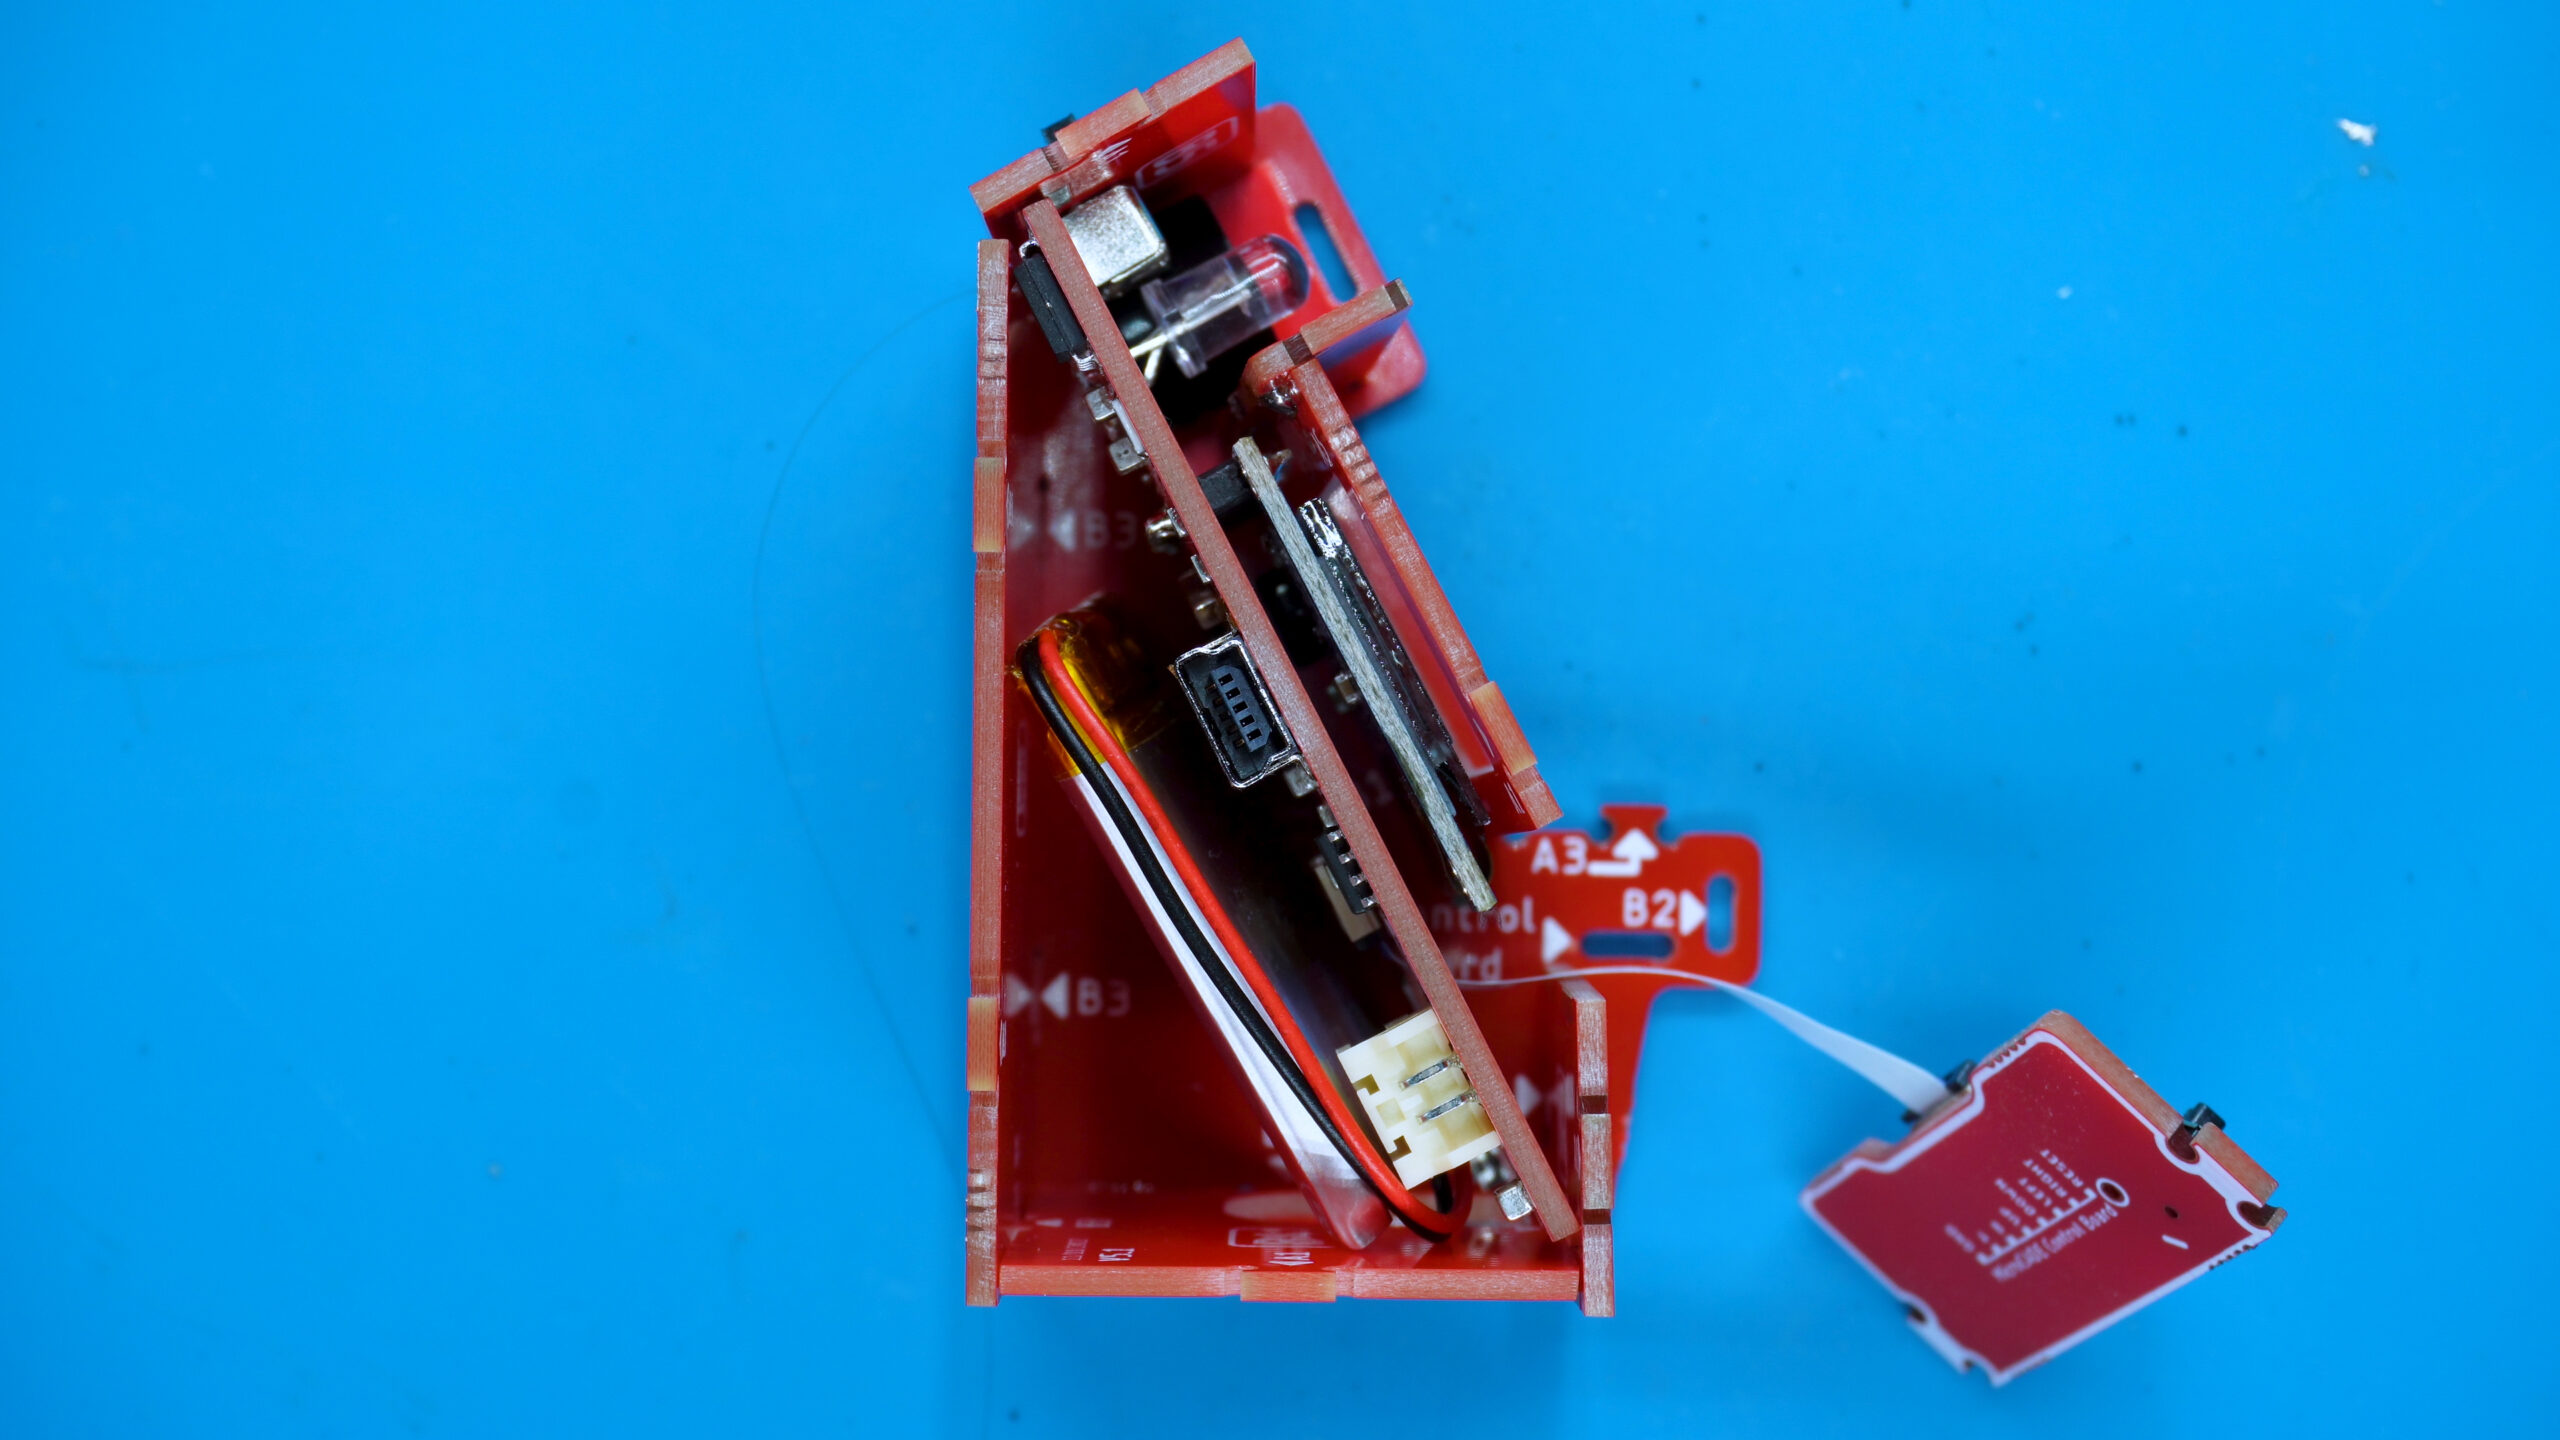
5. Place the Marque/Game Name Panel
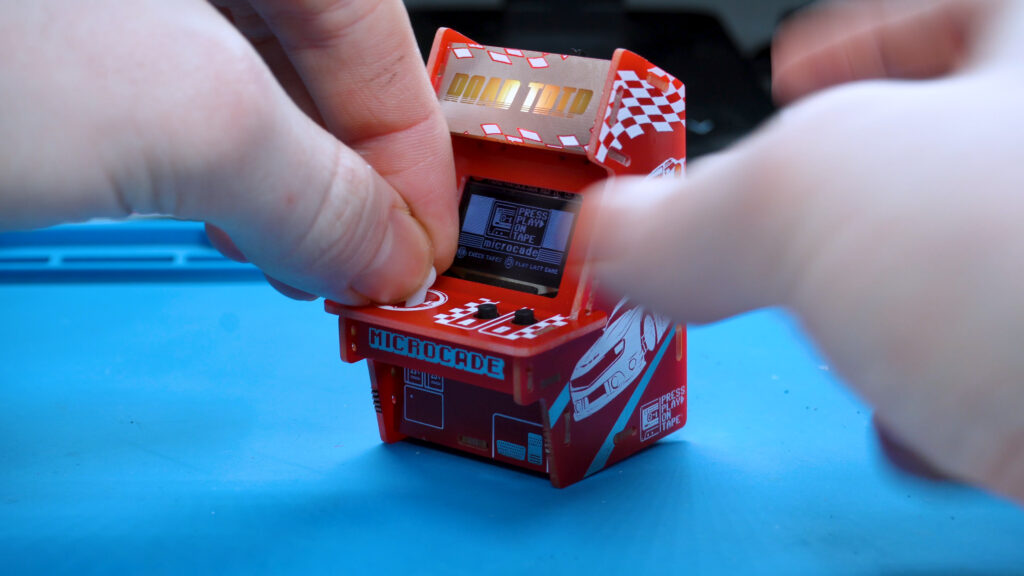
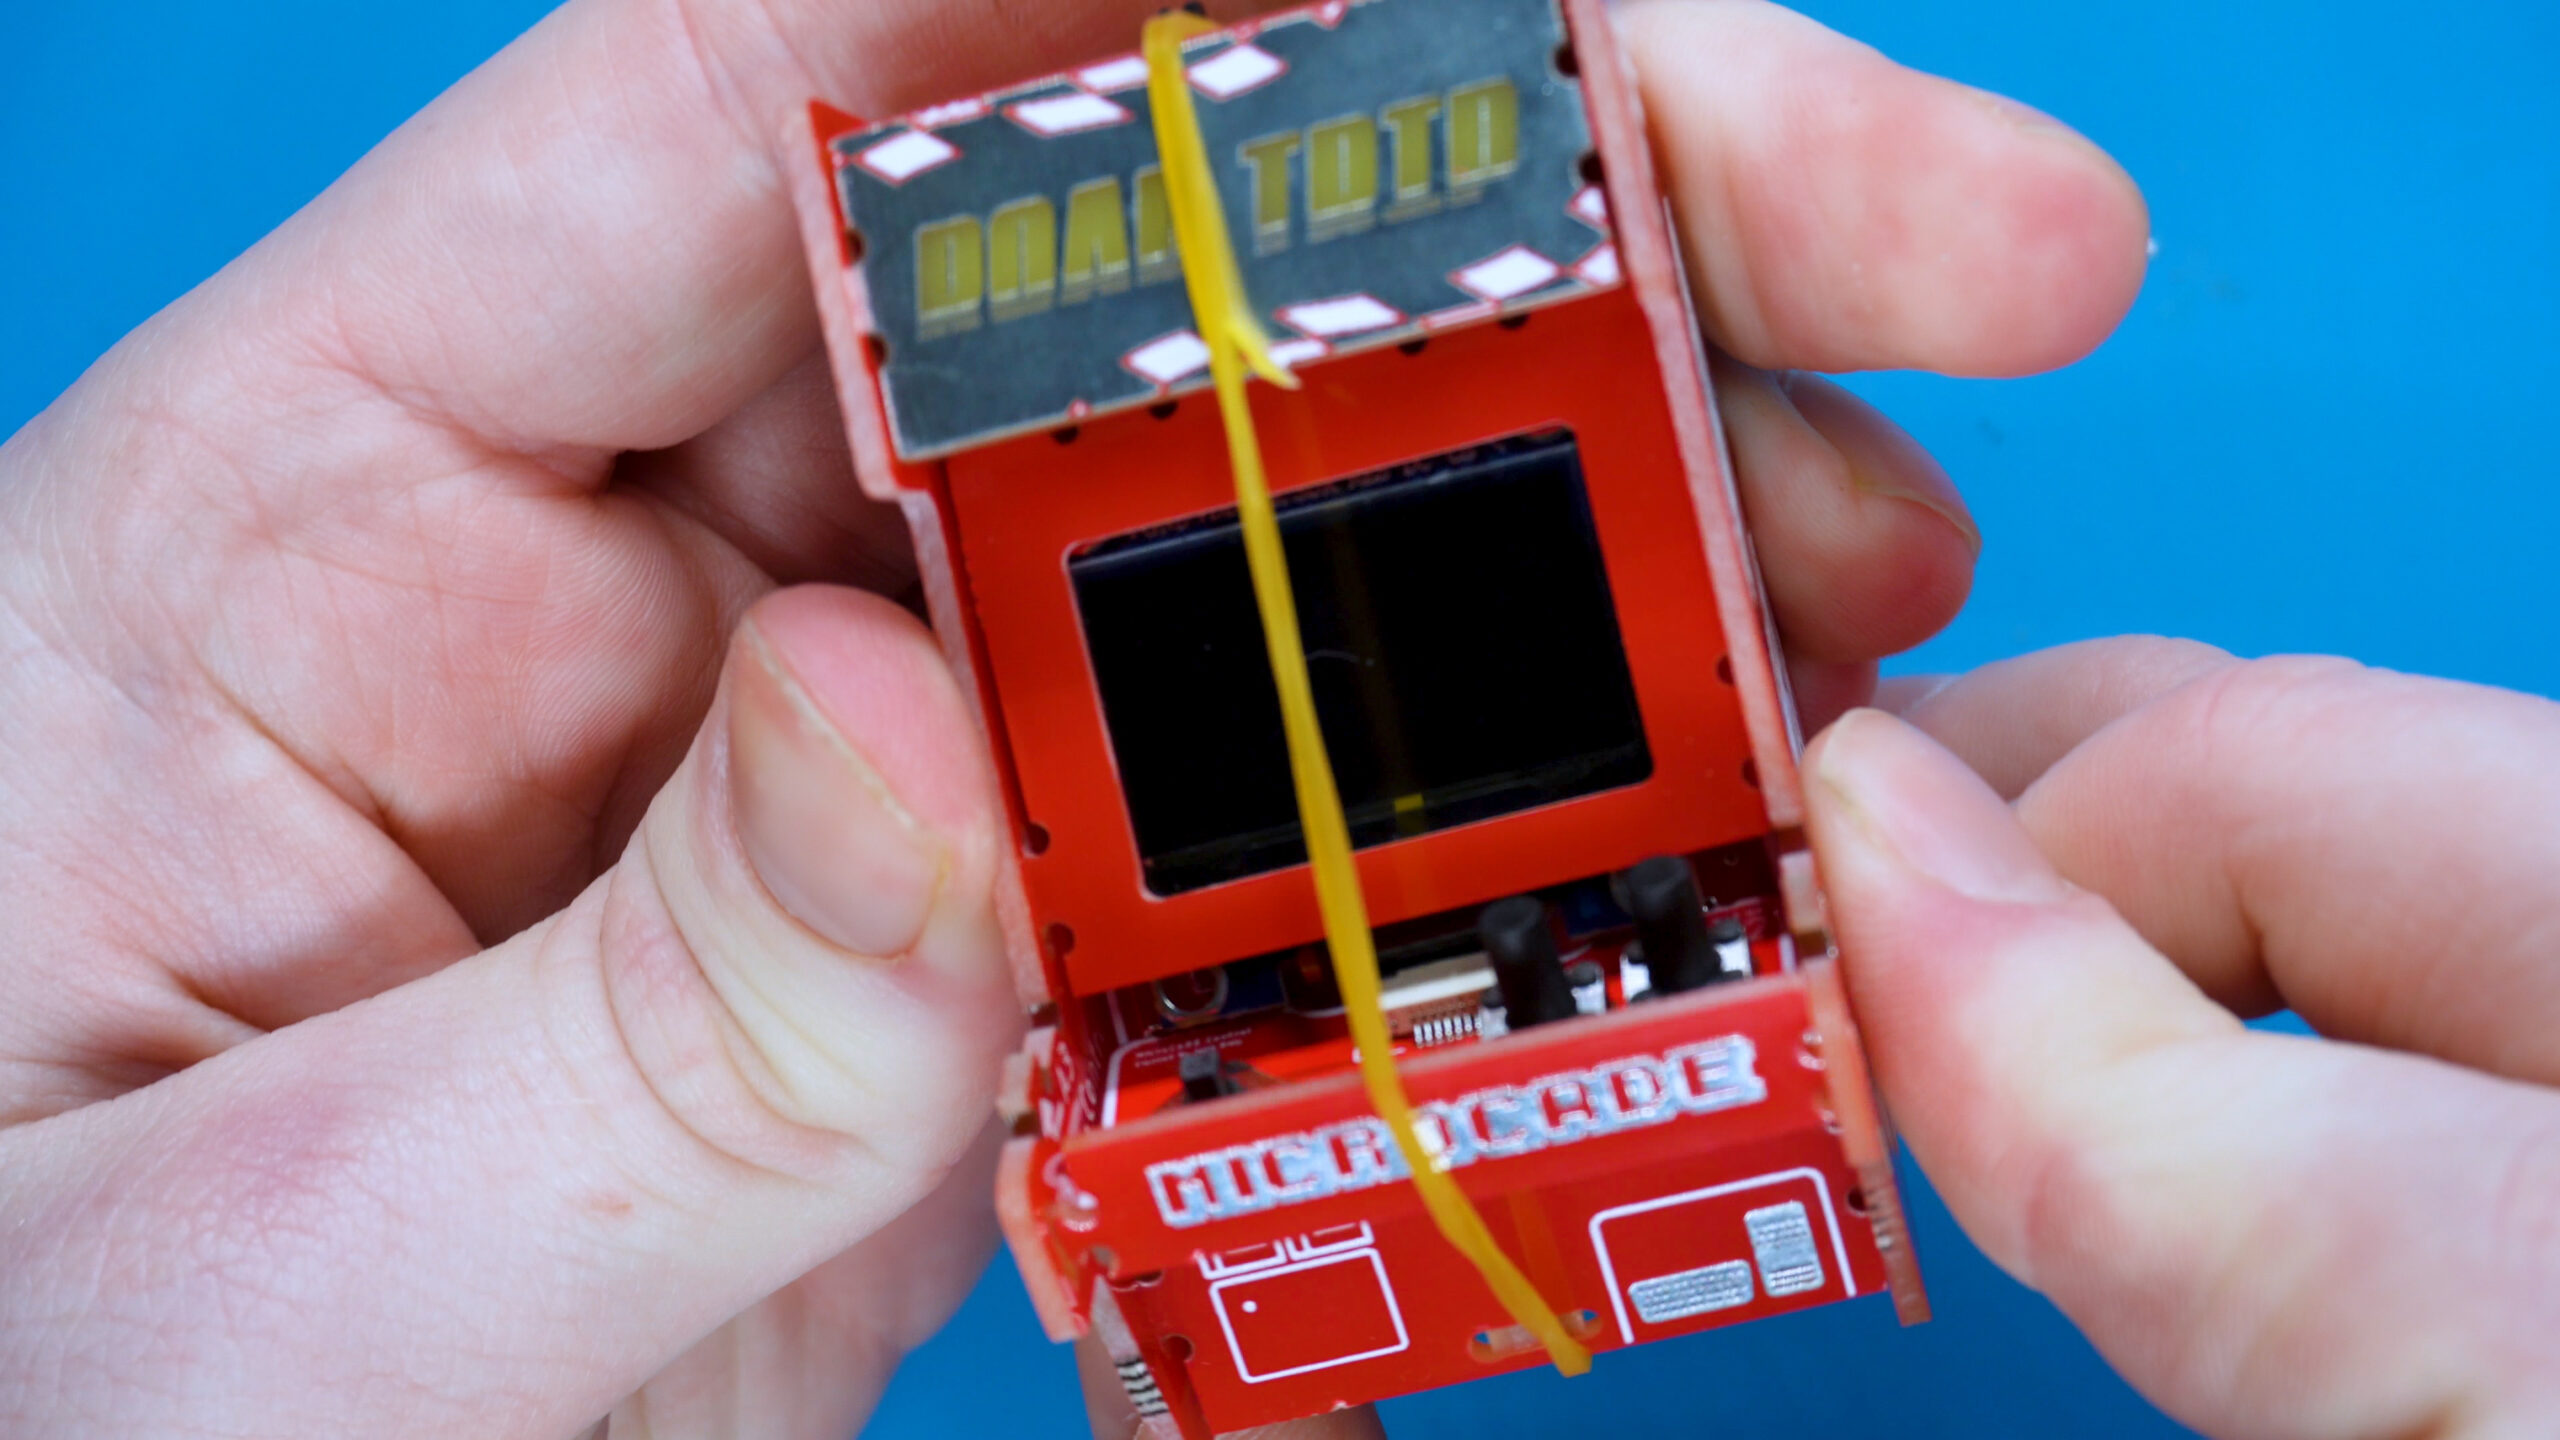
Place the name of your console e.g. ROAD TRIP into the top front slot of the side panel. This is called a marque as it gets backlit by the RGB LED.
Dont worry if it doesn’t stay vertical, we will sort this out in the next few steps
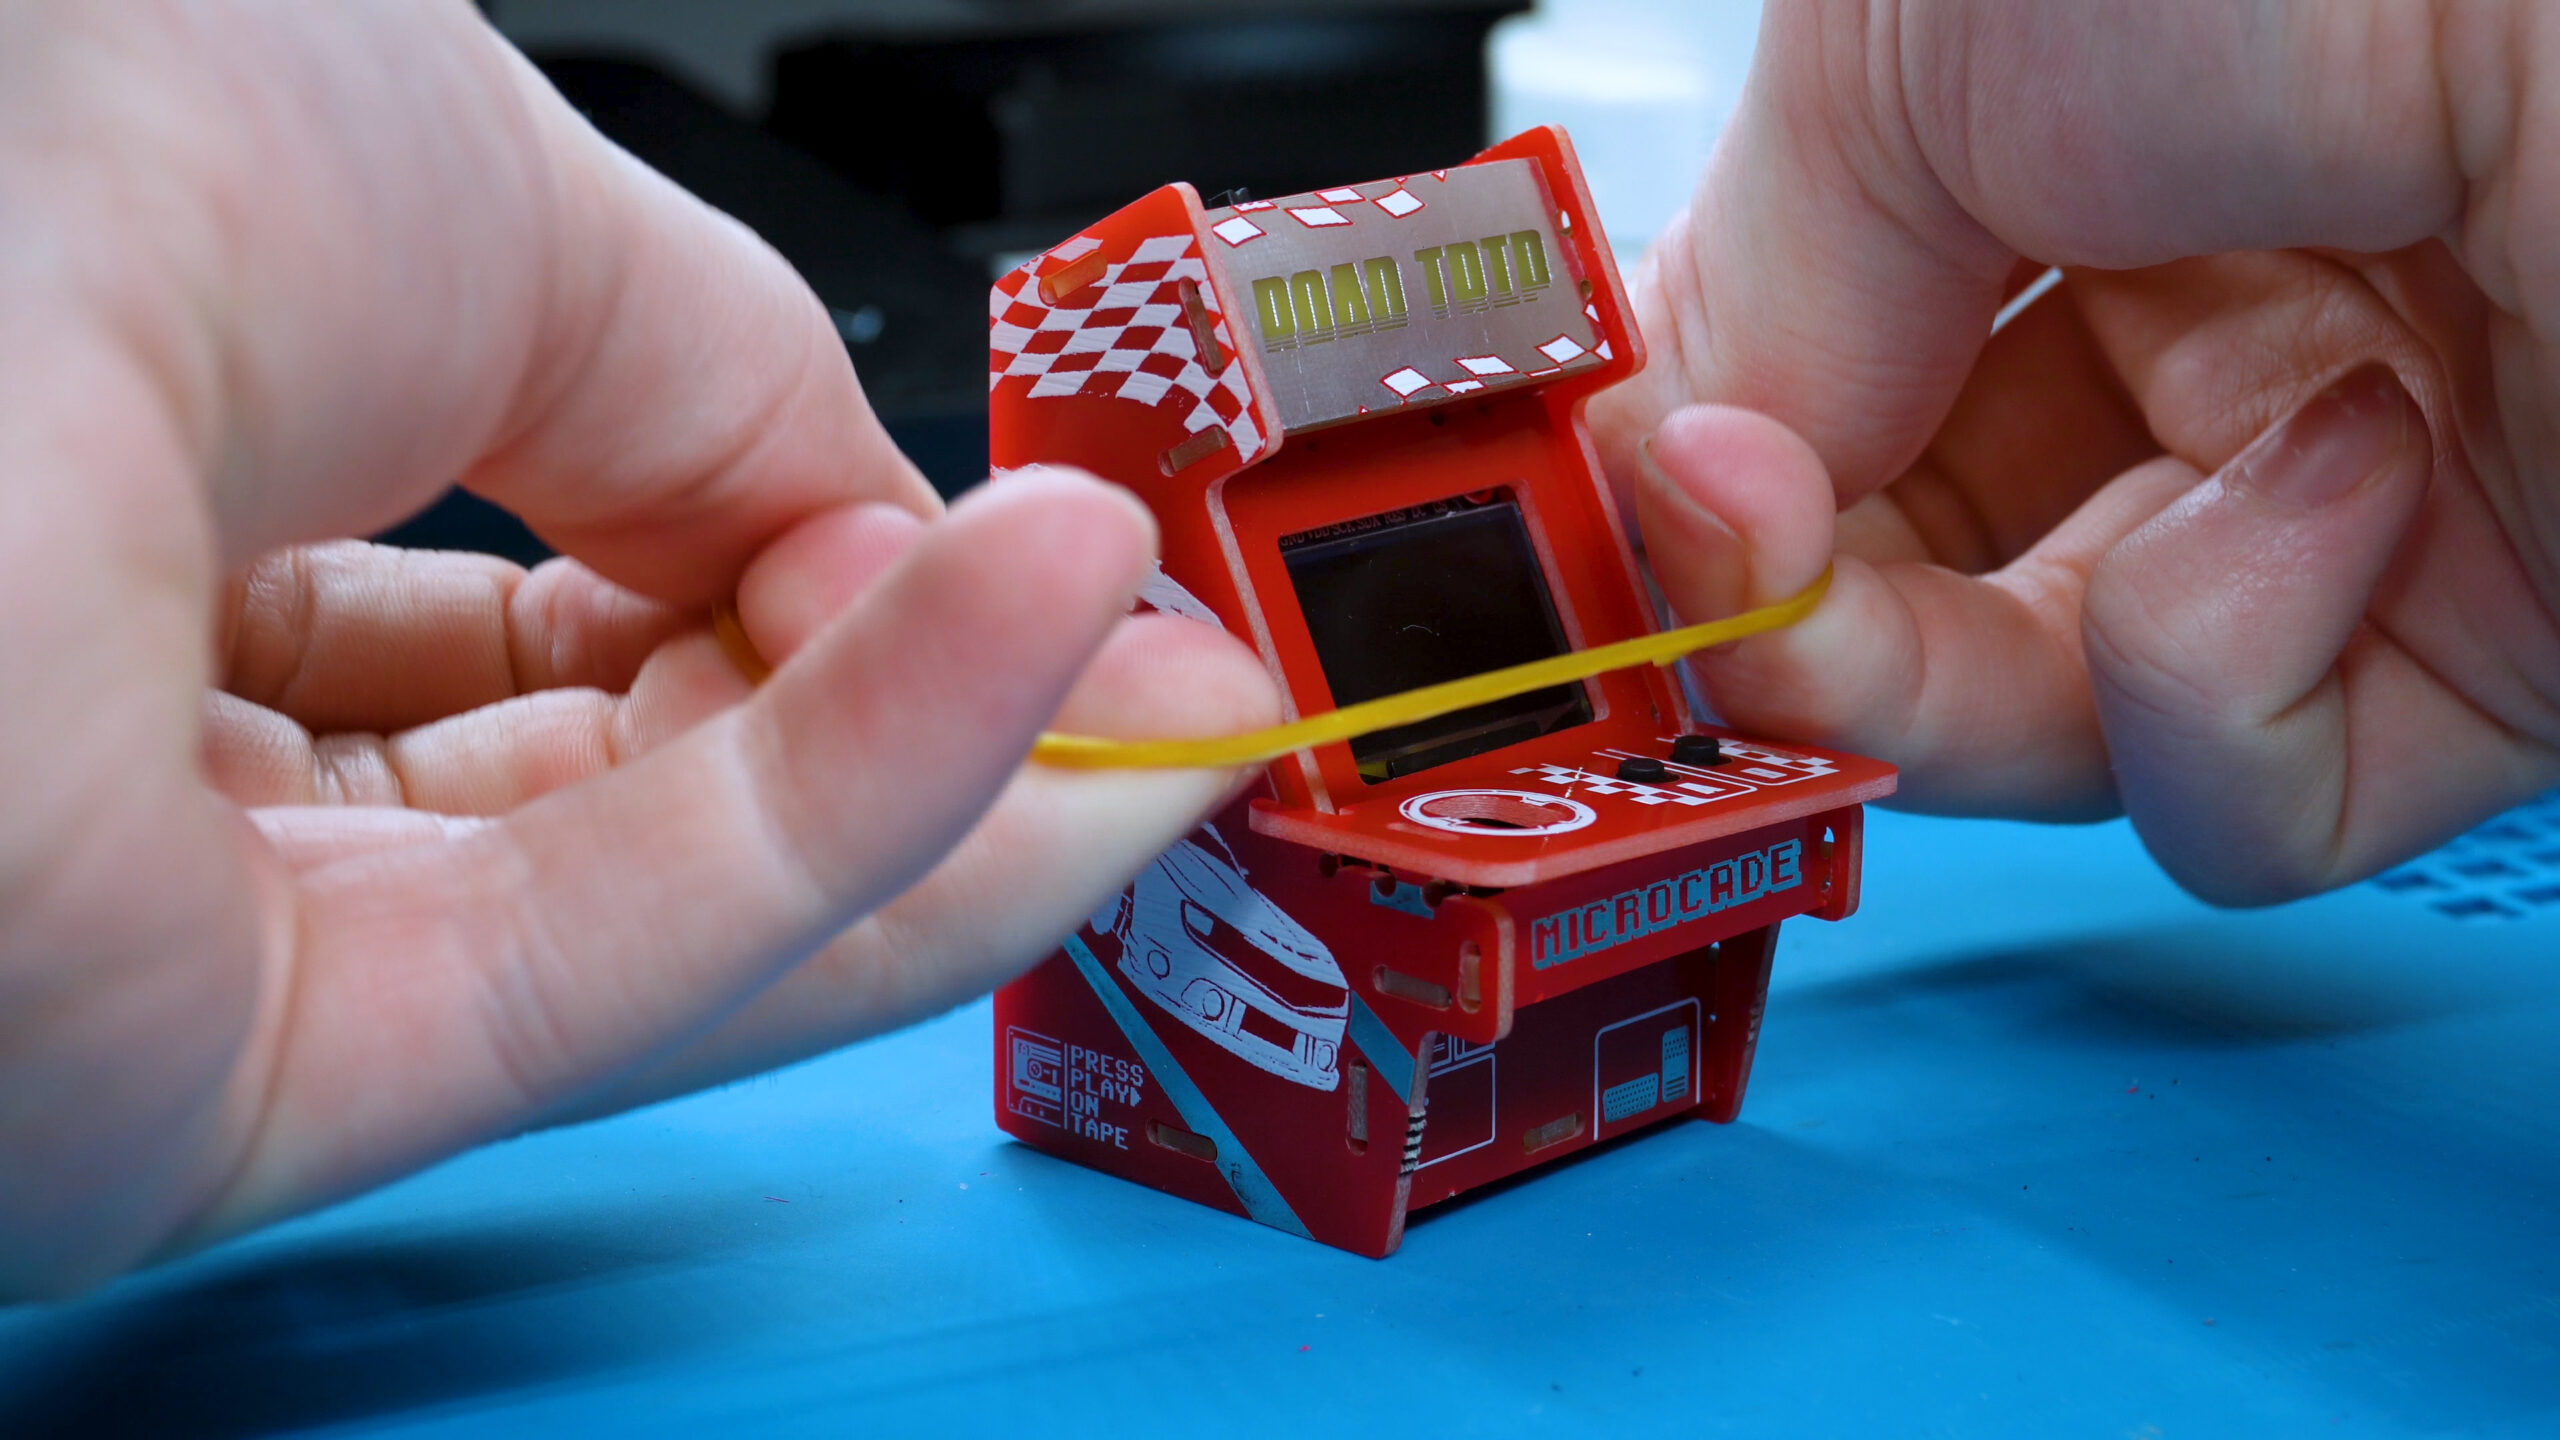
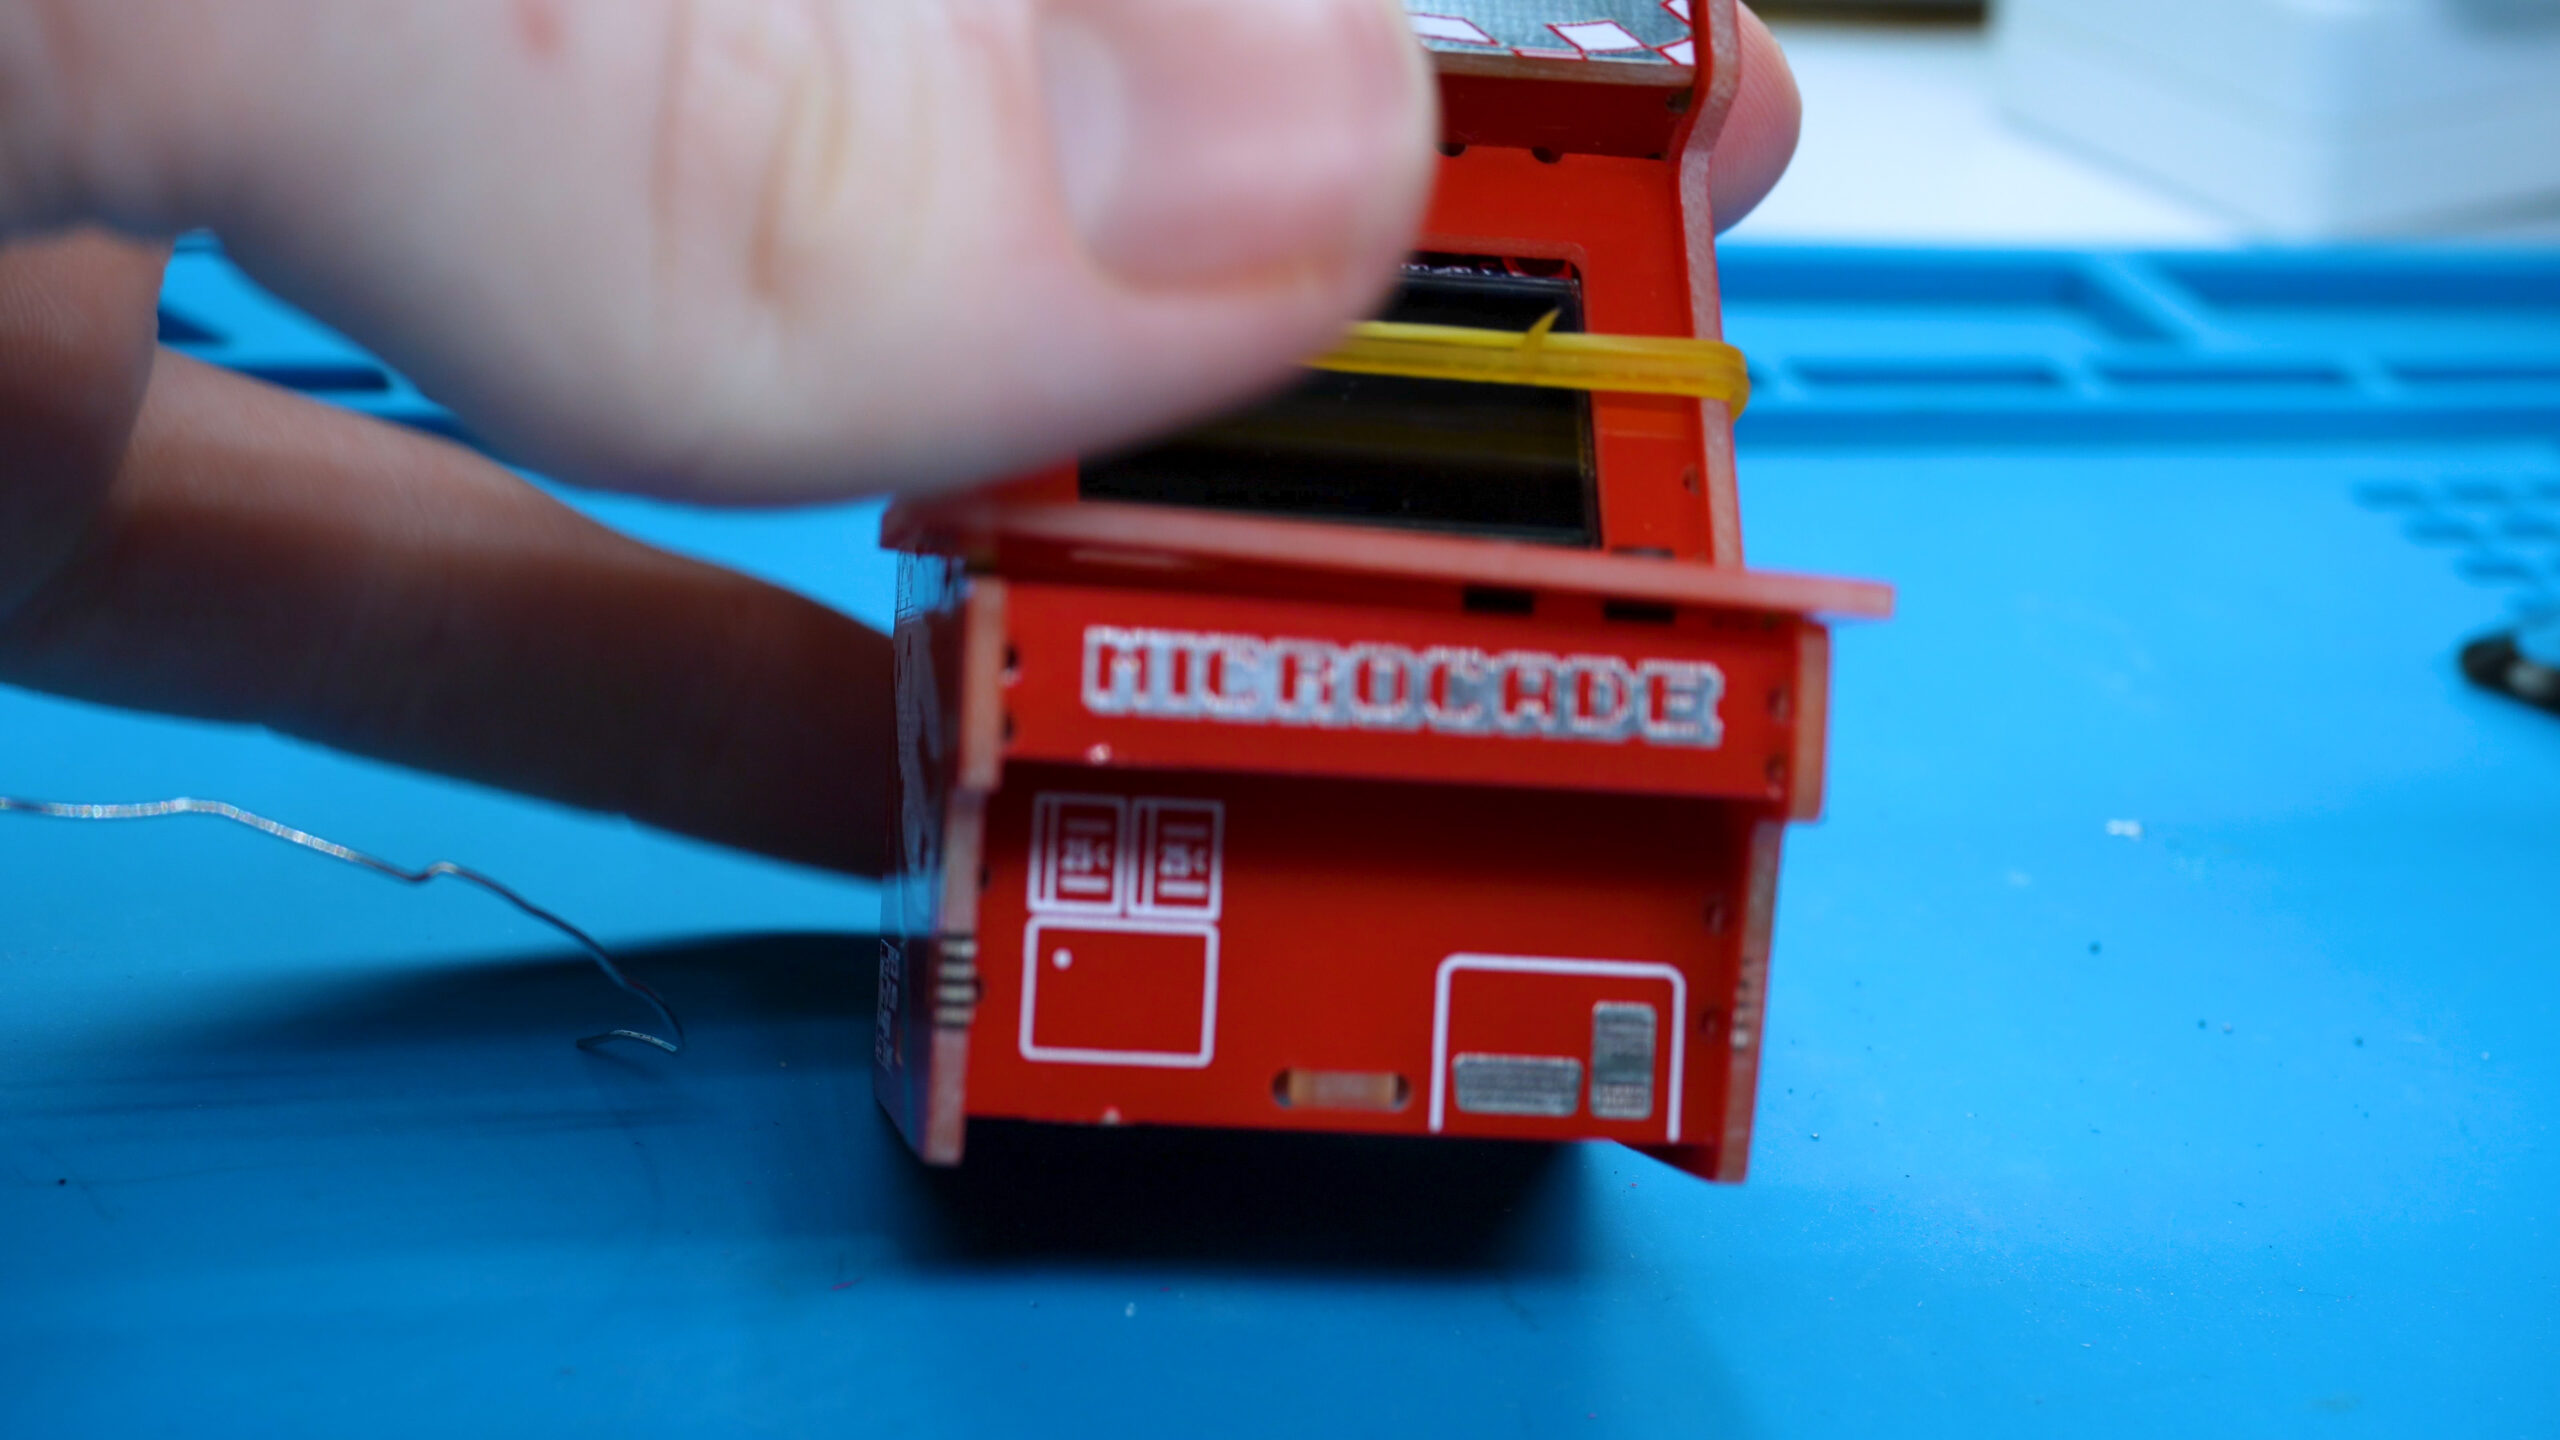
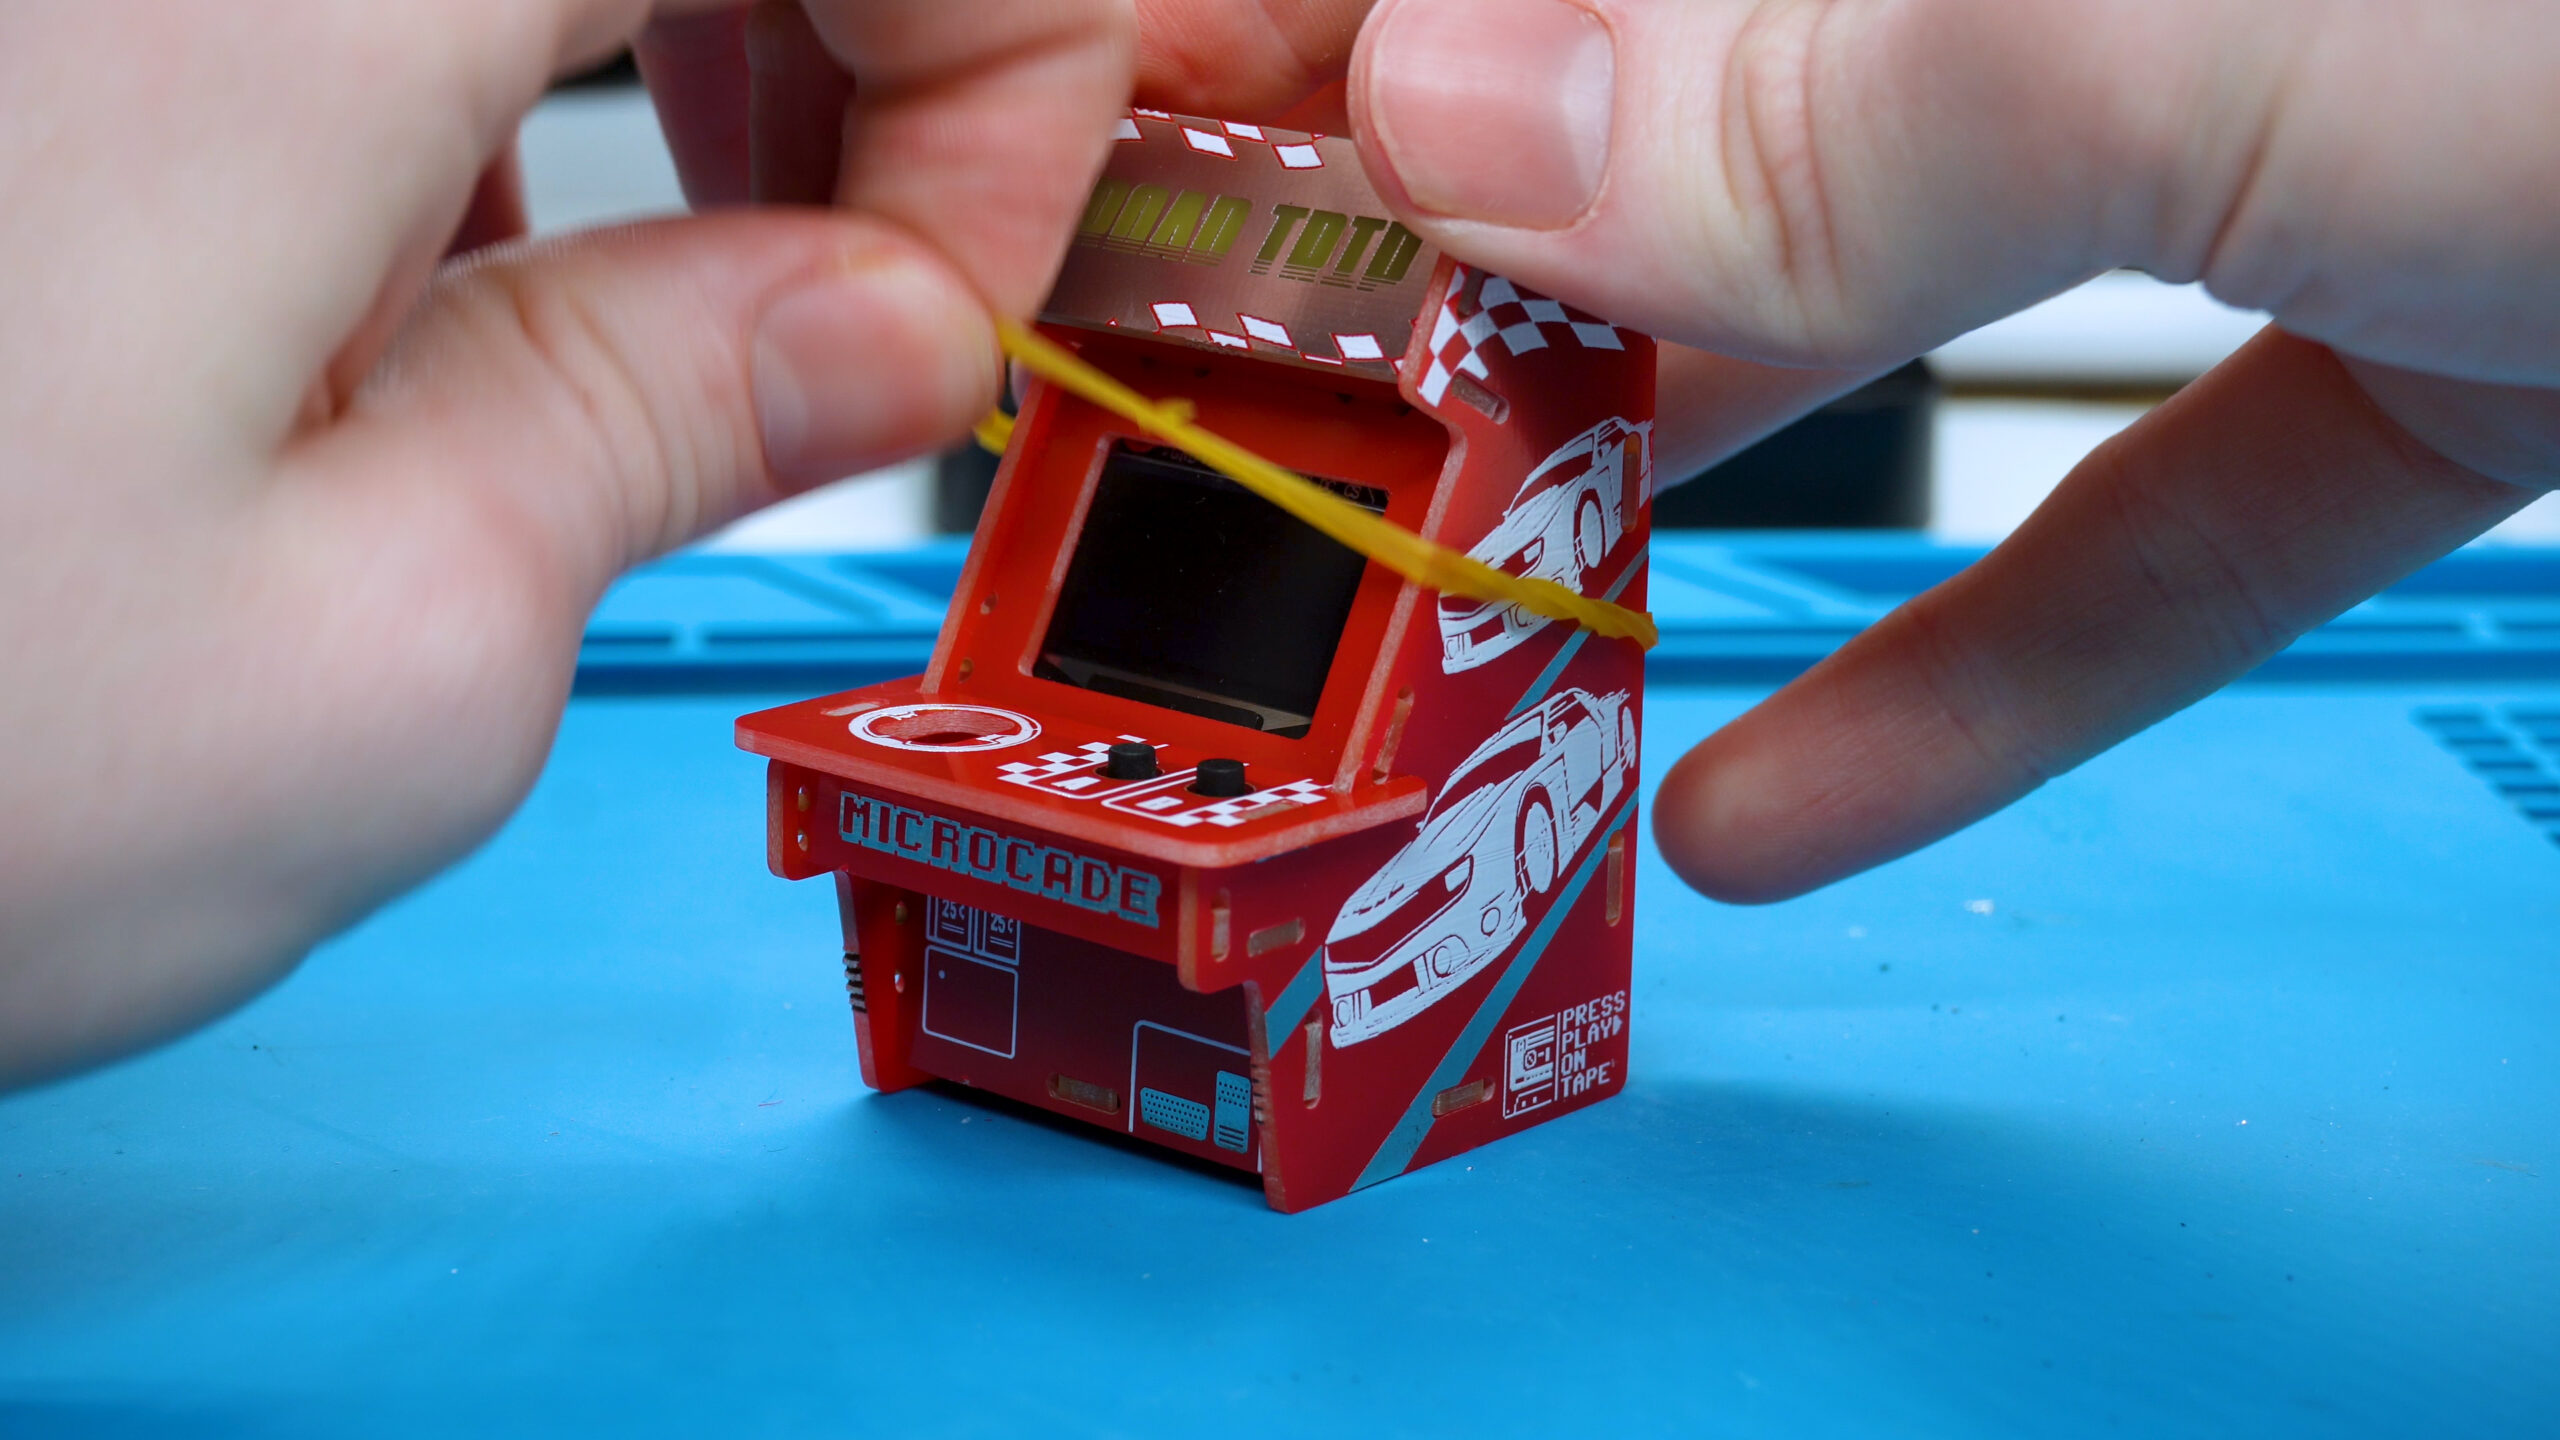
6. Place an elastic band around the assembly
Place the elastic band around the console making sure all the panels are in the SLOTS. They will then be pushed up vertical
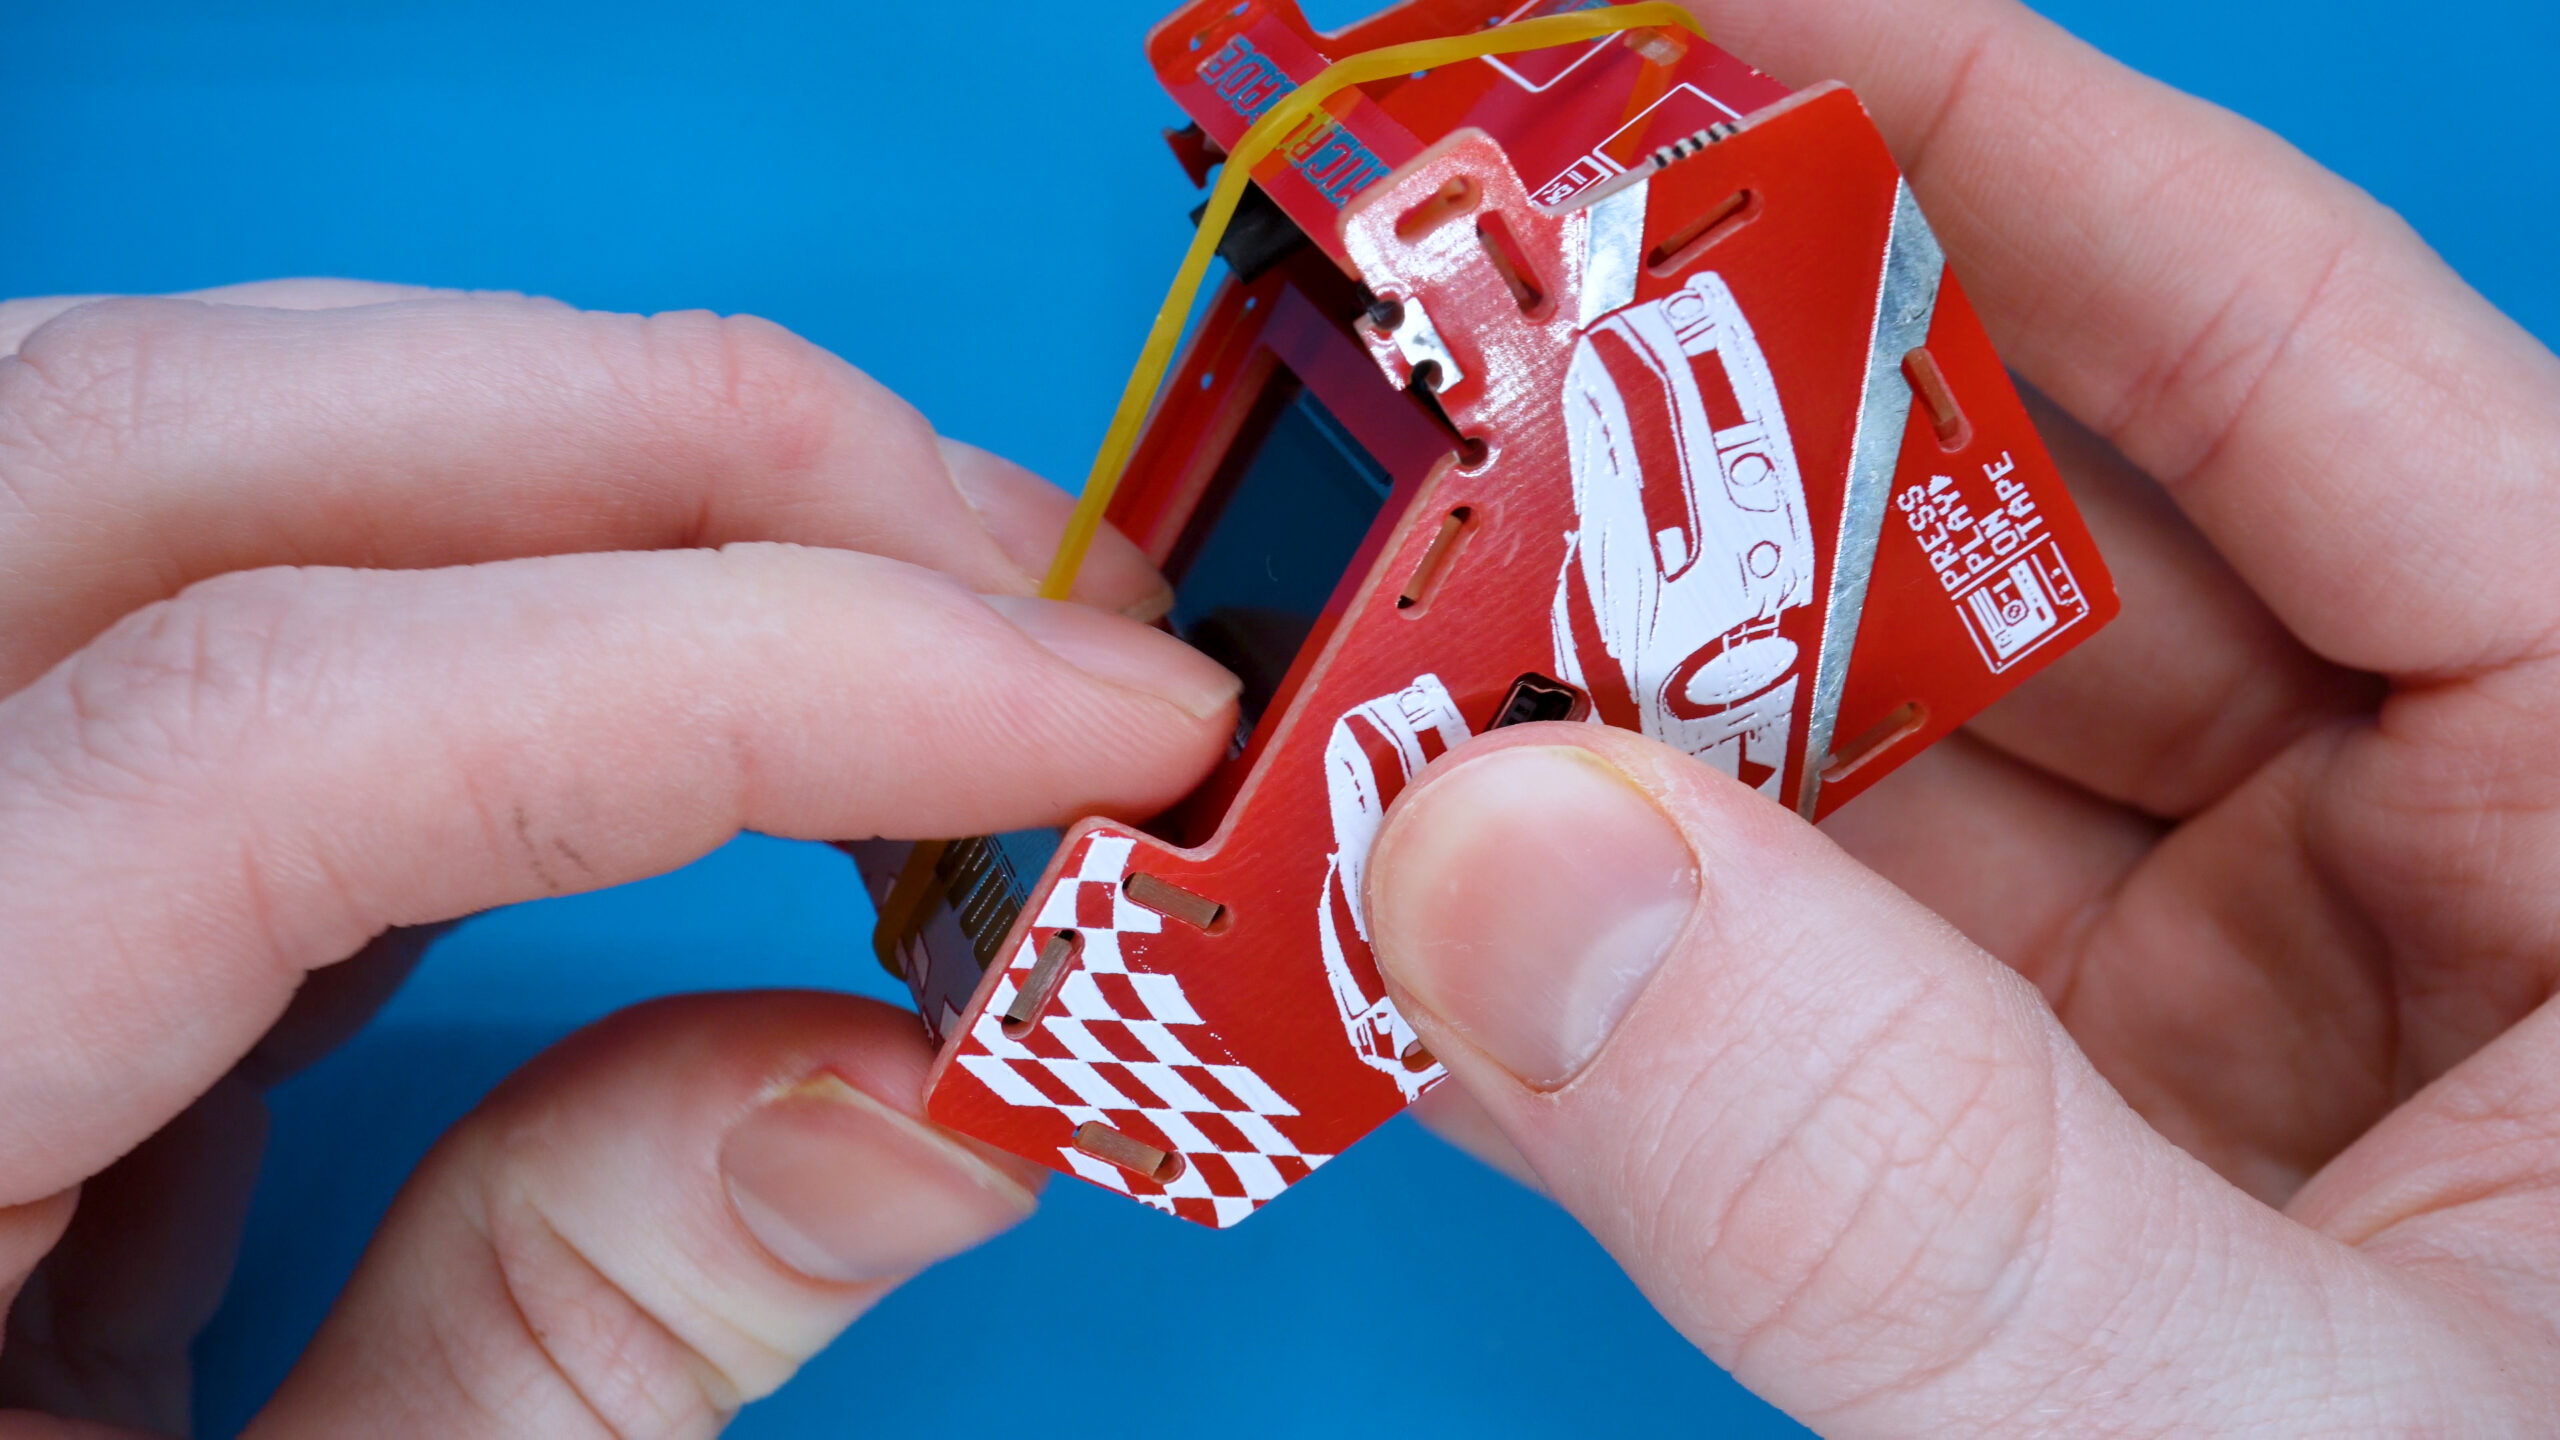
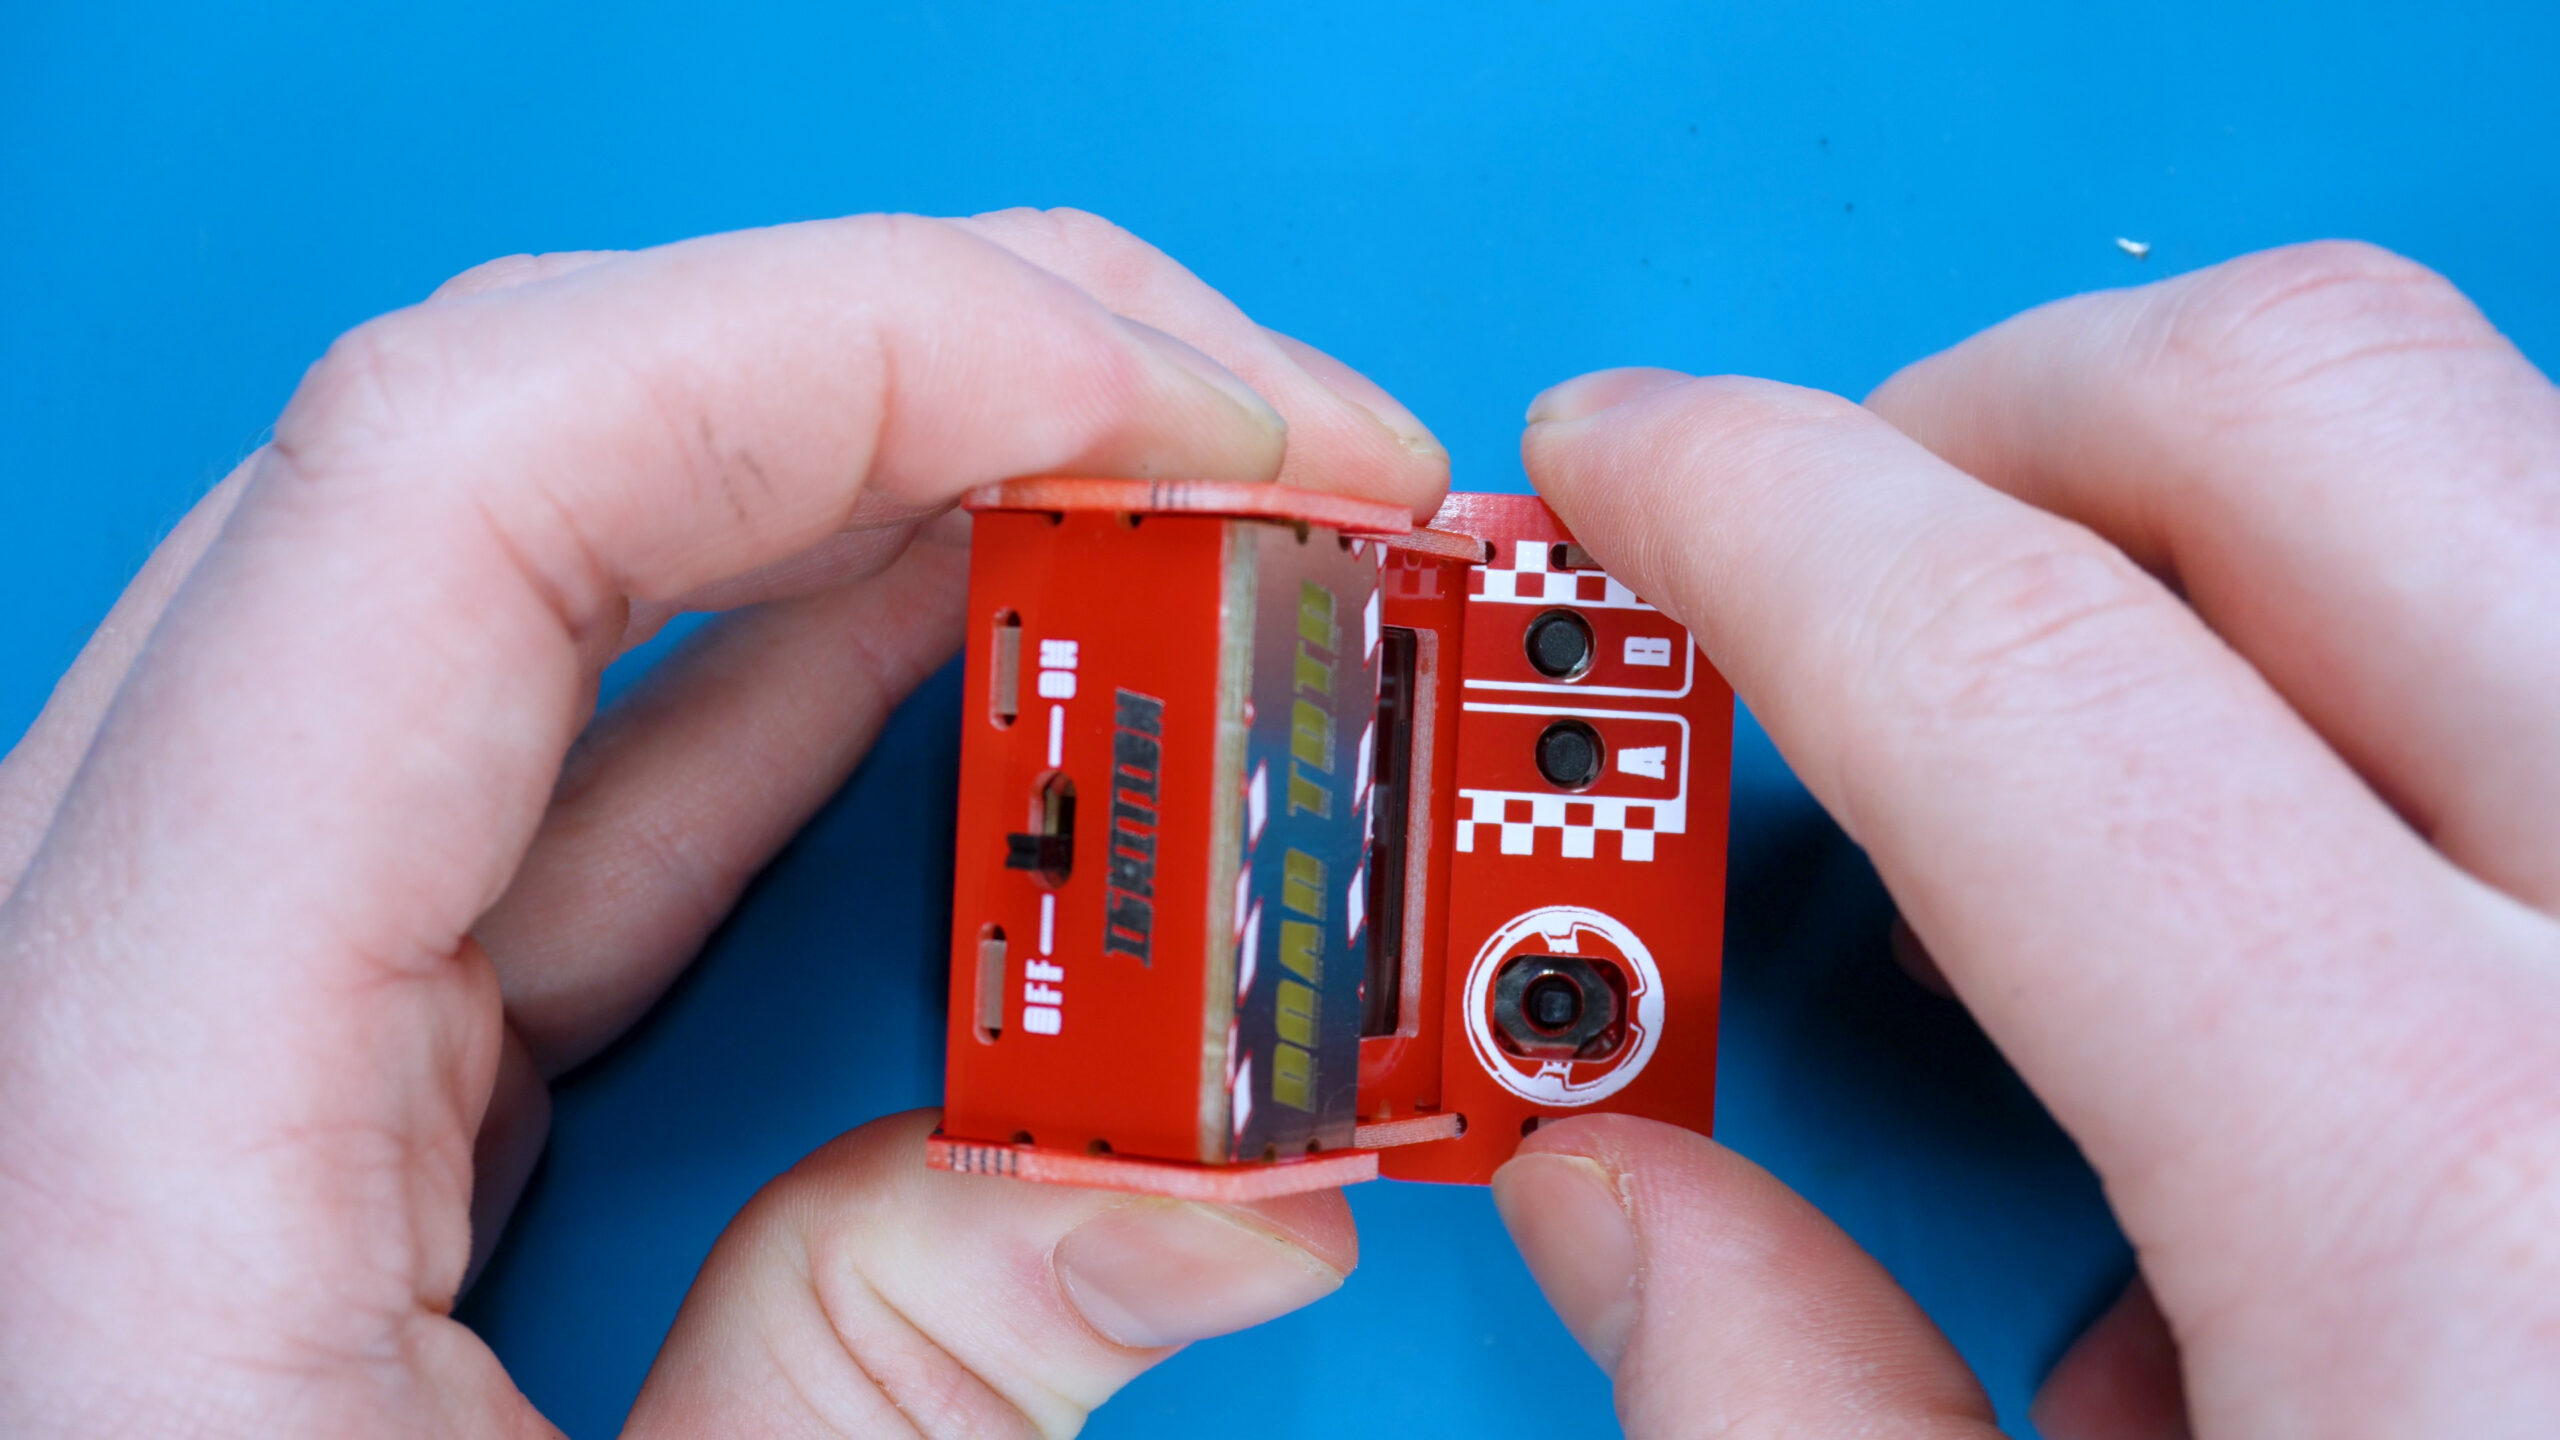
7. Place the other side panel on
Place the other side panel ontop and push the panels inwards until they CLICK or SNAP in place. It can get quite fiddly so take your time. Once in, you can take the elastic band on WHILE pinching the console together.
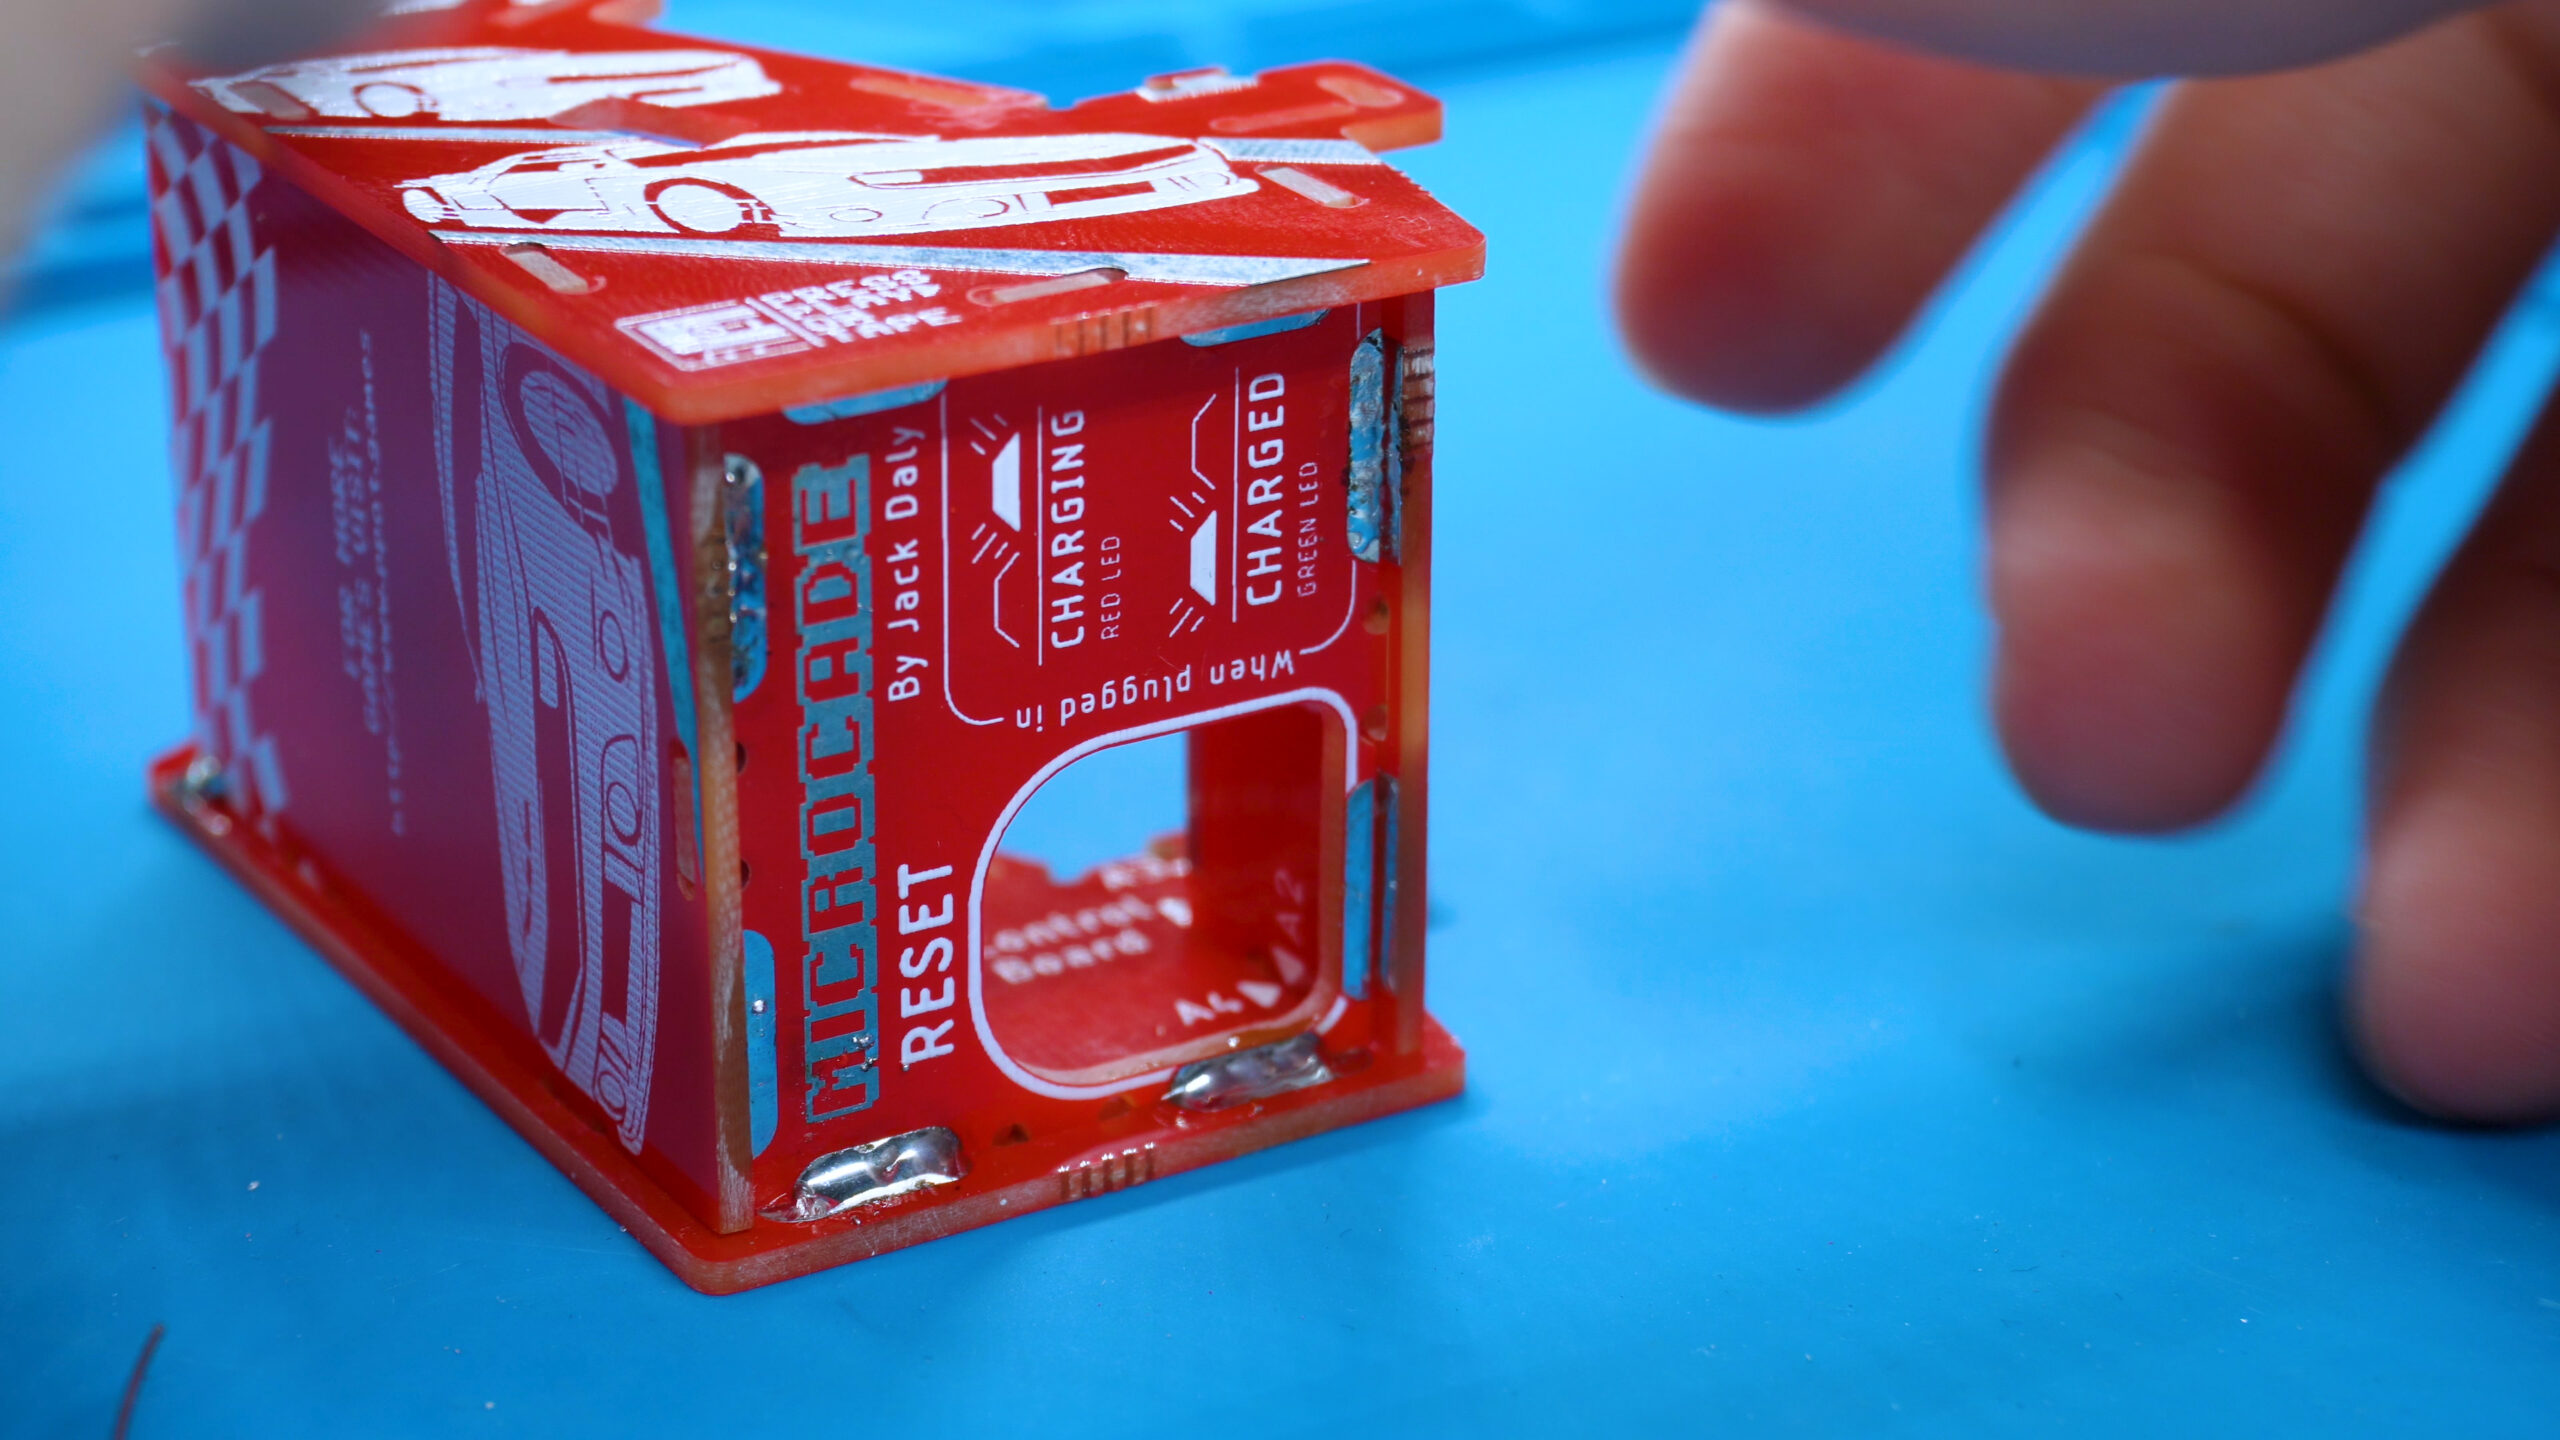
8. Place the control board panel on
Place the control board panel on. This will keep the console together.
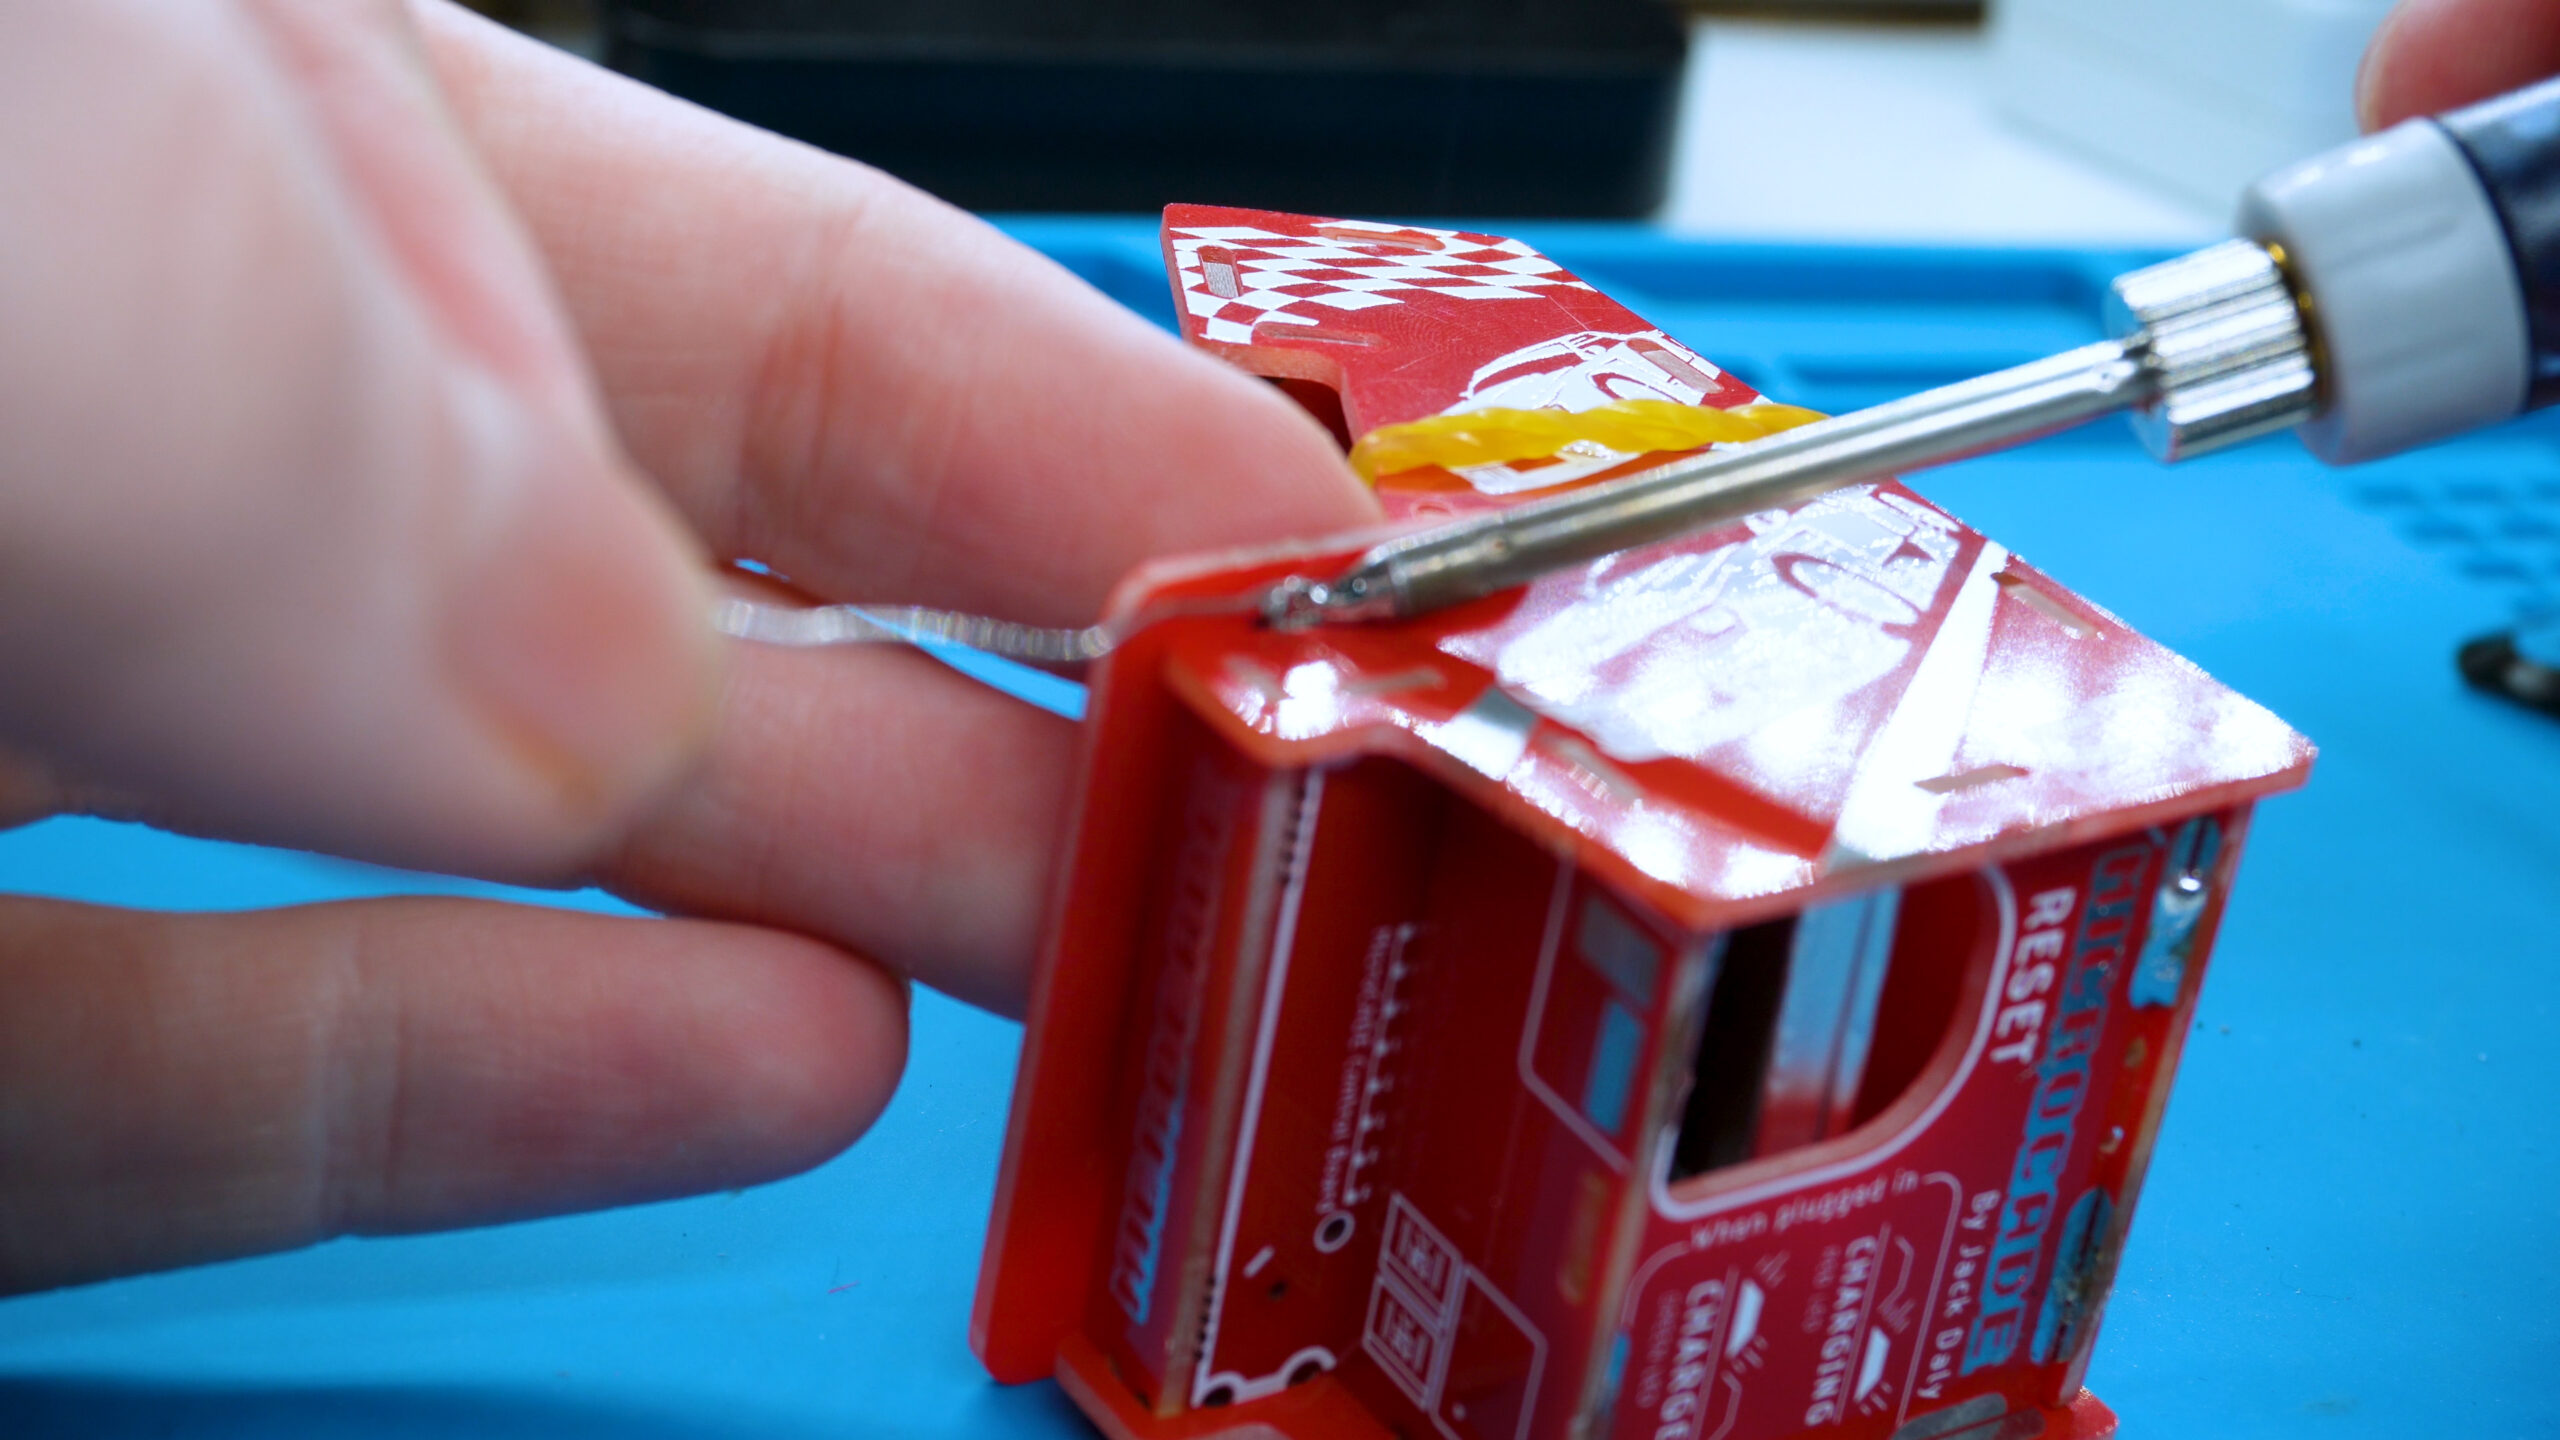
We will also add the elastic band AROUND the console to secure everything together while we solder the final joints.
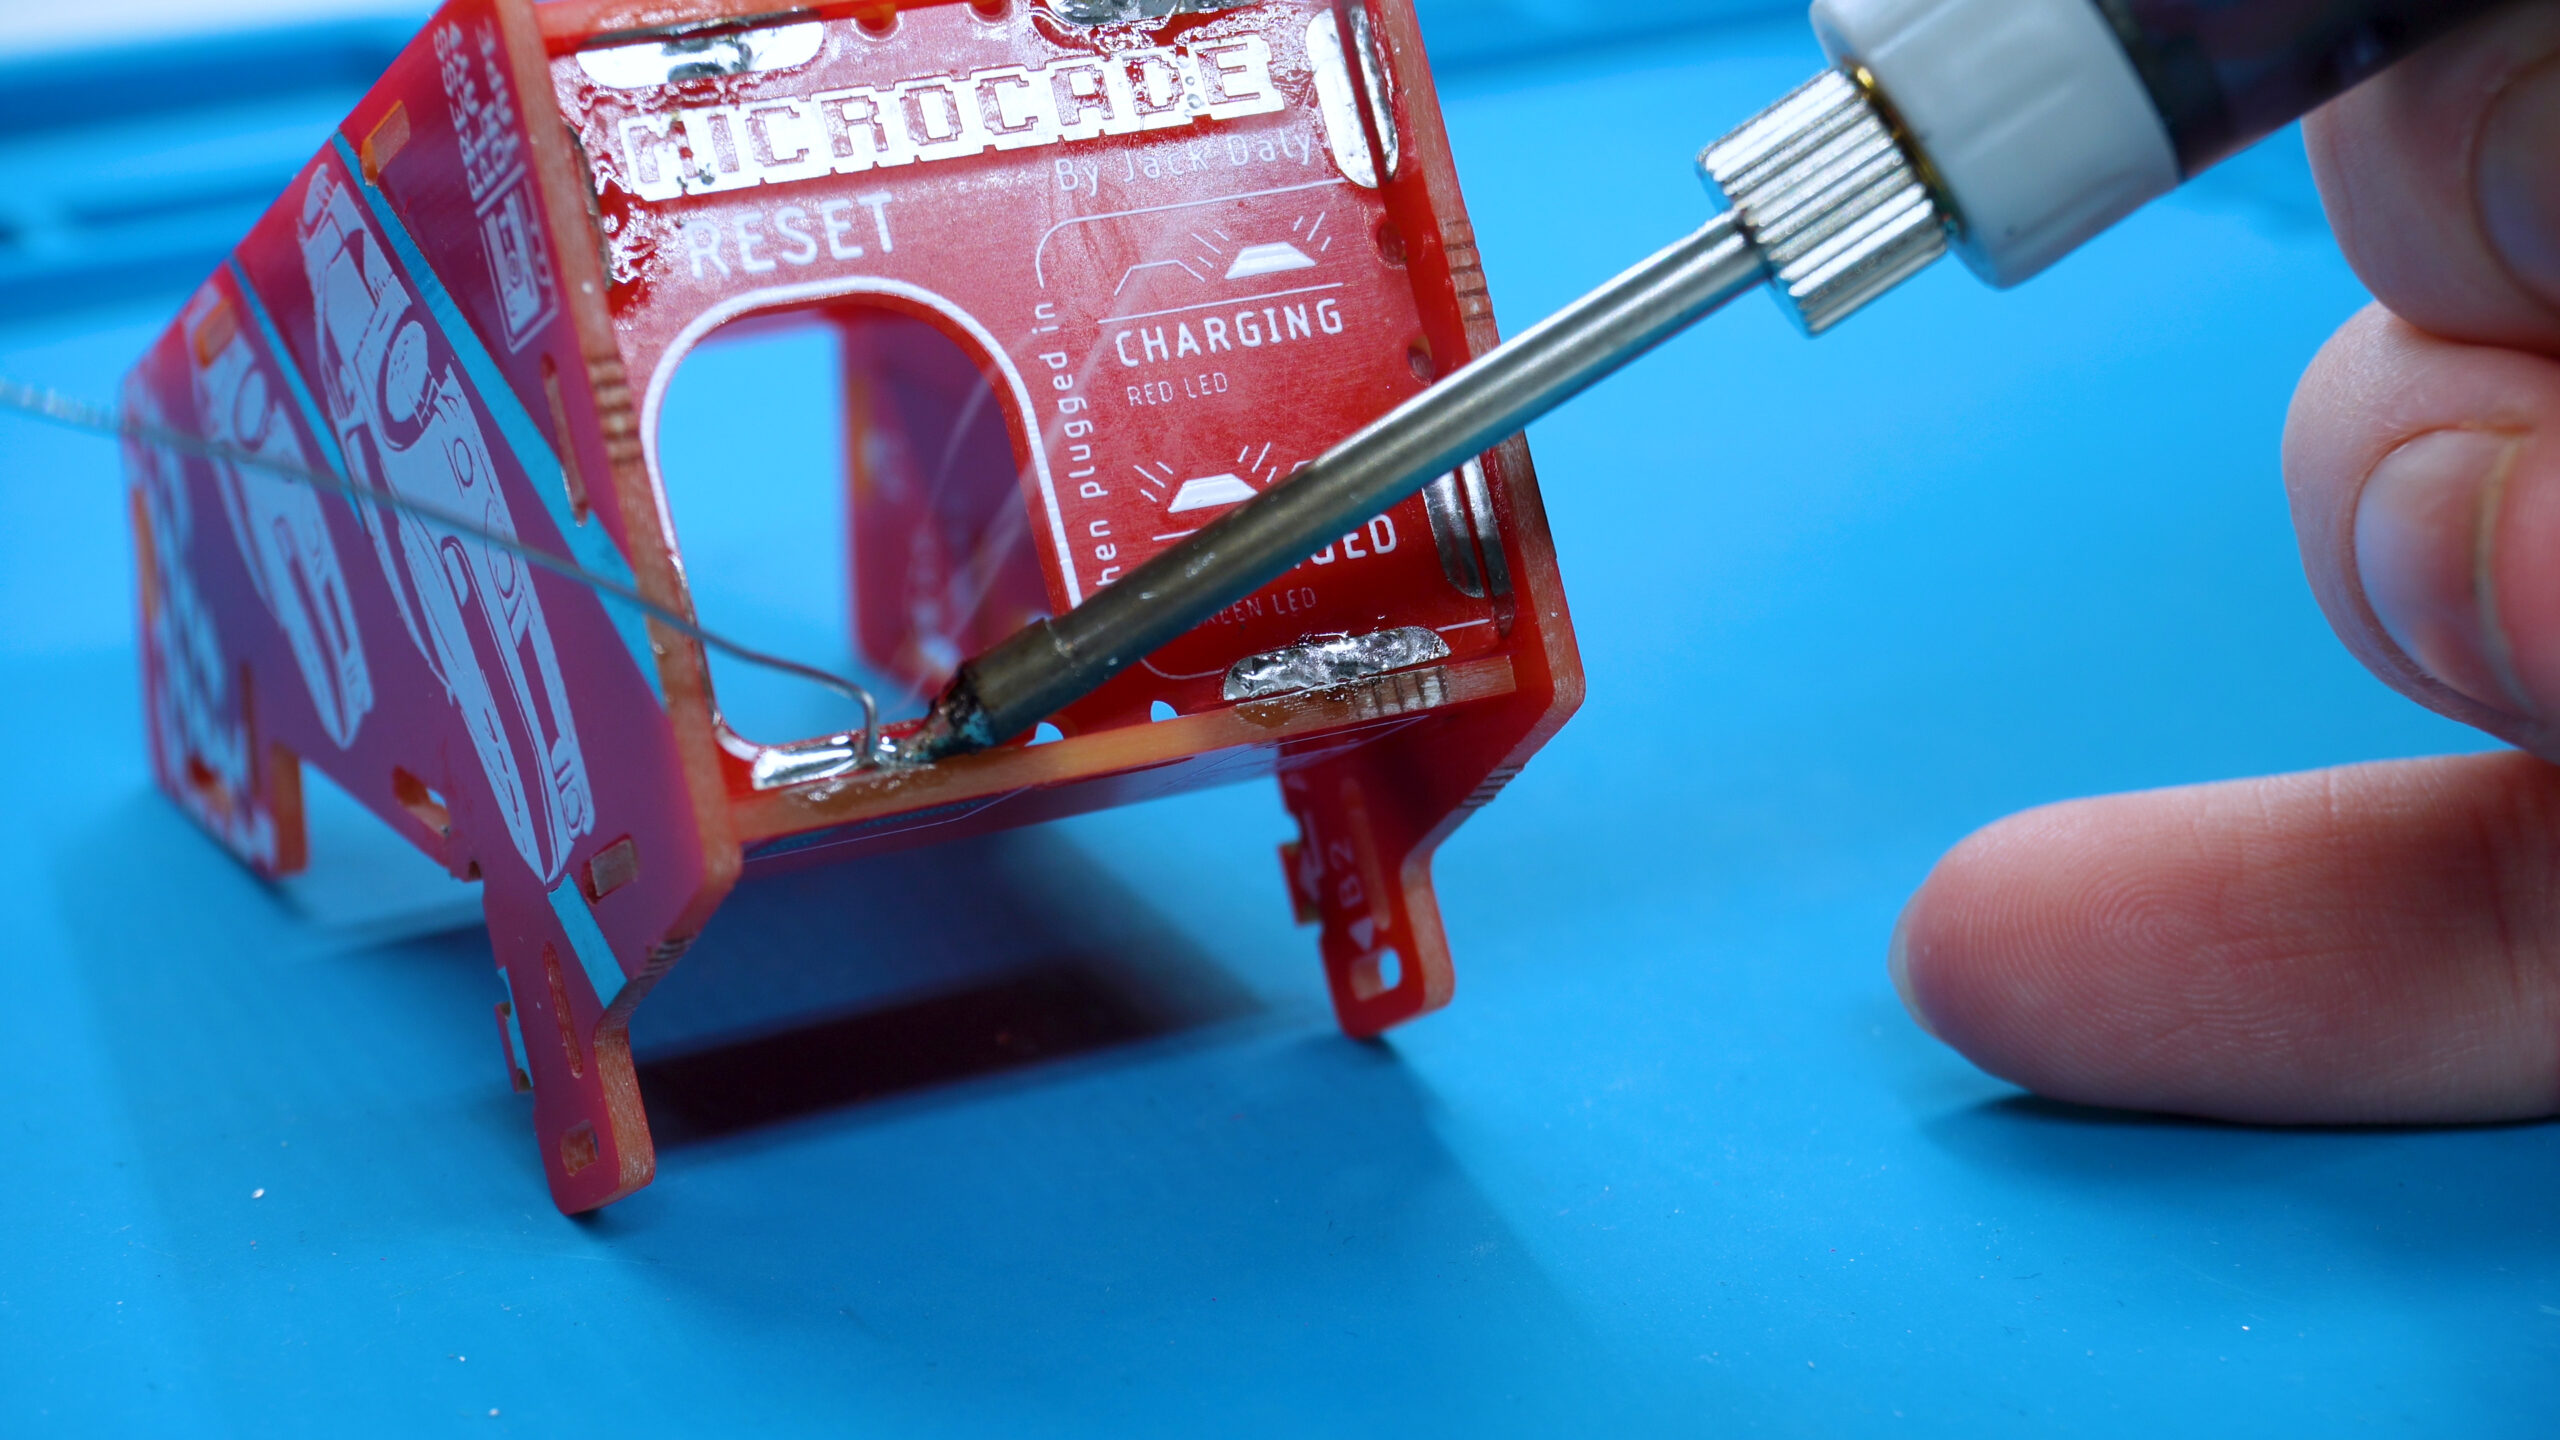
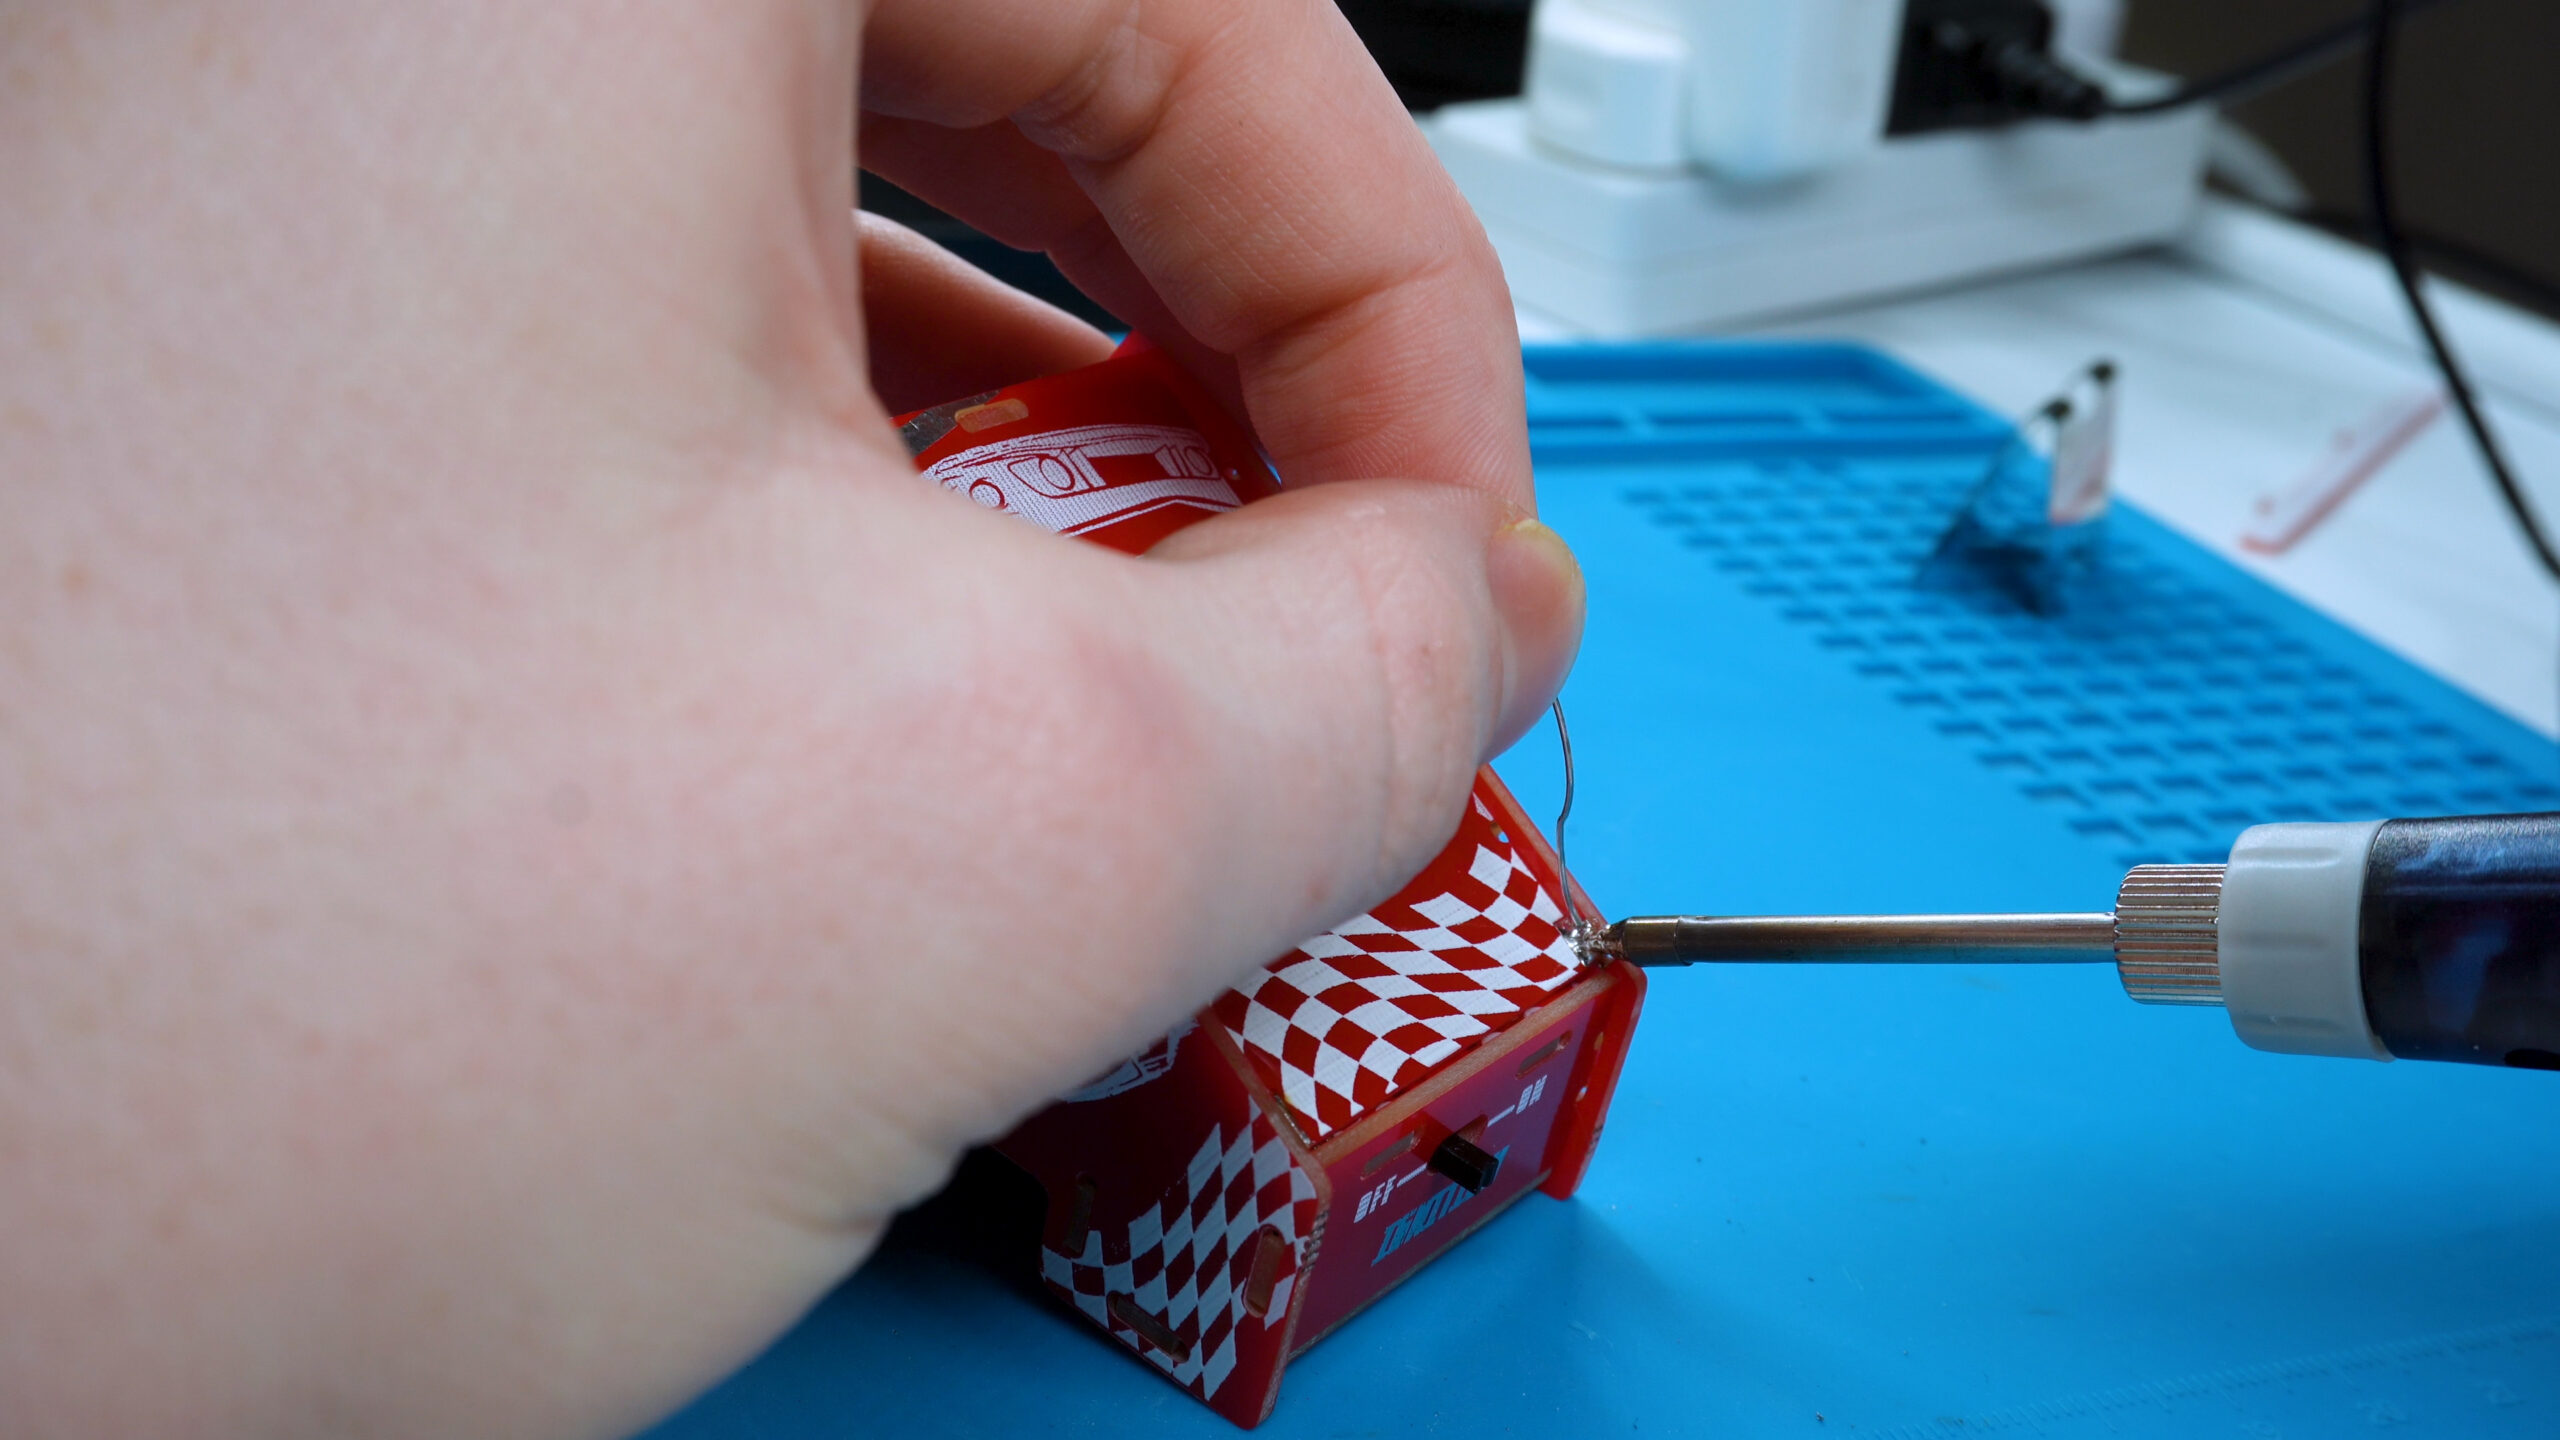
1. Solder control panel on
Turn the console upside down to solder the joints underneath the control panel. For this, it’s important to solder one on, make sure it sits horizontally and solder the other one on the other side.
If it doesn’t sit flat, do the trick we used before: reflow the joint, adjust the panel till its flat, and remove the soldering iron to solidify it in place.
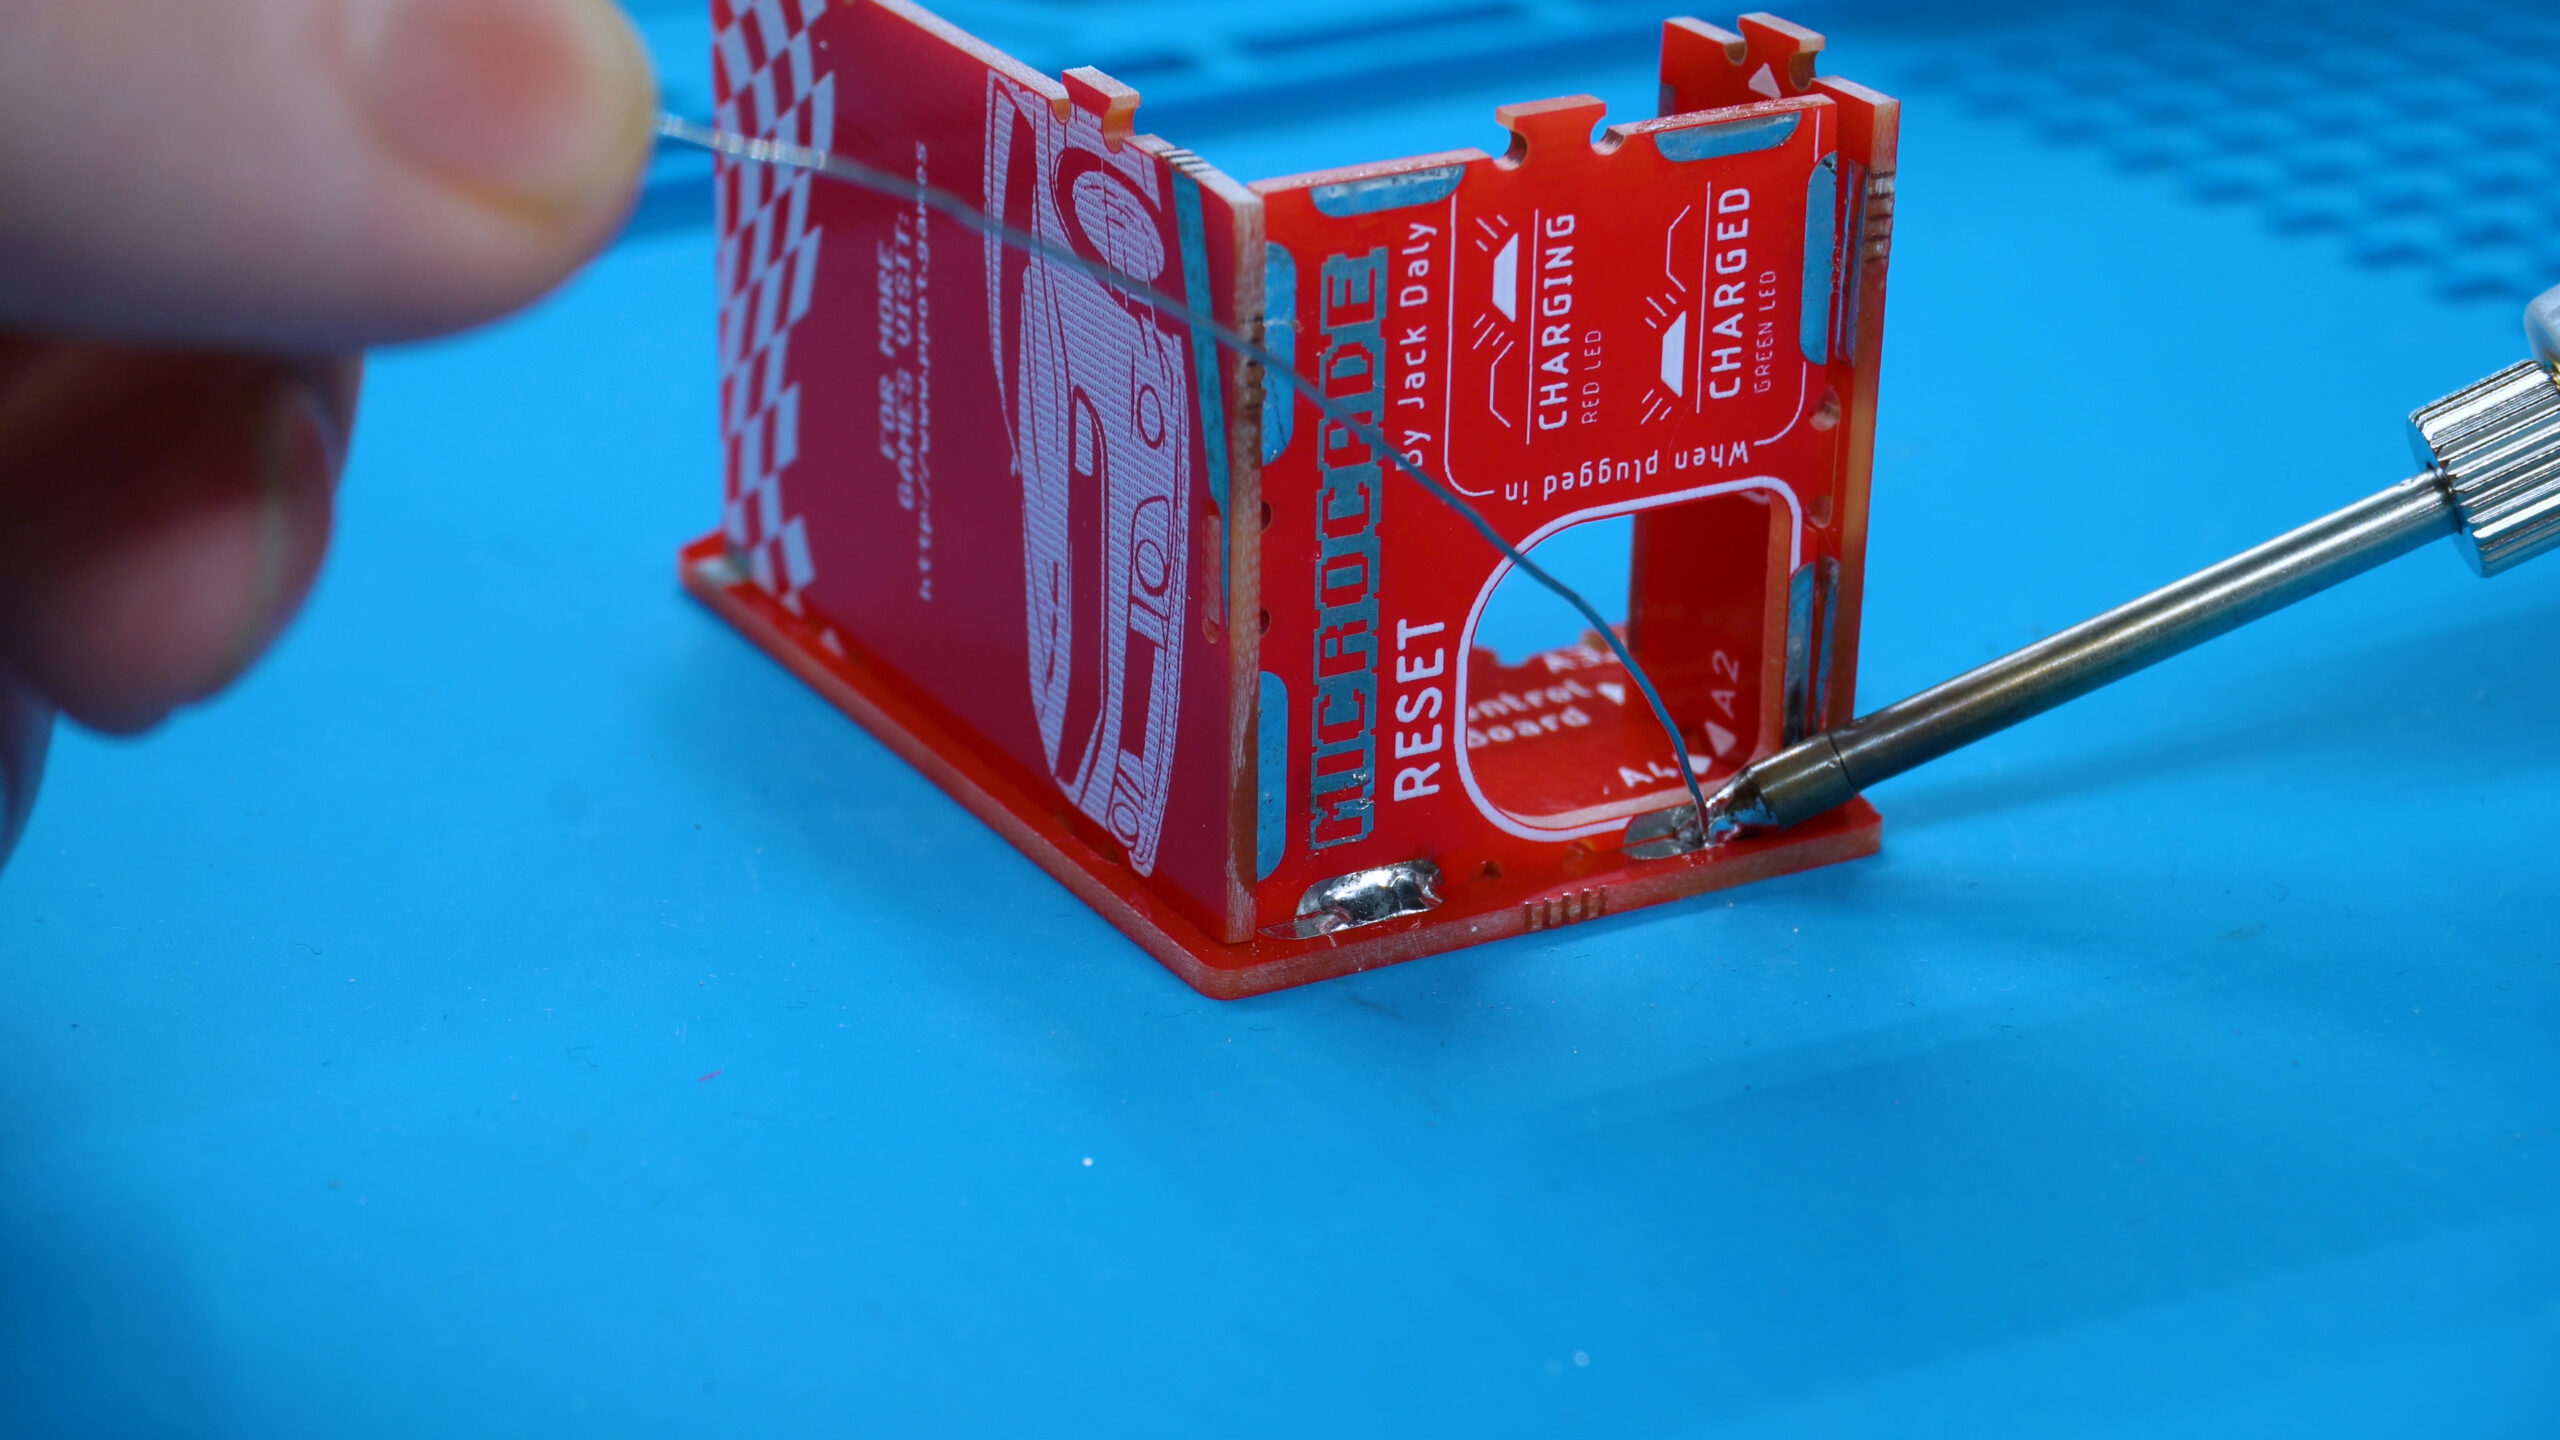
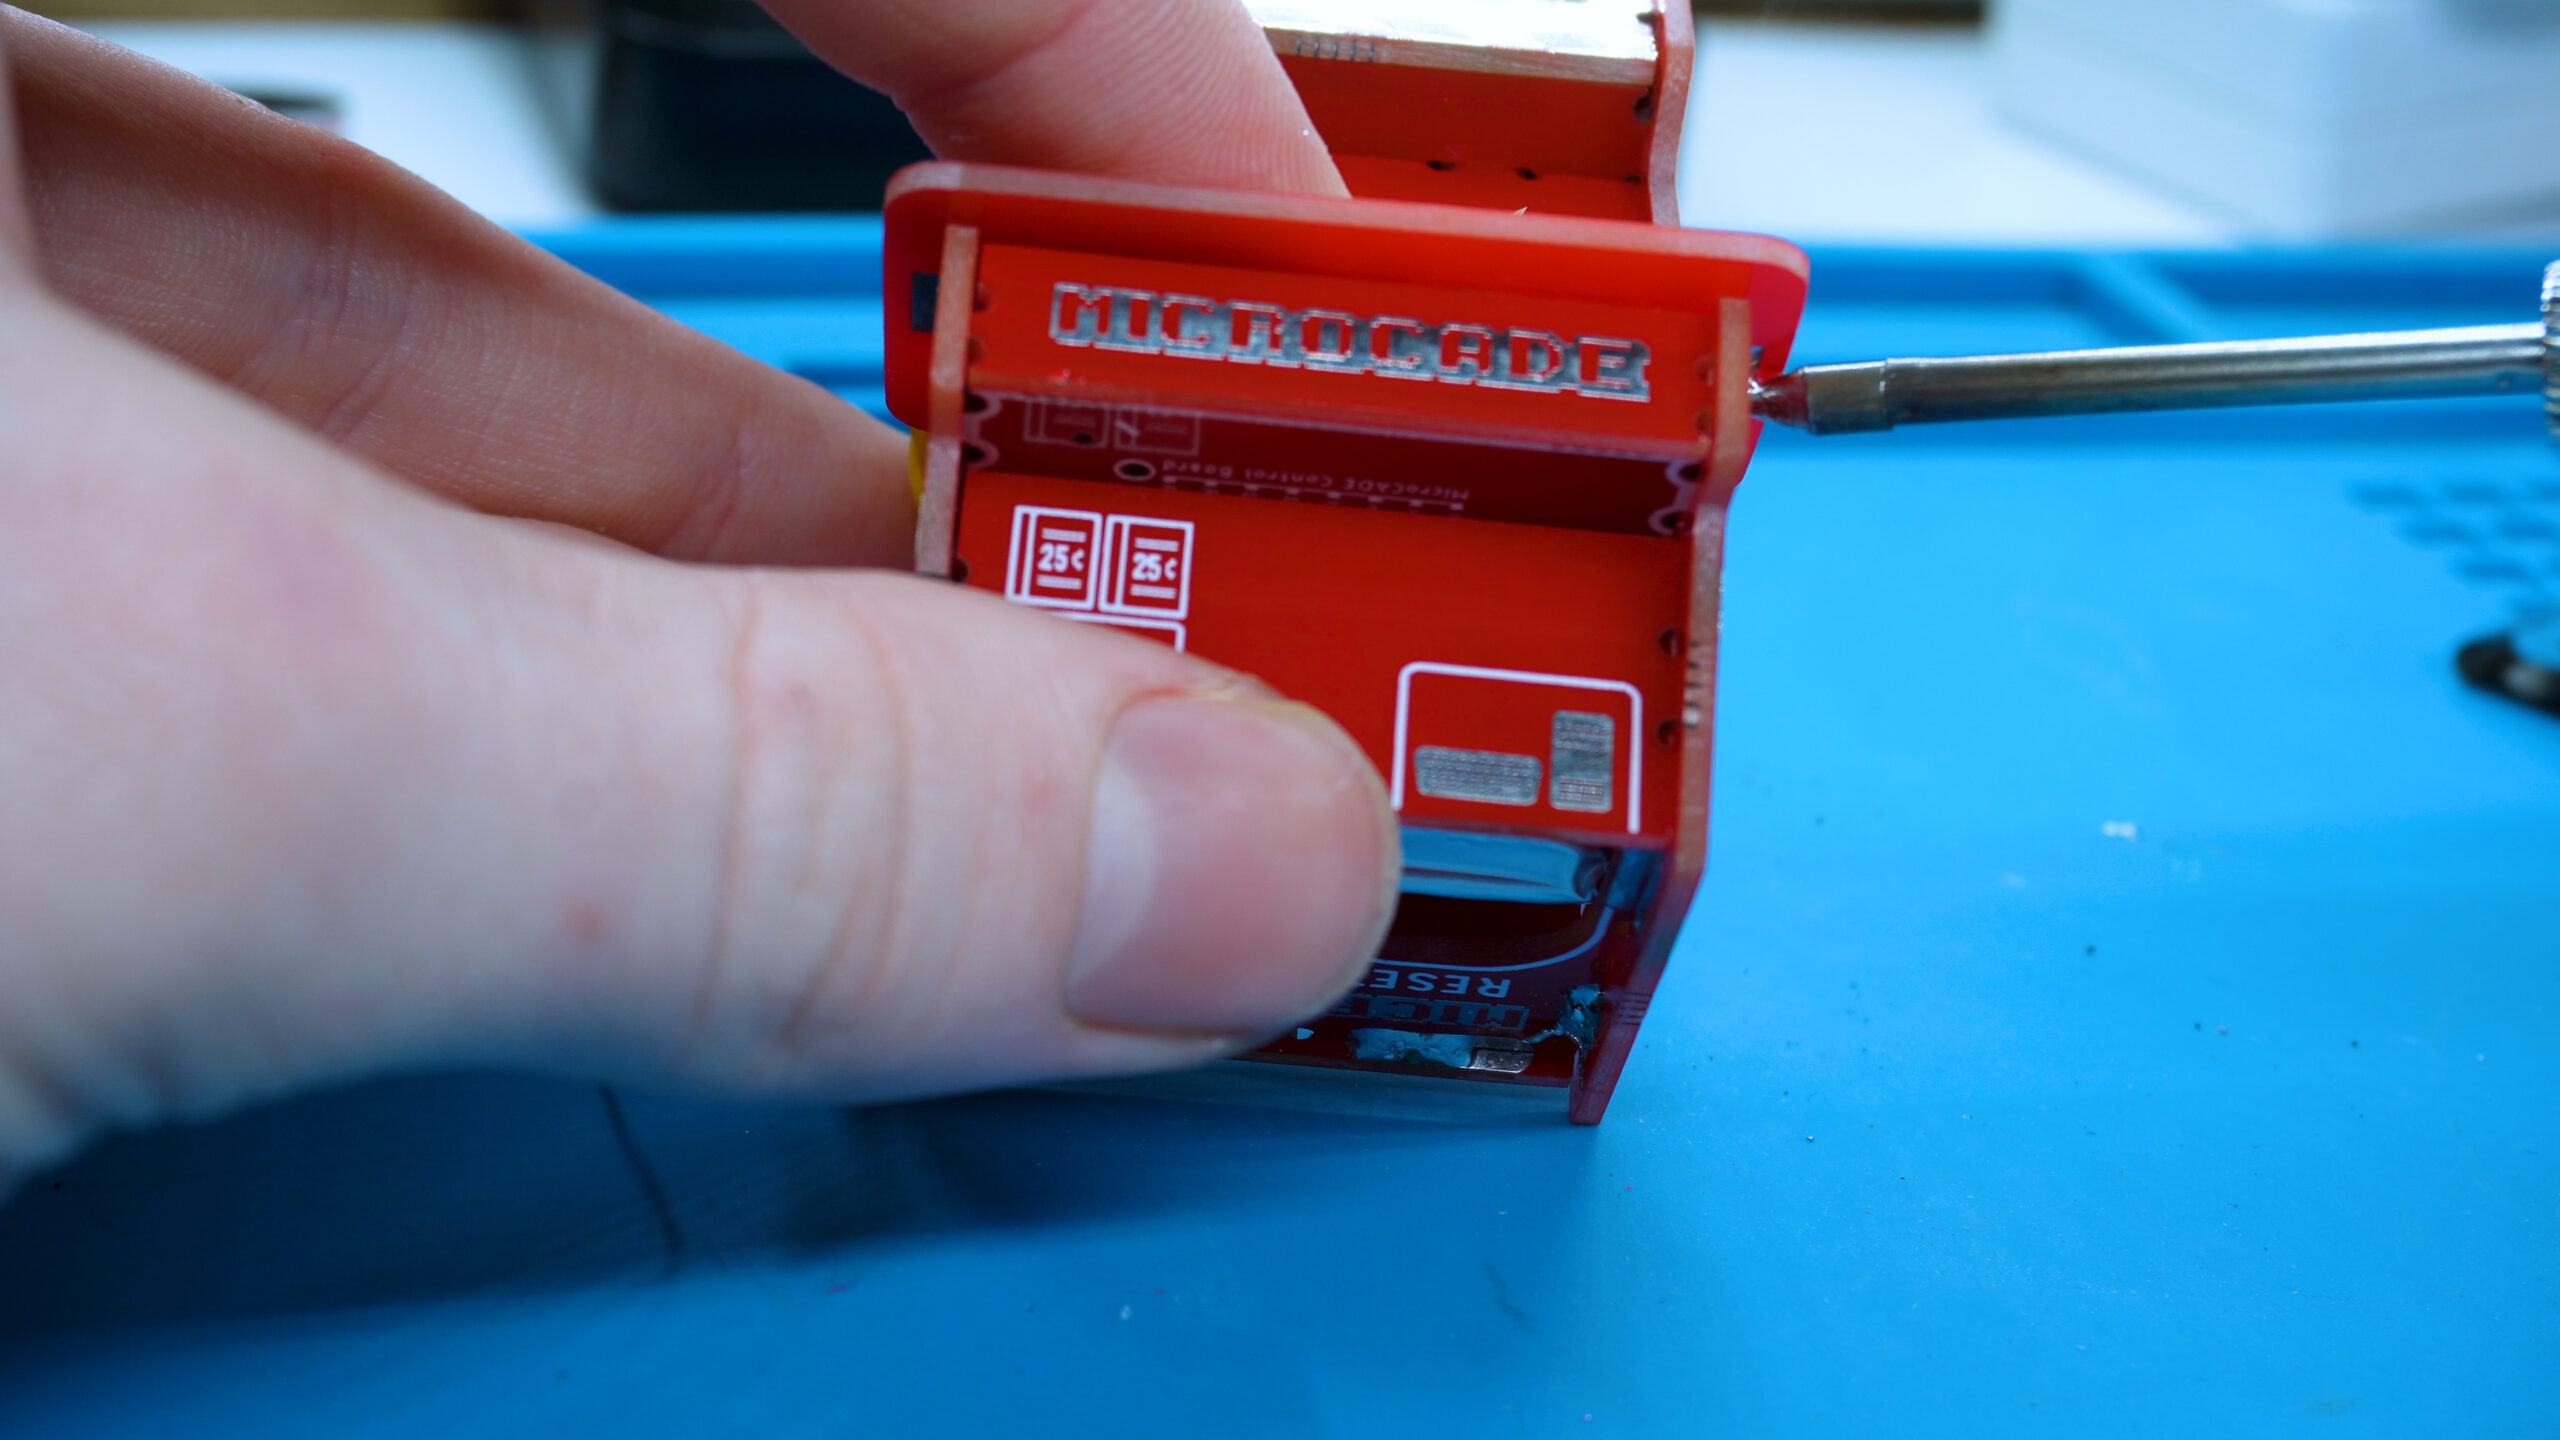
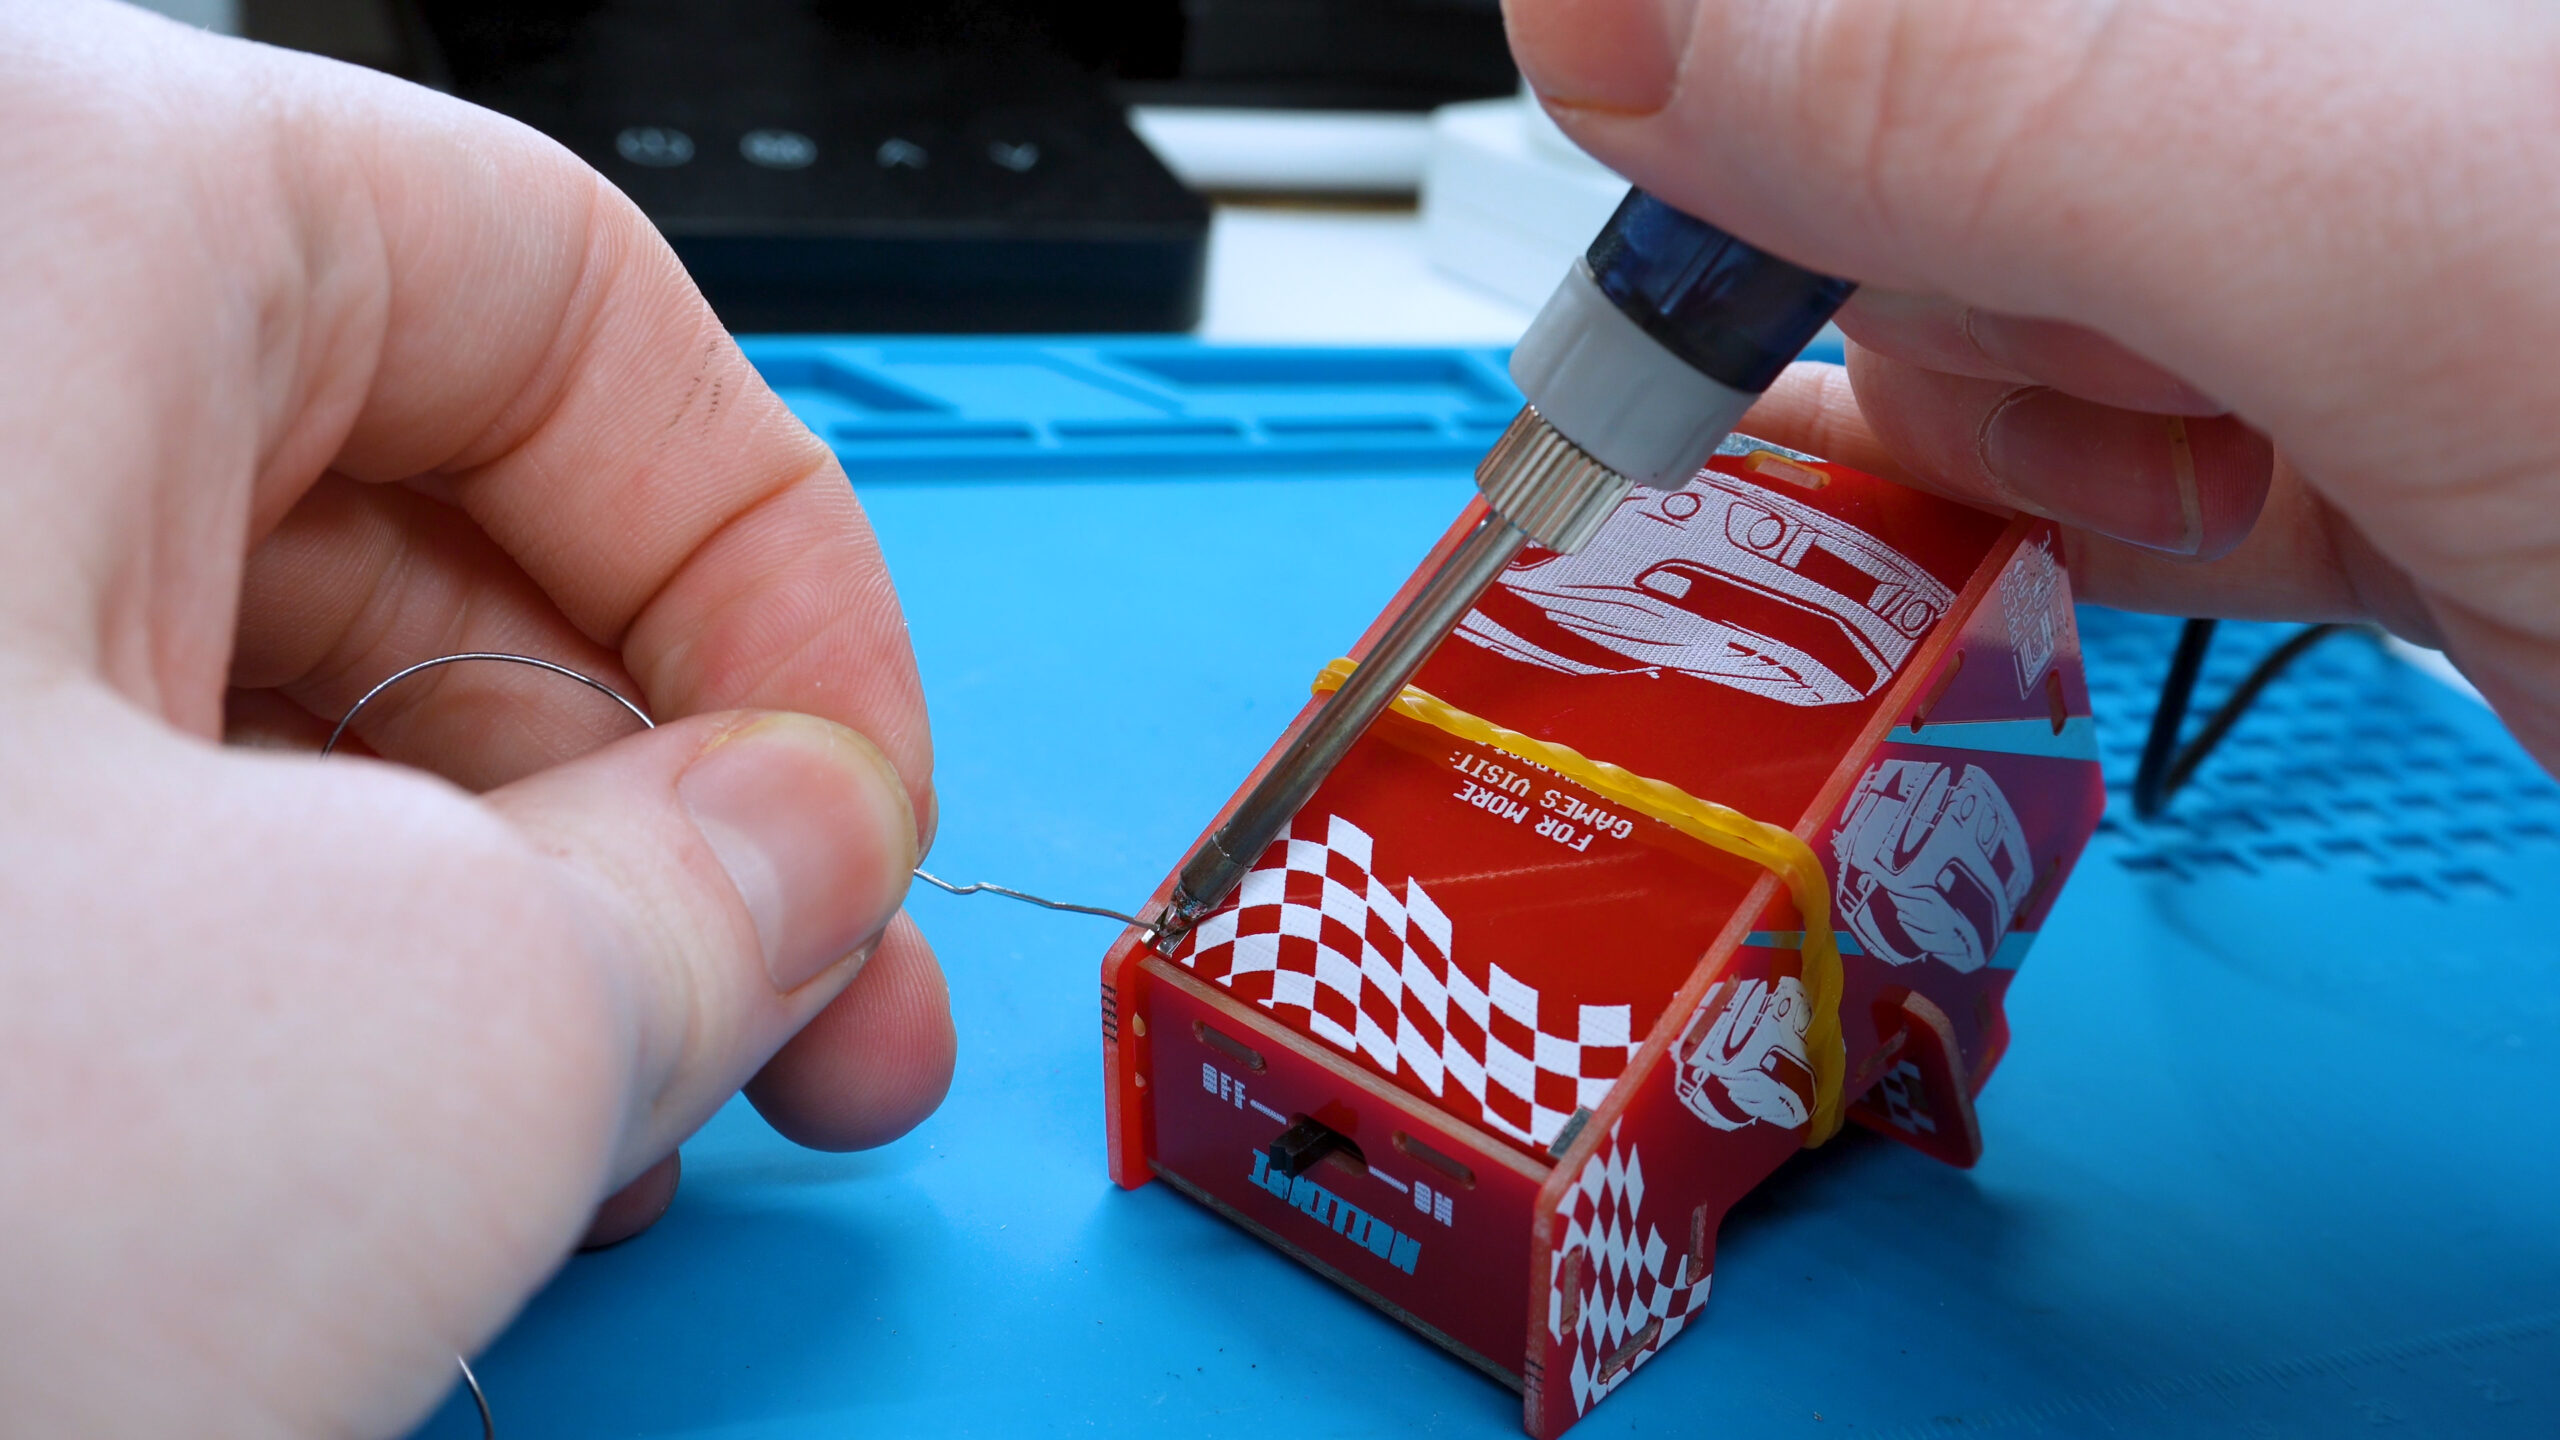
2. Solder the back panel
Turn the console around and solder the 2 small jonts between the side panels and back panels.
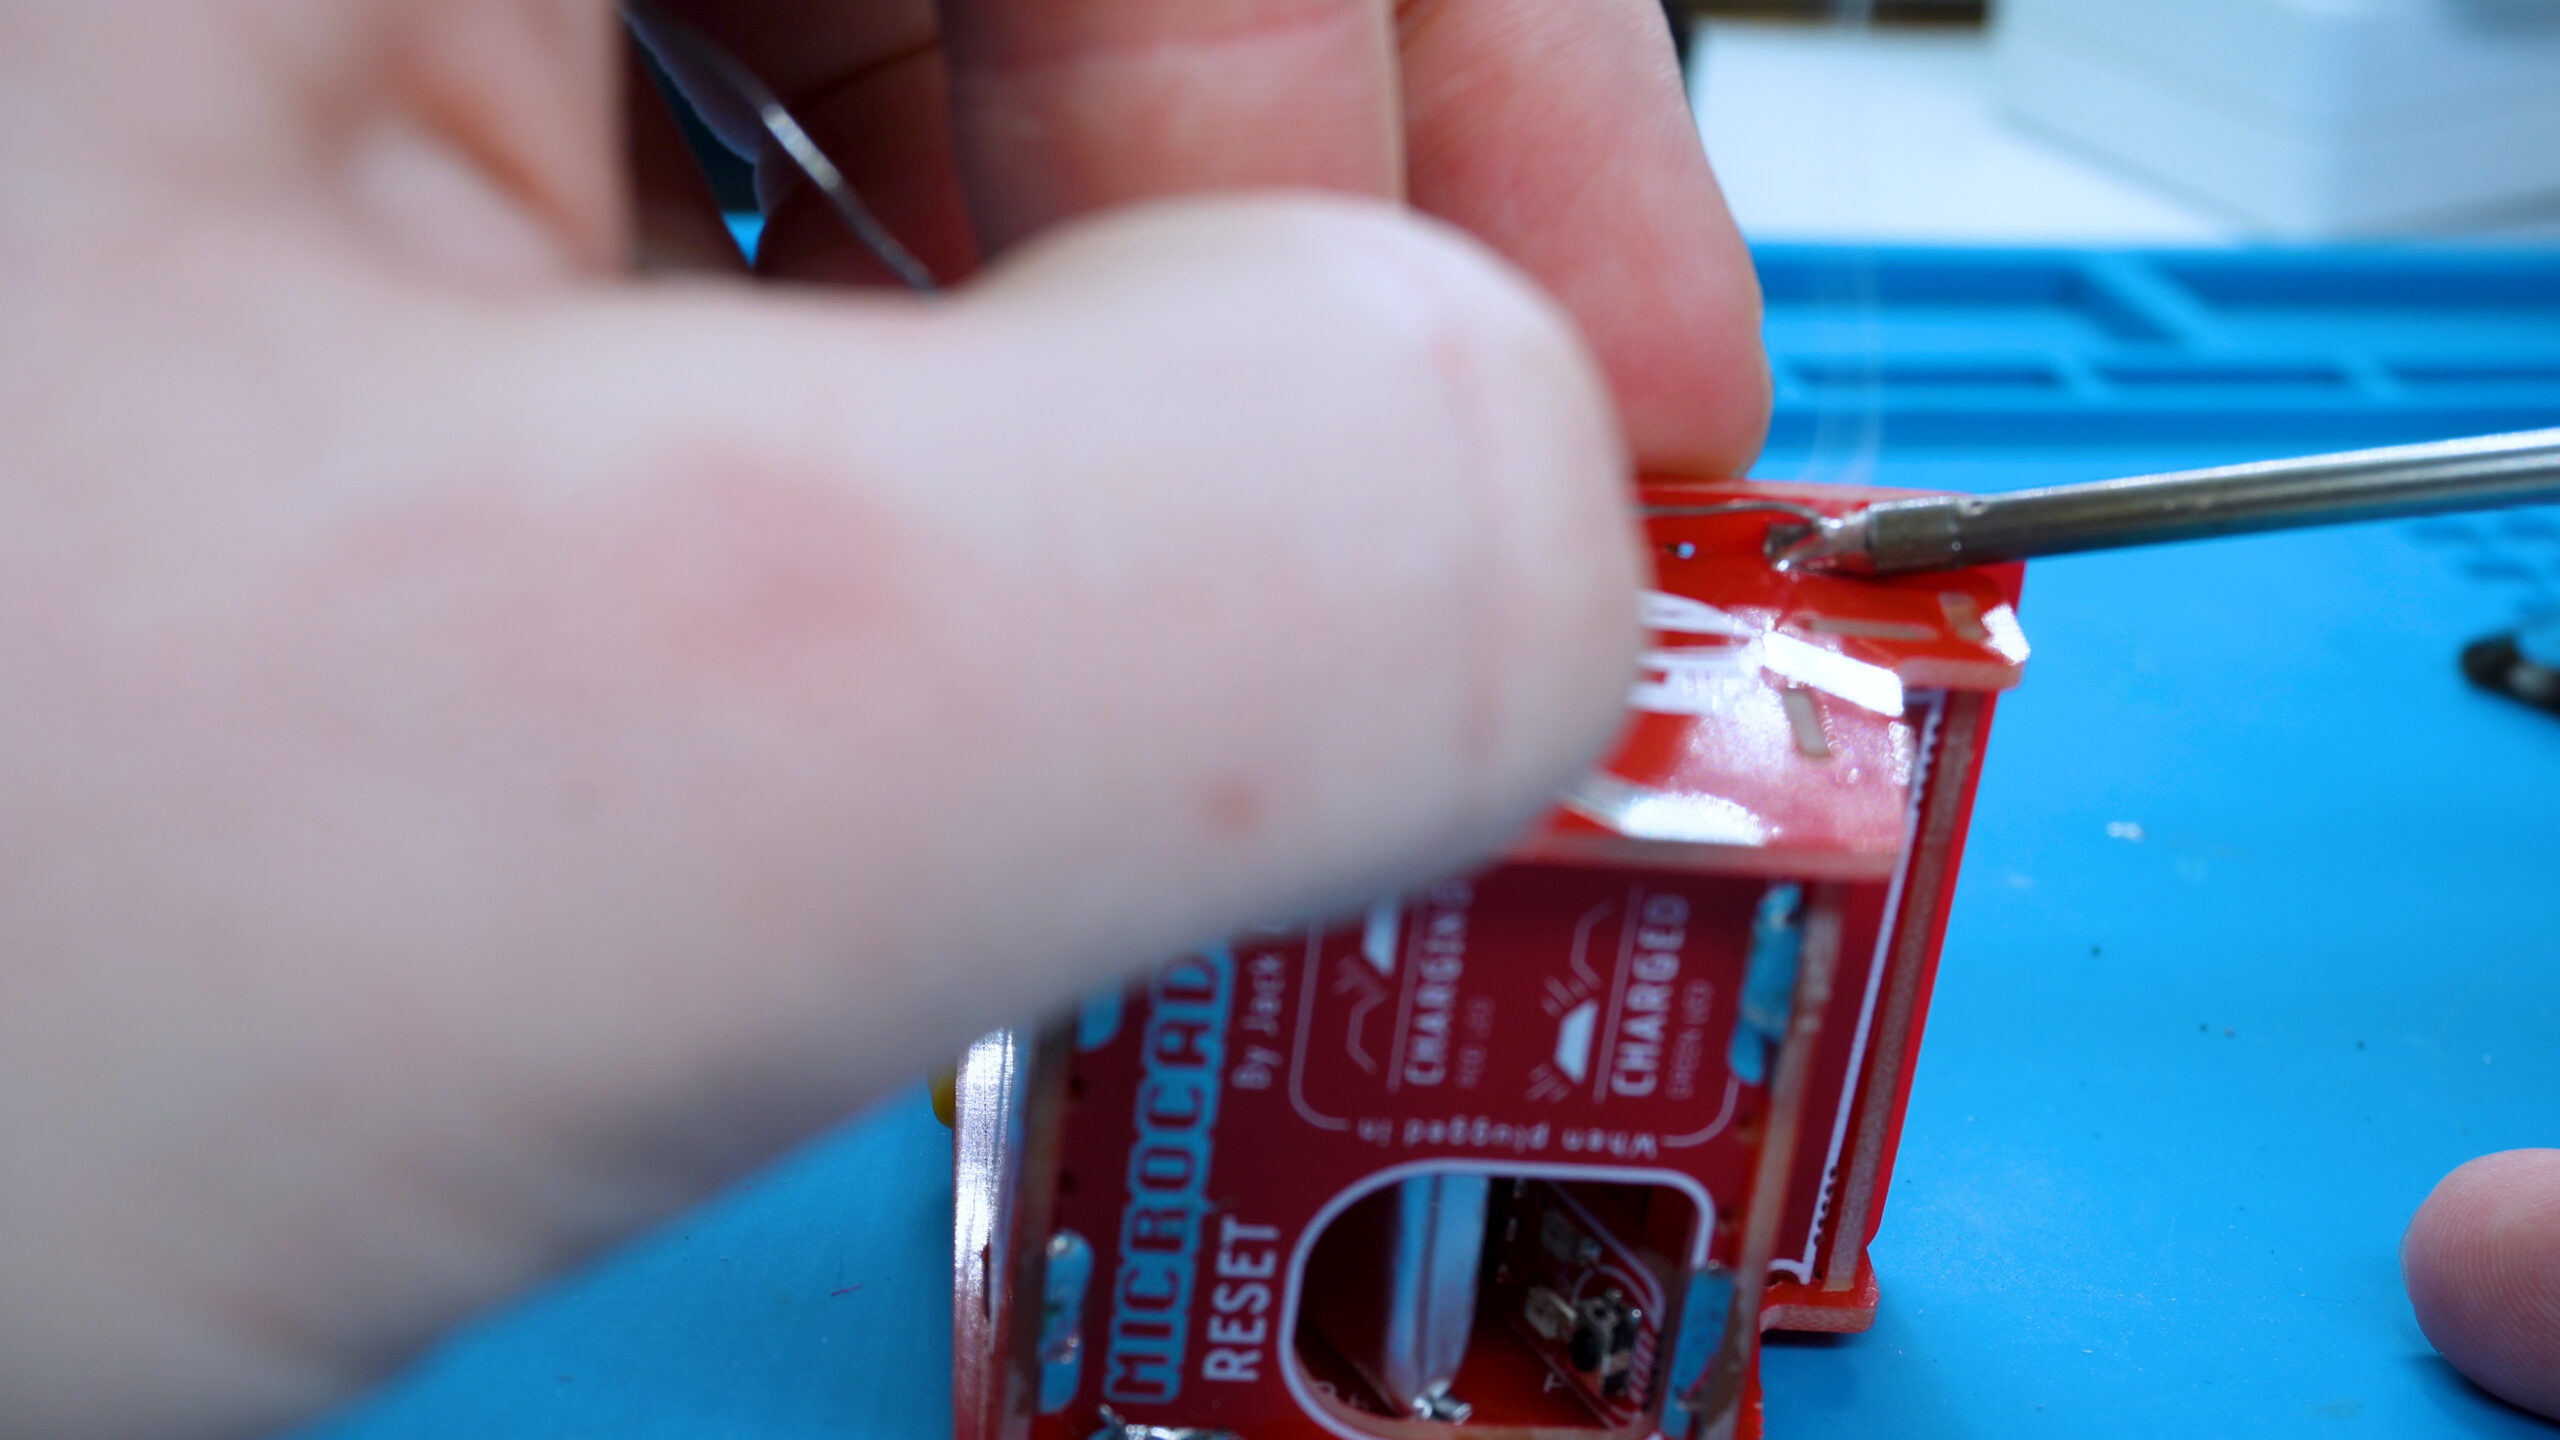
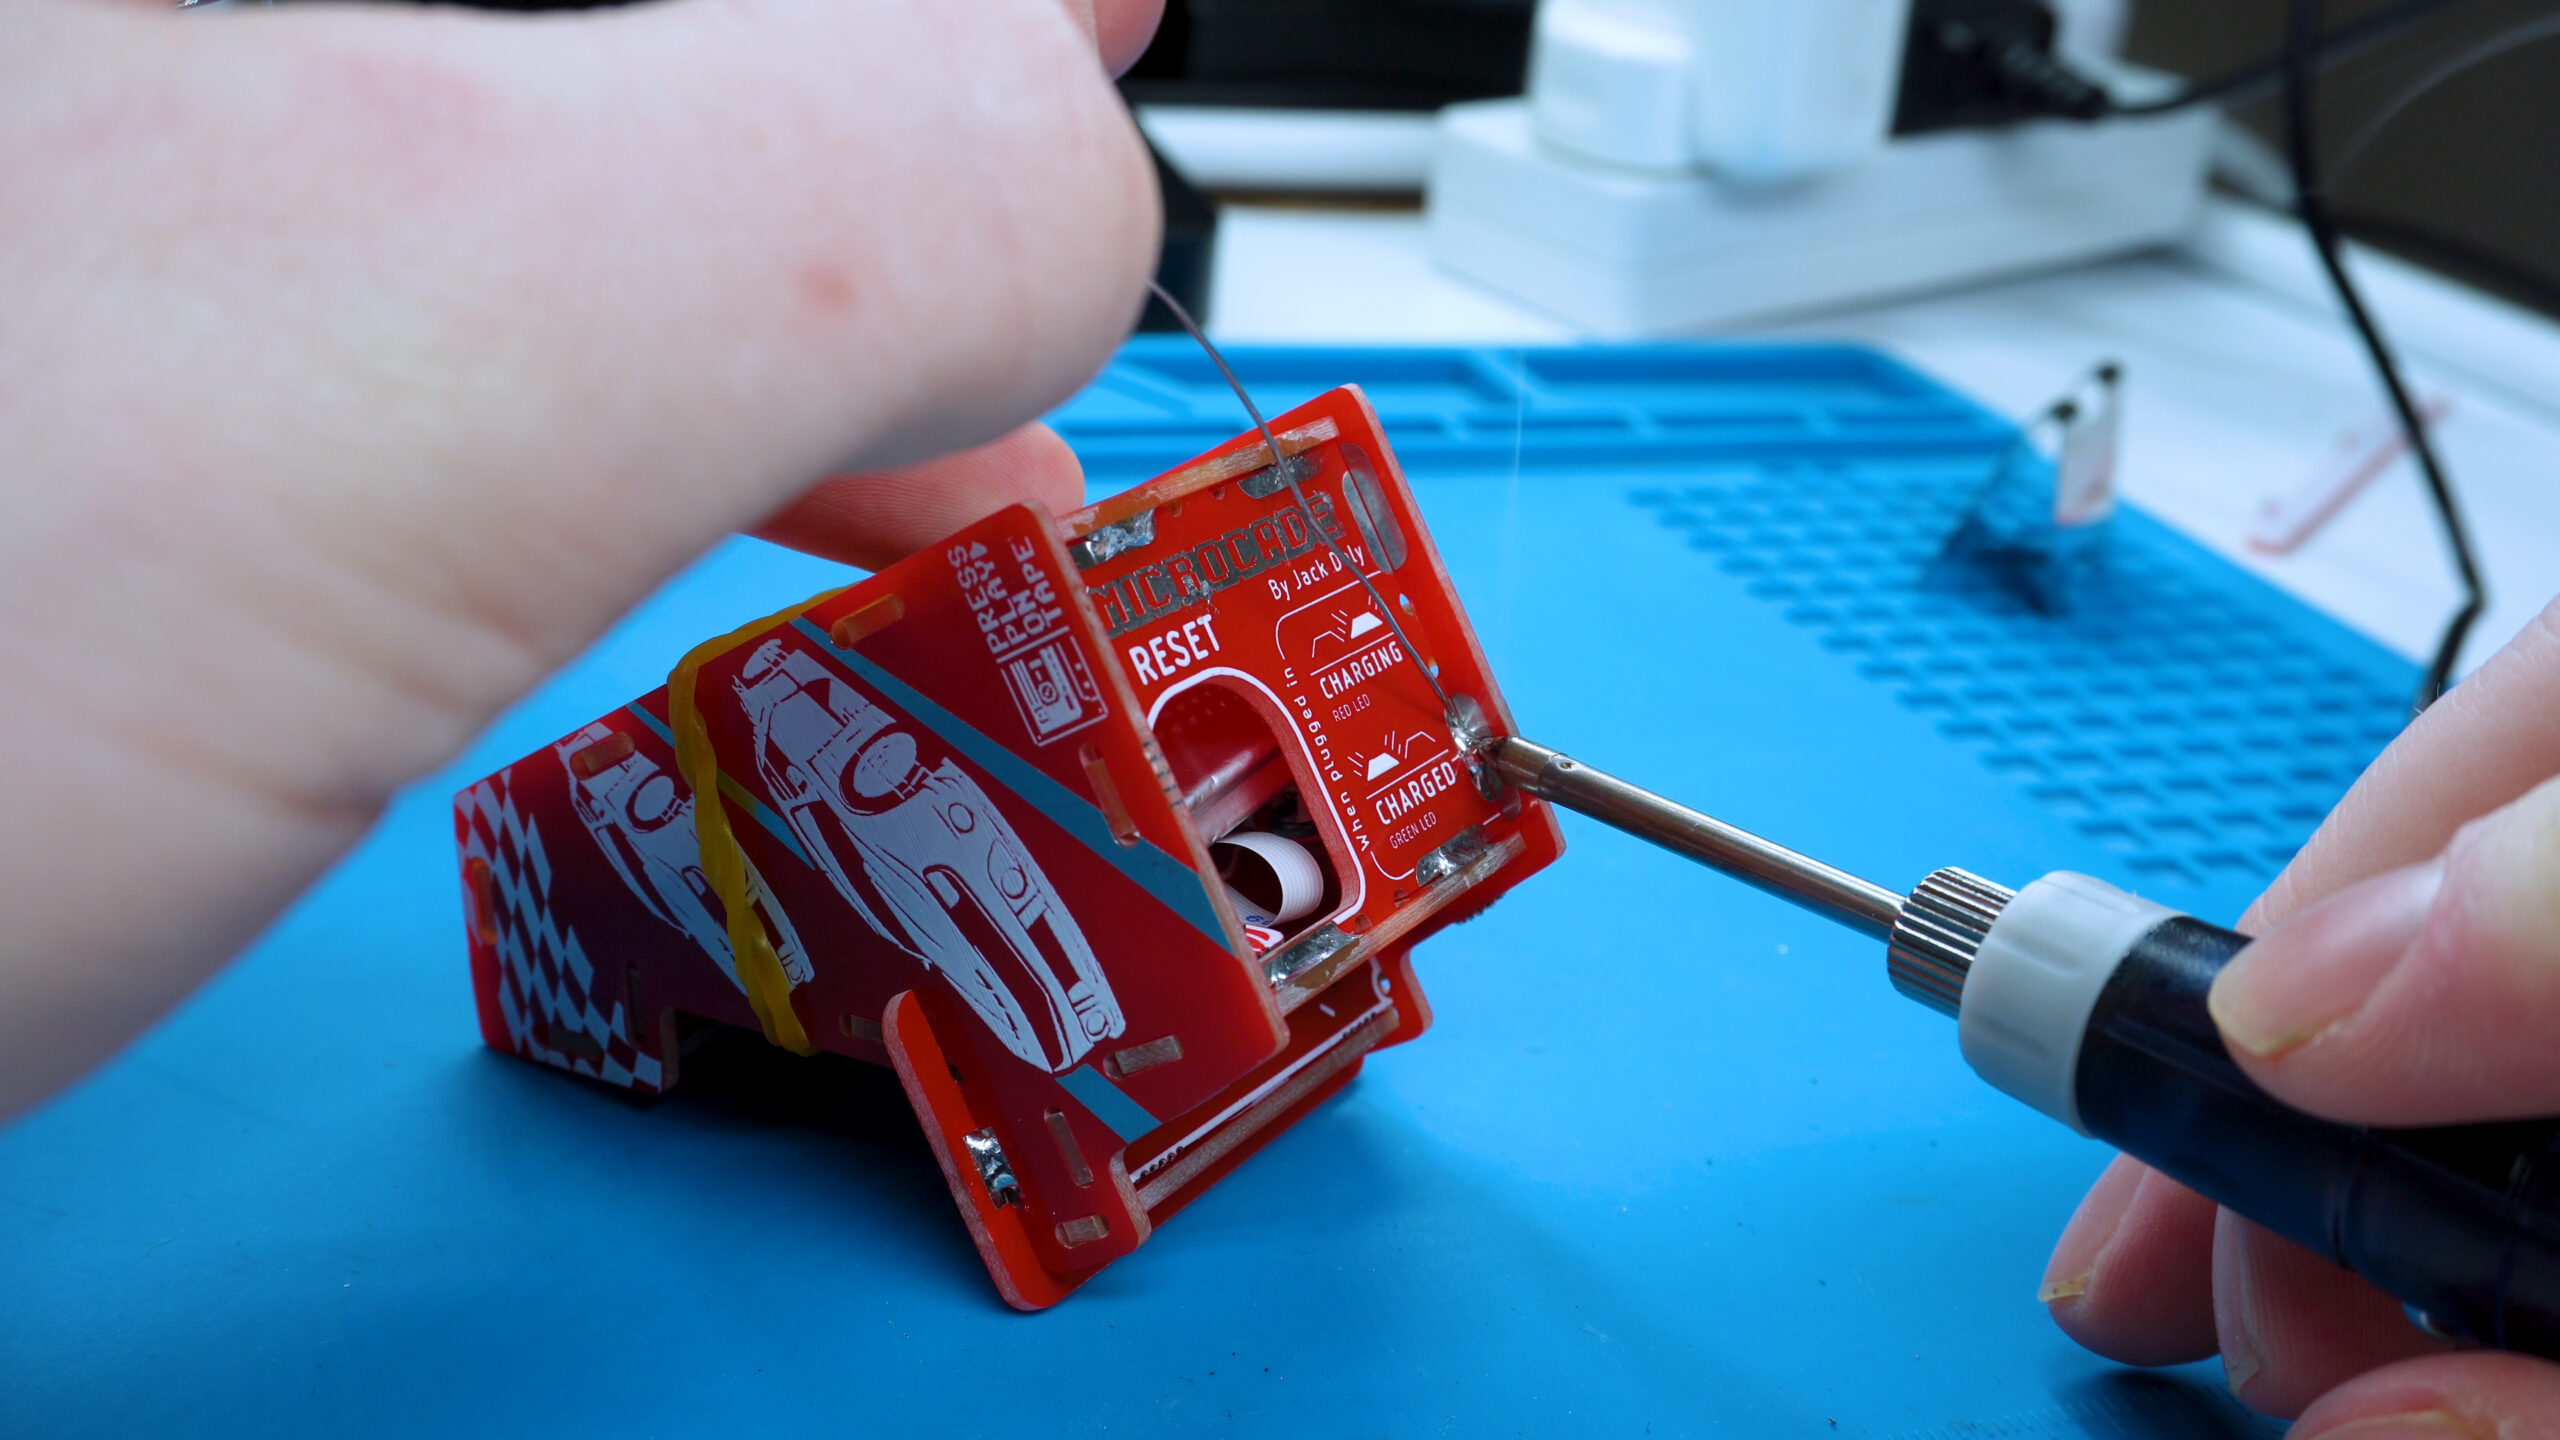
3. Solder the bottom panel & remove rubber band
Solder the last 2 bottom panel joints and remove the rubber band
Place the joystick on
Solder the last 2 bottom panel joints and remove the rubber band